In the CraftyHope Etsy Shop

In case you haven't had a moment to take a peek at my Etsy Shop, I thought I'd share some of the new and noteworthy pieces you might have missed. 

Moon Light Necklace

Blue Scrolls Earrings

Joker Necklace

Button Collections Bracelet

Sailing Away Earrings

Upcycled Butterfly Necklace

Golden Moon Earrings

And, of course, these are just a few of the treasures I have listed in the CraftyHope Etsy Shop. Head over there and let me know which is your favorite. 

Bead Box 14 - Reveal

It's been quite a few weeks (maybe months) since I actually finished all the pieces in my latest Bead Box, but getting around to getting all the pictures has been tough. I'm finally ready to share what became of the gathered components of Bead Box 14

Let me quickly explain that the Bead Box is simply a basic 17-compartment plastic organizer in which I place the components for designs to be made later when I travel or my inspiration wanes. This was the fourteenth version of this box. I flew through it as it was perfect for keeping my hands busy after my accident. Here's what I made.

This first piece was a simple custom order from an Instagram friend who spotted the ceramic shard in one of my pictures and knew exactly what she wanted. Easy enough!


There really wasn't much to pulling this Red Framed Necklace together either. It can be found on Etsy. 

I was so excited about this earring design that I started pulling it together before it even made it into the box! It didn't take long for me to get these Fancy Free Earrings made since they just needed a few simple loops. They're now in the Etsy shop. 

This little blue bracelet finally got made. (It had been in the last bead box too.) I've already taken it up to the booth at Southern Antiques and Accents (SAA). 

I'm still a little mystified with myself that the basic components for these earrings wound up in the box. Of course, they came together quickly and have already sold out from the Etsy shop. 

Wrapping each of the pink beads to the brass links for this Pink and Brass Bracelet kept me busy for a little bit. This classic beauty of a bracelet is available on Etsy. 

The tiny beads and links in this bracelet kept me even busier. However, it's so tiny that I think it needs something else to go with it to bulk it up. That's yet to be decided. Stay tuned. 

There's something about these brass skeleton leaves that gets me every time. I'm so glad I've got more of them. For now, I simply combined them with Czech glass beads and my attempt at a herringbone wire wrap (I'm learning.) These Herringbone Leaf Earrings are already in the Etsy shop. 

Well, dang. I used these bits to make a necklace for one of our nieces for Christmas. I was in a rush to get it made, wrapped, and sent to her. Somehow, in all of that hullabaloo, I forgot to get a picture of the completed necklace. It's a pretty simple piece with a chain of clear and black beads alternating on gunmetal-colored wire. I'm sure you can picture it now. 

Just a few wrapped beads and a length of chain were all that was needed to complete this little thing.  I have a friend that expressed interest in it that will get first dibs before I decide if it needs to end up elsewhere. 

These gorgeous earrings took almost no time to pull together. And, they weren't in the Etsy shop long before they sold either. 

These are indeed simple copper earrings. I've taken them up to the antique store.

I totally forgot how I wanted to pull these Galaxy Earrings together with the pieces I had in the box and struggled a bit to get these to come together. But, I'm happy with the final result either way. They can be found on Etsy.

Likewise, the elements for these Golden Moon Earrings left me a bit mystified. But, they came together beautifully and are in the Etsy shop. 

I'm not sure what else I might have done with these tin strips that I cut out ages ago. This final design really doesn't speak to me, but I've taken these earrings up to the booth in Fairhope anyway. 

I knew this was going to be my favorite design, and I was right. This Moon Light Necklace was listed in the Etsy shop today. Though, I'm tempted to keep it for myself!

Finally, these pretty little stacked crystal earrings were a cinch to pull together. They've available in the booth at SAA. 

And, that's the whole box. If you're interested in seeing previous boxes, here's the full list of all those posts. 

Which of these is your favorite?

New Jewelry Tutorials!

In the last couple of days, I've shared a couple of jewelry tutorials/reveals on YouTube that I don't want you to miss. 

First, I participated in the #BeCreative challenge from Terry of The Tapping Flamingo. The challenge was simply to use either Love or Mardi Gras as your inspiration to create something, anything! I couldn't decide between the two prompts so I made something for each of them. First was a simple strung bracelet for the Love prompt. 

Then, since I'm from the birthplace of Mardi Gras (Mobile, AL), I HAD to make something else. I went for a simple pair of earrings with salvaged rhinestone charms. 

You can watch my Be Creative Challenge reveal for February to see how I pulled these two pieces together. 

If you want to see what the other participants made, click #BeCreativeFebruary2022 to go to a list of the other reveal videos. 

And then, today is the reveal day for the Pirates Pretty Jewelry Challenge. Like the previous challenge, I mentioned this one in my February Inspirations and Challenges list. It's a birthstone challenge in which we were to use amethyst to make a bracelet using either silver or rose gold. And, we had the option to include the fun elements of birds or feathers. I ended up making two bracelets. 

This first one was just a little experiment for me as I was learning to crochet over the month of January and one of the yarn colors I have is called amethyst. I realized that a double-crochet would be the perfect size for a buttonhole. So, I made a thin strip of single, half-double, and double crochet stitches then used embroidery floss to sew on a button that would fit in the double-crochet.

From there, I dove into the real project. I used one of my soldered bubbles because it included a color akin to amethyst and the solder is silvery. I added some matte amethyst beads that I had leftover from my 2021 Bead Soup Swap & Create. In addition, I used matte glass beads, golden glass beads (to match the gold dot in the bubble), a black glass pearl, and a wing charm. 

I think it's a fun little bracelet. You can watch my Pirate Pretties Jewelry Reveal to see how I made it as well as more details for the crocheted cuff. 

Make sure you also watch Angela's (Pirate Pretties) video reveal to learn more about next month's challenge and see what she made. You can click on #PiratePrettiesJewelryChallenge to see all the reveal videos. 

These challenges are keeping me busy and inspired for sure. And, that's nice to have a bit of motivation and drive. I hope you find some inspiration in them too!


DIY Wax Seal Dupe Tutorial

Just like in everything, certain craft supplies and techniques become "trendy." Almost everyone in the early 1990s had to have a bow-making form. More recently vinyl cutting machines are stocked in almost every household (mine included). And now, I'm seeing wax seals having their heyday again. I actually looked into getting some of the supplies needed (a variety of wax colors, melting spoon, spoon holder with candles, and the brass stamps.) I began adding all of them to an online cart before realizing that it was going to cost me at least $50 for this ONE LITTLE THING. I emptied my cart and decided there had to be another method that used materials I already have. And, I came up with this super easy process. 

I'm positive this isn't a new technique - someone else out there has already thought of it. But, here's how I approached making my copycat wax seals. 

First, gather your supplies.
You'll need the following*:
Once you have all your supplies, start by heating up your glue gun.

Then, squeeze out a fair-sized glob of hot glue onto your nonstick surface.

Press your stamp into the glue glob, making sure you don't press all the way down to expose your surface. Keep in mind that I'm using stamps that I don't mind damaging. I cannot ensure that this method won't hurt your rubber stamps. 

While the glue gun is still hot, repeat with other stamps.

Once your glue has had a chance to cool slightly, peel your stamp from the glue. The glue itself may actually have to be peeled from the stamp, but it should come off easily. 

From there, paint the top surface and sides of your faux wax seals with acrylic paint. You will likely have to use more than one coat. (The picture below is after only one coat.)

Allow your wax seal dupe to dry between coats.


You can use a dry brush technique or a metallic marker to help accent the design in your fake wax seals. 

To help you get a better picture of the whole process, I created a short video on How to Make a Wax Seal Dupe on YouTube. 

Now, you're ready to add your wax seal to an envelope, art journal page, or other craft projects. Just use a dab of strong glue to your seal and attach. You've got the look of a real wax seal without all the fuss of going out and buying new supplies! 

Have fun with this technique and share your results with me here or on Instagram, just tag me @CraftyHope. Oh, and let me know if you have any questions about this process. How are you going to use your Wax Seal Dupes?


*As an Amazon Associate, I earn from qualifying purchases.

The 100 Day Project 2022

I've said it time and again; I love a good challenge. As such, each year since I've learned about it, I made sure to participate in #The100DayProject.

 This will be my sixth year participating. Let me tell you a bit about the project in general before I get into what I'll be doing this year. Quoting the website, "#The100DayProject is a global art project that takes place online." Basically, you pick your art and try to engage in it for the 100 days of the project. Your art can be ANYTHING and your participation each day can be as simple as a single brushstroke, bead strung, stitch sewn, dance move, funny face, etc., or it can be a completed project each day. It's up to you. And, if you miss a day or two, no biggie, just pick it back up when you can. For the most part, you share your project on Instagram, but it's not necessary. The purpose is to help boost your creativity, and you can keep it to yourself if you want. You can find more information on the website or by searching on Instagram. Make sure you follow @DoThe100DayProject there. This year, the project starts on February 13th so you've got just under a week to make your plans.

Let me tell you what my projects have been in previous years, and then I'll share this year's project. 
(Oh, the suspense!) 

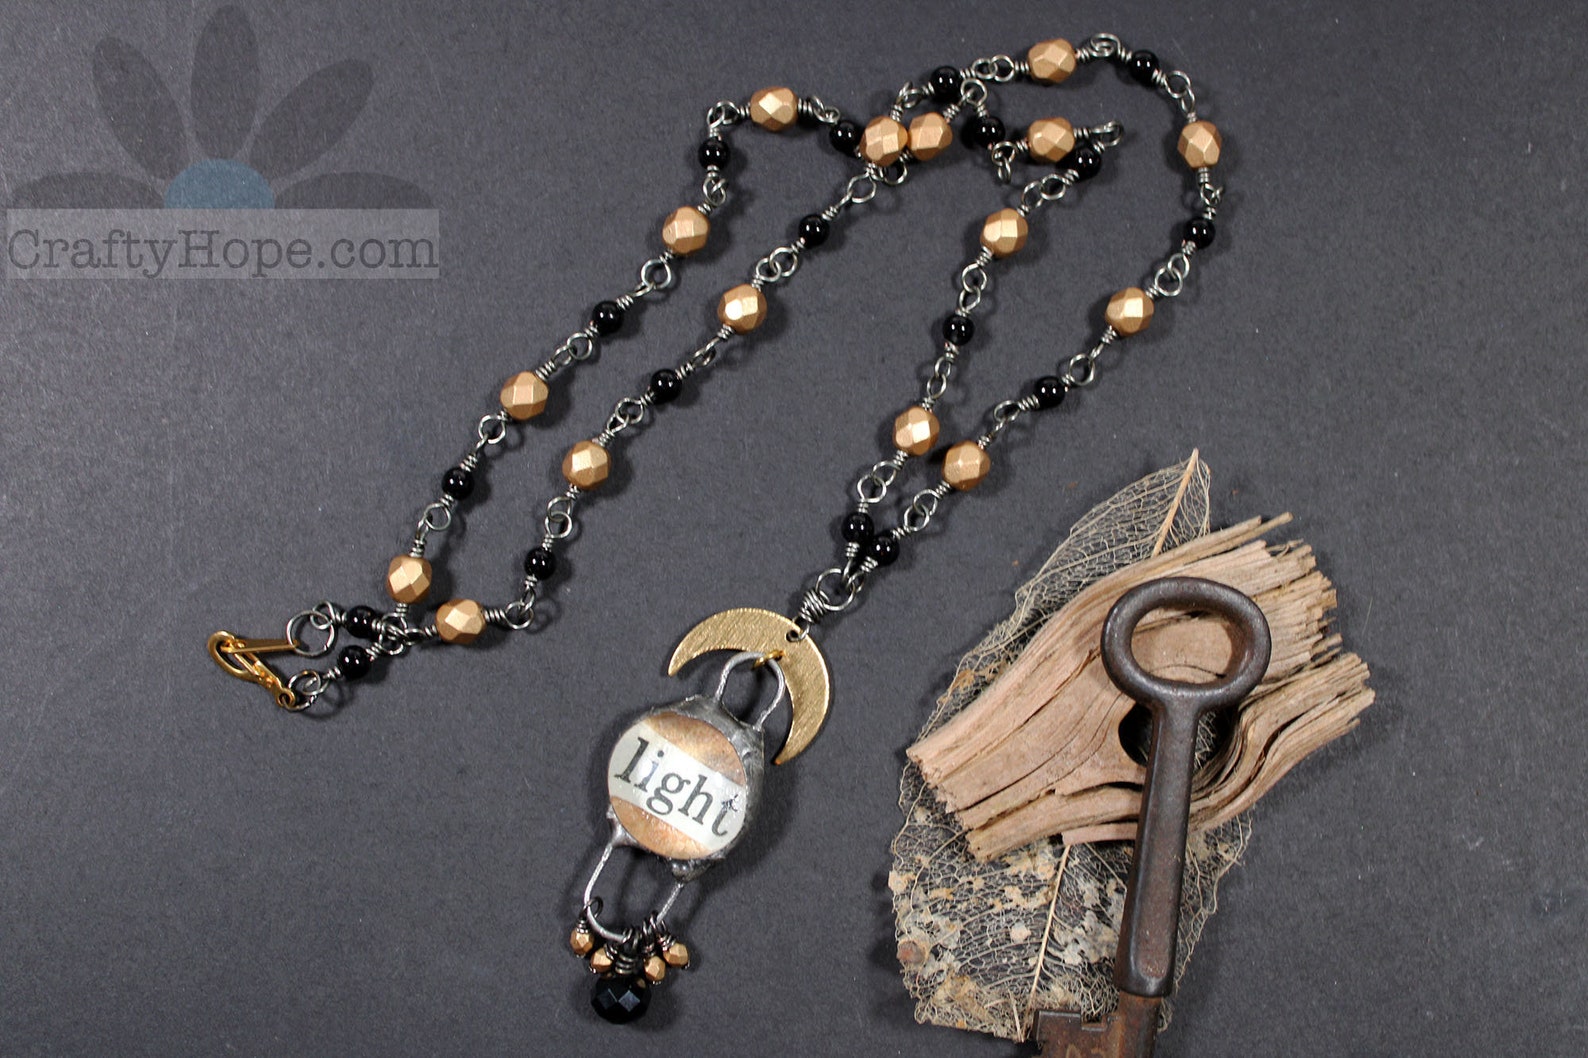
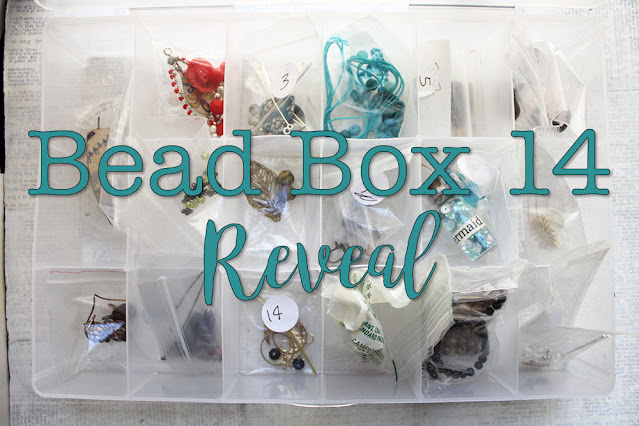
Alrighty, let's get to it. For my 2022 project, I've decided on . . . #Assemblage100. I think it's just vague enough to give me some flexibility but also gives me direction. When I started considering what I might undertake this year, I wanted to give myself a little challenge, but also not be too hard (considering my current mobility issues.) I've been collecting bits and pieces of awesome for years.  Initially, these treasures were specifically intended for jewelry, then art journaling. But, more recently, I've come to recognize my appreciation and admiration for more sculptural assemblage art. So, I want to start putting some of my "treasures" to good use. I mean, what else am I saving them for? Take a look at just some of what the craft room holds.
I've got a bookshelf full of these hardware organizers. What's in the little drawers you ask?

There are keys of all kinds. (There's another bucket-full in the closet.)

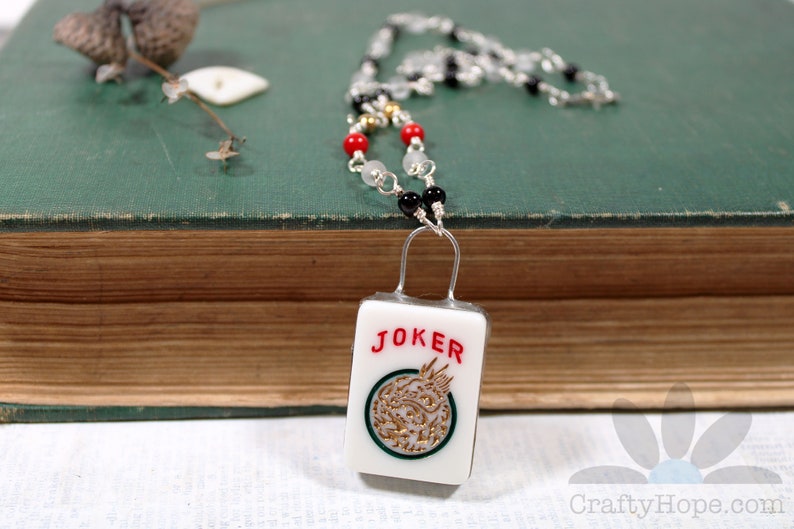
I've got a variety of game pieces.

This little drawer of watch parts looks promising. 

There's even a whole drawer full of bells!

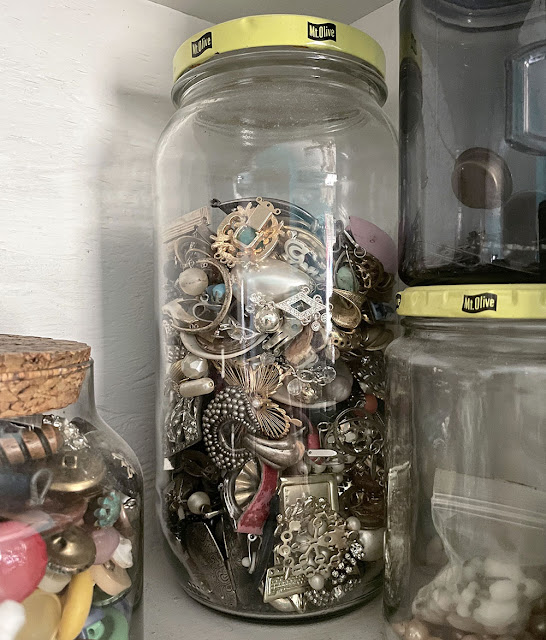
But, it doesn't stop there. Above that shelf is another with a variety of jars that hold chandelier crystals, beads, buttons, and old jewelry. 

There's another jar of old jewelry across the room that's designated specifically for mixed media projects. 

It sits on a box of miscellanea that I've been saving just for assemblage.

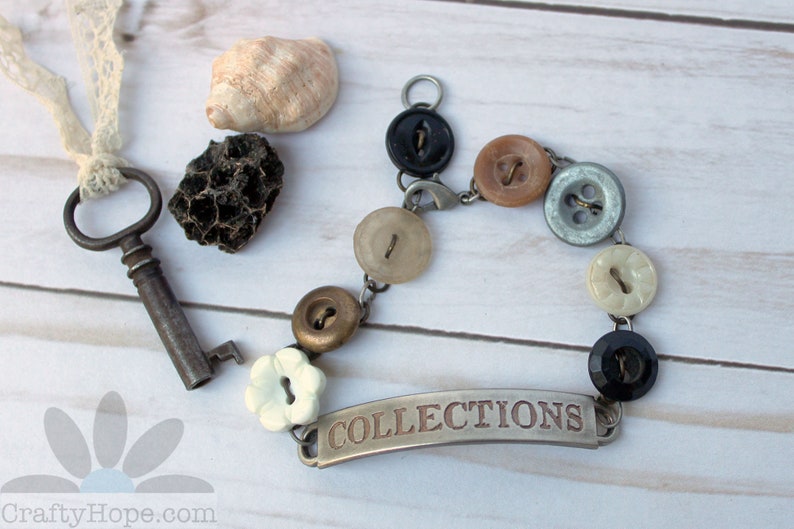
Then, there are my buttons. This is only a small portion of them!

I've got piles and piles of natural elements that might work well for this project.

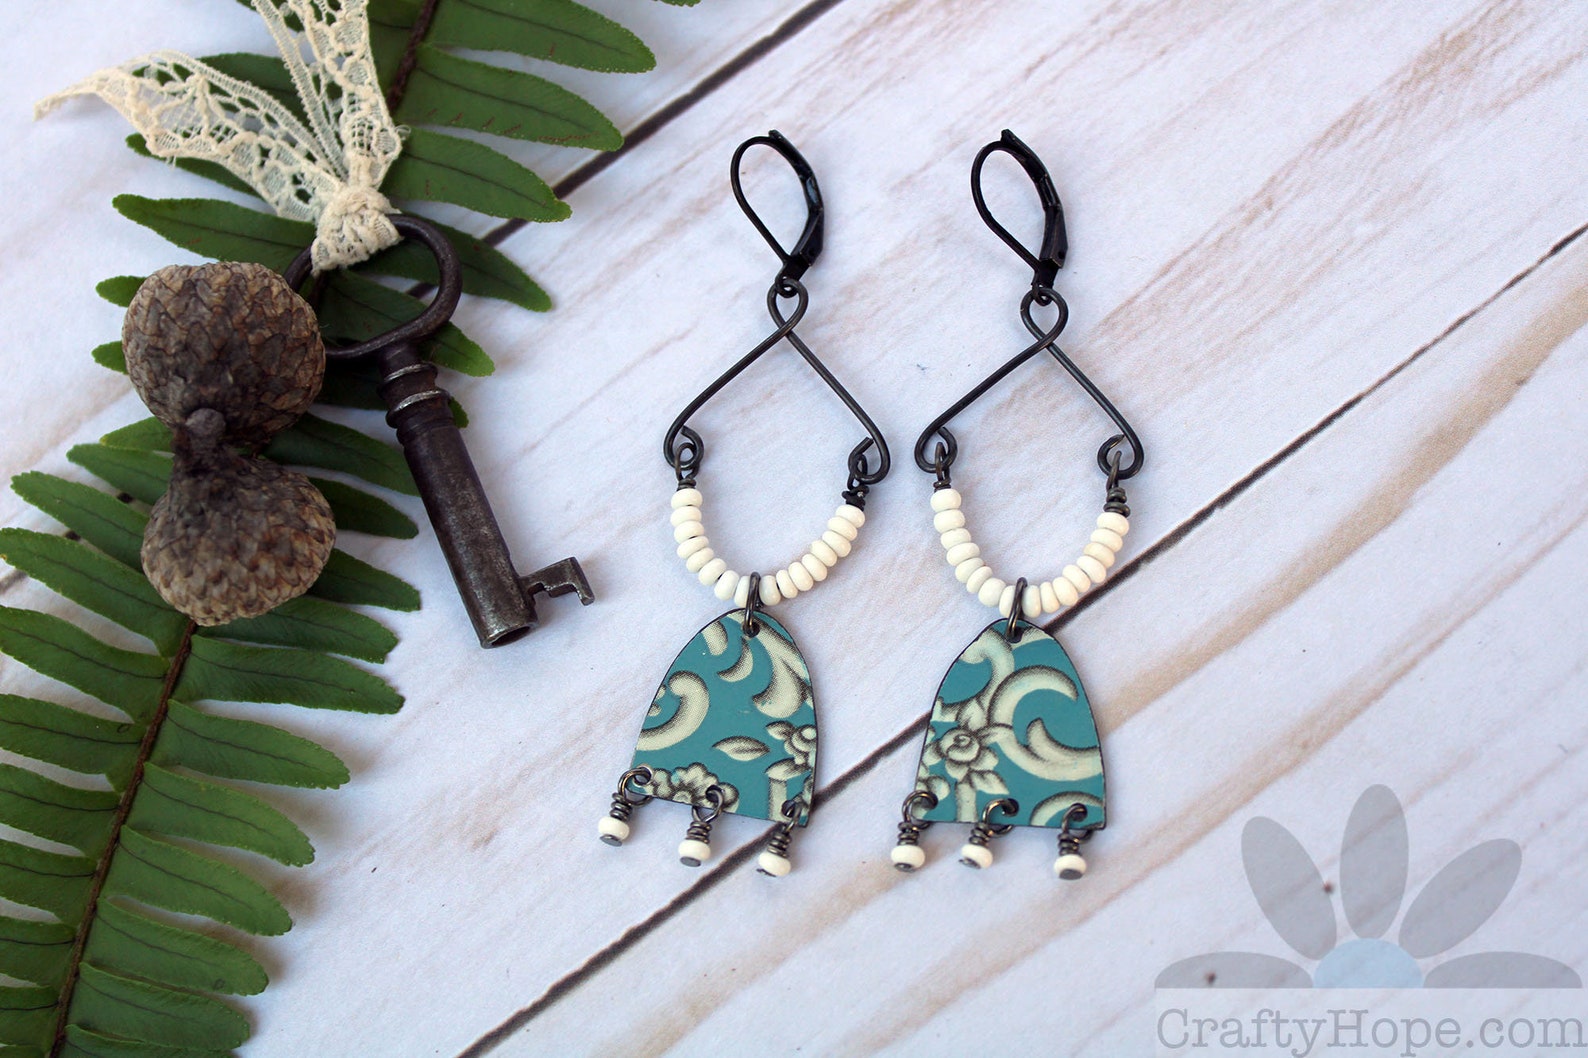
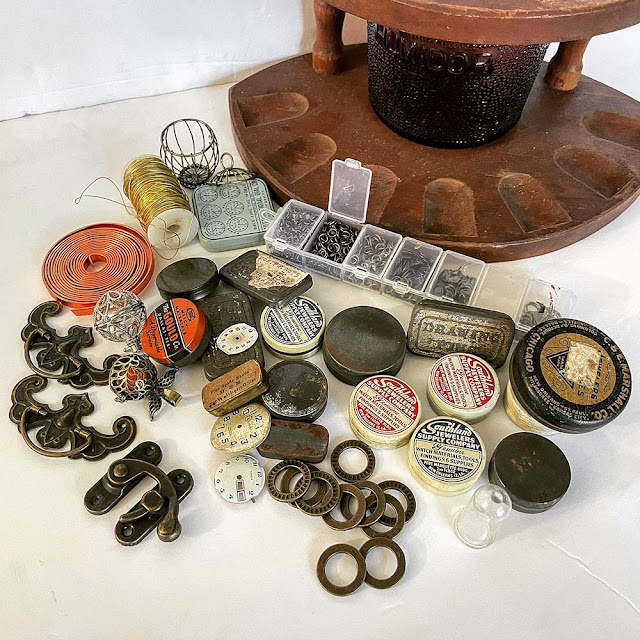
There are other treasures that I thrift and find, like these goodies from a friend's yard sale.

And, y'all - that's just the tip of the iceberg, just the things I could get to in order to take pictures. I also have stacks of wood, old spools, bits of leather, porcelain doll parts, tiny jars, old utensils, hardware, rusty bits, so many books, and gobs and gobs of Tim Holtz elements. I think I might be set. And, I think it's time to start using these treasures. 

I'm a little worried this might be too ambitious, but I keep reminding myself that I don't have to make a completed piece each day. It doesn't have to be anything huge. I can make little resin pendants and shadowboxes, fill jars with glitter or sand, make tiny elements to be added to larger pieces, and so many other small steps. I just need to get started. I think this project has been in me for years. I've even set up an Assemblage Art Pinterest Board to remind me of what I find inspiring. 

When the idea of this project came to me, a little thrill of excitement ran through me. I knew it was what I needed to do. If you want to play along with me and create some assemblage art using my #assemblage100 hashtag, let me know. Shoot, I just want to know if you're going to try to take on #the100dayproject at all. I always love to see how everyone else is being creative. So, are you in for 100 days of creativity?

The 100 Day Project 2024

Yesterday, the 100 Day Project for 2024 started (it's not too late to join in!!) I mentioned last week that I would give you a heads-up ...