Mixed Media Easter Egg

Easter is almost here, and I finally got a few decorations up to prove it. I even got the inkling to create a pretty, new decoration to go with my other DIY Easy Easter Decor

In reality, I think I just wanted to play with my paints and papers. This project moved along fairly quickly as I knew the direction I wanted to go in as soon as I found that Gelli print with the zigzag design on it. 

I'm not sure why the egg symbolizes Easter (I should probably look that up); but dying, decorating, hiding, and finding eggs has always been one of my favorite Easter activities. I'm actually a little sad that my nieces are too old and teenagery for me to hide eggs for them anymore. 

I did film a video of my process to create the Mixed Media Easter egg to inspire you to make your own if you get the inkling too.

Since I don't get to decorate real eggs anymore,  it was fun to blend colors and embellish an Easter Egg with my mixed media supplies on an 8x10 canvas board. The materials were simple enough: 8x10 canvas board, paints, ephemera (papers), adhesive (UHU glue stick and soft gel matte medium - Mod Podge or Elmer's would have worked too), stencils, pastels, pens/pencils. I did use a few specialty supplies that aren't necessary, but I enjoy them: Stabilo All Pencil, Tim Holtz Distress Crayons, Faber Castell Pitt Pen, Portfolio Oil Pastels, and Sharpie water-based paint pen. 

Here are a few closeup shots of some of the details. 
I love that the writing on the ephemera (old papers) pokes through in the background if you look close. 

The writing on this one includes the typed date of March 1, 1938. I thought that was cool that this paper was almost exactly 80 years old. 

The little Xs are my way of adding crosses to this project. It is Easter after all. 

The colors are all very pastel and Easter-y with a touch of vintage yumminess.

It all came together so beautifully. And, it was nice to have a little messy creative play. 


Have you created anything fun for Easter? Oh, and for more creative fun, I need to make a dessert for Easter Dinner - do you have any suggestions or recipes?
Happy Easter y'all!

Sj Designs Honey Do List - Challenge Reveal

I seem to be running behind on everything this week and simply have no excuse for it. But, I do have a new piece of jewelry to share with you. It's for Sj Designs' Honey Do List. Each month Sarajo's husband presents her with a design inspiration, and she extends that inspiration as a challenge for other designsers. I could not resist this month's picture. 
It's pure, rusty heaven! In addtion to the rusty hues, I spy black and white as well. But, it's the rust that really stands out.

I started my work on this challenge by selecting my rusty component. I've got plenty to choose from, as I am a collector. However, I remembered that I had just bought a selection of keys at a craft and thrift show. There was a massive bin of them that I dug though, selcting just the ones I wanted. Of course, I snagged a few nice rusty ones. 
This one was not only rusty, but also had a nice square-ish shape at the top, reflecting the shape of the window panes in the picture. I have to admit, that it looked more rusty originally. I decided to coat it with Renaissance Wax to seal in all the rusty goodness. Alas, it dulled and darkened the patina rather than lifting it up.

Here's another key from the batch that still has that orange glow to it. I suppose I could have selected another key, but I was determined not to be deterred. 

Since the orange glow had been subdued, I decided to use antiqued copper to bring it back into the necklace. The key was attached to a scrapbook element with "25" written on it. (I did have to alter the silvertone back with Vintaj Patinas to make it match a litte better.) There's something somewhat industrial about the charm - much like I imagine the building the window can be found on. 

I made the chain of the necklace with cultured sea glass in clear and black, ensuring that they weren't too shiny for the rustic-ness of this inspiration. In addition, small white glass beads were included. The beaded portion makes up the front of the chain while simple antiqued copper chain and a toggle clasp complete it. 

At first glance, it may be hard to see that this necklace came from the inspiration photo, but each and every selection for it came directly from that fabulous image. I can't wait to see what the inspiration is for next month!

Make sure you hop on over to the Sj Designs Jewelry Blog to see what else that picture inspired. 

Peek at my Week: March 18-24

Yesterday was bonkers. I didn't know if I was coming or going. I actually forgot it was Sunday! So, you get a Monday peek at my week.

Through the whole week, I participated in my friend Tiffany's art journaling challenge. You can see more from the challenge on Instagram with #useitupfillitupchallenge and learn about it on Tiffany's Southern Gals Designs feed. 

Last Sunday was consumed with working on replacing the floor after our plumbing issues. First, we had to remove all the tiles that the workers cracked. It was an effort in itself to get them out without cracking more. 

We also picked out tiles that were in the yard (from when we pulled up the kitchen flooring), cleaned them, and figured out where they would go. Thank heavens we kept them because we haven't been able to find terra cotta tiles anywhere else! The tilework (and Pat's drained car battery) consumed the whole day. 

While going about my chores on the property on Monday, I noticed this blue eye on my split leaf philodendrons.  I'm sure it's a sign of something horrible, but I find it intriguing. 

And, because of the torn up sunroom, Zoe spent several days in the living room with us. She didn't seem to mind. 

By Tuesday, the thin set (tile glue, basically) was just about cured.

I busied myself with my plants - I really need to get them in the garden soon!!

One of my nieces asked for any paints I didn't want for a group project she was doing. That gave me the chance to sort through my paints and organize them - by color naturally. I did throw out a bunch of dried up ones and gave her a ton of the ones I no longer wanted. Yay for the pretty organization.

I also played with tin and my disc cutter for a little bit. I'm hoping to get back to that project in the next day or two.

Oh, and I cut into the most perfect avocado - big news!

Pat finished the grouting on Tuesday evening, and by Wednesday morning, it was starting to look like a disaster had never occurred! Thank heavens for a handy hubby.

I spent the rest of Wednesday at my mom's as usual, getting very little accomplished. 

I'm not even sure what I accomplished on Thursday. According to my Bullet Journal, I got new tires and worked on jewelry. And apparently, tired out a kitten. 

Again, Friday slipped away from me as I posted my Project Inspiration for Easter and listed this pretty necklace.

 Saturday was mostly about being outside, where I discovered this treasure buried out in our woods. I'm still amazed at the things we find out here. Don't you just love the moss on these binoculars? Oh, and I need to get a picture inside one of the lenses too - there's a collection of tiny rocks in there. 

I also worked on weeding my raised beds in preparation for my seedlings. I found a ton of earthworms. Is it weird that I'm excited about worms in my garden? It's weird for me. But, it's true. 

I was supposed to reveal my Swap-N-Hop pieces today, but the reveal date has shifted until April 6th. Though, there are a couple other challenges that I should have reveals for during the week - hopefully. Stay tuned for that!

How was your week?

Project Inspiration: Easter

Can you believe it's almost Easter? Since I did a roundup of more than a few St. Patrick's Day projects and inspiration, I thought it would only be fair to show Easter some love too. 


Here's a list of ten Easter projects that caught my eye and will hopefully inspire you too!

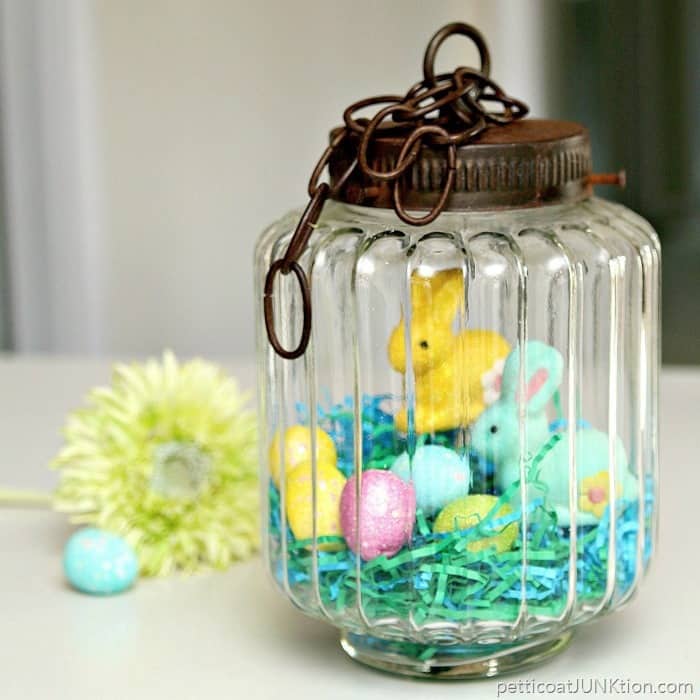
I absolutely cannot resist a good junk upcycle. And, this old lamp turned cloche Hoppy Holiday Decoration from PetticoatJUNKtion totally fits that bill. 

Tim Holtz always makes the prettiest things. This project for Tim Holtz's Alcohol Ink Foiled Eggs came up on my Instagram feed, but you can bet I was pinning the tutorial from his blog! Don't they look like yummy candies!? (They're not!)

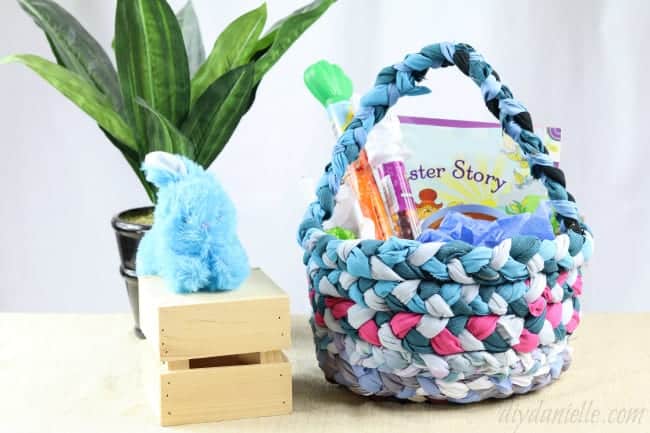
Again with the upcycling! But, the Scrap Fabric Basket from DIY Danielle is so fab. I can see using it outside of Easter. And, it reminds me of rag rugs, which I do love. 

I'm always amazed at the ways Sadie comes up with to recycle items This Spring Doily Table Runner at Sadie Seasongoods would be great for Easter or all Spring long. 

While we're thinking about doilies, how about these Doily Baskets from Martha Stewart? They're just so sweet!

Speaking of sweet, I'm in awe of the Easter Ornaments at Under a Blue Moon. Not that I really need a reason to break out the paper-crafting supplies. (They're usually already out!)

More mixed media fun can be had with I Love to Create's Scrappy Little Easter Eggs. Fabric, glue, beads - what's not to love?

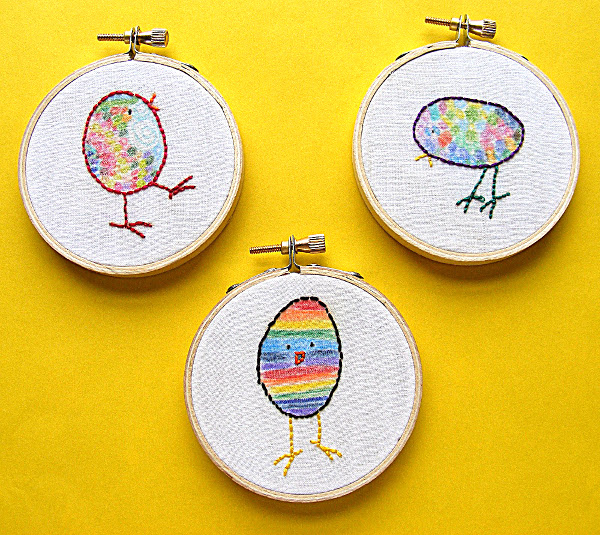
Look at these adorable chicks! You can get your own Little Chick with Big Feet Embroidery Pattern at Shiny Happy World

What roundup from me would be complete without a jewelry project? The Bead Bunny Necklace DIY at Make and Fable is the perfect little project for Easter. 

And finally, I've got a few of my own Easy Easter Decor projects from last year if you're interested.

I have to admit that I have another project to share with you but the video didn't want to upload last night so I'll have to try again and share it with you separately. I'll let the anticipation build a little. Ha!

I hope these projects spark your creativity and inspiration! If you've got your own Easter project to share, please let me know in the comments. I'm sure we'd all love to take a peek. 

Spring in Silverlox

Today is the first full day of Spring. And, despite the fact that the Northeast continues to be battered with winter storms; we've already had lots of signs of Spring here in South Alabama for a while. Most of the weather has been nice, but we did have a cold snap a few weeks ago that withered some of the new growth. So, it hasn't all been sunny days and flowers. But, I thought I'd share some of the season as it's shown itself on our property which we call "Silverlox". 

Definitely the harbingers of Spring, these mini daffodils poked their heads out as soon as the weather began to warm. I have to admit that I was surprised as I had no idea these were there. I'm sure they were planted by the previous owners. 

The next to begin peeking up was this fairy ring of snowdrops. Though I know it's not a traditional fairy ring, I think it's pretty magical and call it such. 

Here's a better look at the snowdrops in bloom. I love the little green drops on the petals. 

In addition, the blackberry briars began blooming. The wild blackberries around here are really dewberries and are super thorny, but plentiful. 

A few of them are already showing signs of fruit!

Azaleas are also quite prolific in the area. The bushes everywhere were absolutely FULL of blooms. 

Alas, the cold snap we had withered almost all of them. There are still a few bushes that hadn't bloomed yet and may still (fingers crossed!)

Winter, in general, was not kind to the tropical-like plants on the property. 
We decided to chop the banana trees down as far as we could, and many of them are already starting to grow back. 

As well, the split leaf philodendron was in a sad, sad state. Again, we trimmed the dead leaves off as we did last year. This particular bunch amuses me as the roots make the plants look like they're tethered to the ground. But if you look close...

You'll see little sprouts rising from the ashes!

Elephant ears are also quite delicate and withered as soon as winter began. They're coming back quickly. This one, in particular, caught my attention as the water droplets really give it an appearance of a real elephant face. Ha!

Although I really love the smell and appearance of wisteria, we've done our best to rid it from the property because it takes over.  Our attempts have not been completely successful. Though, this is the only bunch so far that I've found blooming. Isn't it pretty?

Since it has gotten warmer, I've gone ahead and begun planting some seeds to be transferred into the raised bed garden and containers very soon. 
I first started with the seeds I had on hand, planting them in K-cups that I had saved and cleaned. 

Many of those are just about ready to be transplanted into their new homes. Above are my black beans!
A week or two later, I worked on my second round of seed-planting.

Those have just started to peek above the soil. 

That's just SOME of what's been going on around here. In addition, we planted fruit trees, and I've been steadily kicking bamboo in an attempt to keep it from spreading. 

And seriously, it's just the beginning of spring. I'm sure there will be more plants and projects to come. I hope Spring is treating you well and that the bad weather spares you so you can get to the warmer weather soon!

Winding down the 100DayProject

I awoke the other day with many thoughts about the 100 Day project and decided to jot them down here to share with you. Some of the bits I g...