Available in the CraftyHope Etsy Shop

 It's time once again for me to share a sample of some of the pretties available in the CraftyHope Etsy Shop. Of course, there are loads of beautiful and unique jewelry items. 

Butterfly Garnet Necklace

Blue Scrolls Earrings

Amethyst Wing Bracelet

Joker Necklace

Big Rain Gold Earrings

And, as I'm wrapping up #The100DayProject in which I worked to create Assemblages each day, I'm beginning to list some of those assemblages in the shop. The first of them can already be found there!

All Ears Assemblage Art

Of course, there's plenty more eye candy in the shop for you to enjoy. Make sure to head over to the CraftyHope Etsy Shop and take a look for yourself. What interests you the most?

Bead Box 15 - Stocked

It's been months and months since I've had both the need and the urge to pack another Bead Box. Really, that's because I haven't been far from home in months and my inspiration has been dipping lately too. But, packing for my long-postponed (pre-pandemic) trip to visit my cousin in Ohio seemed to remedy both causes. Let me explain that my Bead Box is a simply 17-compartment plastic organizer that I pack with the components for 17 designs to be made when I travel or my inspiration wanes. As I was preparing for my trip, I realized that it was the perfect opportunity to stock my box. This is the FIFTEENTH iteration of this box.


Packing this box had some ups and downs. To begin, I started by gathering the pieces needed for several designs that had been sketched while I was still in the bed with my broken ankle. From there, I began cleaning off some bits from my desk that were simple enough to pair up. And, I dove into my Jesse James Secret Stash Box. Then...the real inspiration hit. I'll get to all that in a bit. Let's start with compartment one. 

This design actually came about in my second wave of designs (things that were on my desk) but was added to the first compartment because it's the largest, and the pendant would best fit in there. Adding a chain to the soldered mushroom jar pendant took a little thought, but I realized that I wanted to keep the palette for this necklace fairly simple and organic-feeling. I pulled out some greens, wood beads, and a few pops of orange. (I have to admit that more will be added to this little spread as I forgot to account for the large size of the holes in the wooden beads.)

Here's where the sketched designs actually began. In reality, the idea for this one was really only for how to pull the pendant together. I hadn't given the chain much thought other than to scribble the words "boob-length" next to it. Geez! In any case, I picked out a few beads that I think go with the colors of the tin and the soldered stone. These beads will help make up the chain.

This was yet another sketched design, but it was basically just the idea to pair the "zeal" charm with the soldered ring. Beyond that, I picked out the beads and chain as I was assembling the rest of the box.

This was the last of the sketched ideas. The little tin triangles didn't have the holes punched in them yet, so I hoped I could get five of them in that tiny space. Whew, I was lucky. The little beads match the colors of the dots on the tin. These should be pretty cute. 

Here's where I started cleaning off my bead mat. I made quite a few of these bead-wrapped beads as I was healing. I decided that I liked the sparkly lime with the matte of that light blue cultured sea glass. 

And, here's another pair of wrapped beads. You can't go wrong with some large black beads.

My friend, Jenny, has a new tutorial out for making her signature tassel necklaces. And, she asked me to read through it for her. Of course, I couldn't resist making one of the tassels myself. It was sitting on my desk too. Next up is to complete the chain of it to turn it into a necklace. 

From there, I dove into some of the beads from the Secret Stash I received from Jesse James Beads as part of being a Design Ambassador. Those little puffball charms are too adorable. And, once again, I'm taken with pairing them with something on the opposite end of the spectrum: shiny, sparkly, hard. They should work out nicely.

Let me go ahead and admit to you that I ended up with so many ideas for this box that this one shares a cubby with the previous design. Again, these are some of my Jesse James Beads from the Secret Stash. In the video, I mention that this connector would make a great bracelet focal. And, that's just what I indeed to use it for here too. The rest of the beads will help make up the chain. 

This design and the next also share a compartment. These little tin rectangles have been floating around on my desk for AGES. Until I set them next to those bright blue crackle beads, they didn't seem to work with anything else. The crackle beads and bead caps are also from Jesse James. 

I was smitten with those resin and wood charms as soon as I pulled them from the mix in my Secret Stash. It just took a little moving of things around from the box to decide what they would go best with (and, these may be perfect for the Honey Do List from SJ Designs Jewelry this month too. Yay!!) 

I found the soldered pendant in a bowl on my desk. I had completely forgotten about it. I realized that some of the gray and neutral beads from Jesse James would be perfect for it. I can't wait to see this one pulled together.

After that, I felt like I was out of ideas. I packed those first ones in a mad rush, just using old ideas and what I had already out in front of me. I thought that the last several compartments of my bead box might travel with me empty. But, then I started packing my suitcase. I realized that I was lacking some jewelry pieces to go with each of my outfits. And, that fueled these last several pieces. I simply envisioned what jewelry I wanted to wear with each outfit, and the inspiration flowed faster than I expected! I may have to use this technique again. 

I have a long blue dress that I just love, and this necklace was designed with it in mind. The soldered shard was already in my stash, I just pulled together a mix of other blue beads and buttons that will help to make a long chain to go with the pendant. 

A basic gray tunic and leggings were the inspiration for this necklace. While something bright might have worked too, the leggings have some florals on them that might be too busy with a bright necklace. So, I took the soldered chandelier crystal and paired it with black faceted glass beads and gray glass pearls. These elements should make a subtle but beautiful piece.

These black teardrop briolettes and chandelier crystal components are to become earrings that could go with the previous necklace design. Or, they may be lovely on their own.

This may be my favorite design in the box. I have a black and white striped shirt that I love, but with the basic blue jeans I packed, the outfit was in need of a little spark. I can't even remember what order this idea came together - it was such a flurry of excitement for me. I know I found that "dreams" key in my pendant drawer and realized that it needed some weight. That's when I remembered that large faceted bead that was in my JJB Secret Stash Box. The colors of it reminded me of the other crystals that were already in my own stash. And, I found the matte aqua beads and faux moonstones as well that should complement the pendant and help make a beautiful chain. 

I'm having trouble even remembering what outfit this was supposed to go with, but I know I wanted dark blue. So, I found the tin, cut the shapes, punched the holes, and sanded the edges. I picked out dark blue seed and faceted beads to finish the design.

One of the tops that I planned to wear (and didn't) is minty green with white flowers. I was going to pair it with black jeans. I didn't want any jewelry that might overload it too much, so I found this clear component (some old jewelry piece, I assume) and paired it with white and off-white beads that will make up the chain. 

I thought that if the previous necklace ended up being too busy for the shirt I had packed, I might as well have some simple earrings. So, I pulled out the pale green beads, gunmetal elements, and seed beads. This 19th design finished off the box.

I'm still so excited about some of these designs that I've started on them even though I've returned home and won't be traveling again for another month or so. I really enjoyed the inspiration of designing for actual outfits and will definitely be using that tactic again. I did pack some of my other jewelry for this trip. And, that was a blessing since I didn't get any of these made. I may share a post next week on what jewelry I packed and wore. We'll see. If you're interested in seeing more of my bead boxes stocked and their reveals, here's the full list of all fourteen.

Make Your Own Beaded Suncatcher

 As a Jesse James Beads Design Ambassador, I received one of the Secret Stash Boxes this month. And, it was PACKED with beautiful beads, pendants, and findings. One of the pieces in there was a large crystal that I thought might be too heavy for a pendant. It got my wheels turning as to what else that beauty could become. It didn't take long for me to settle on using it to create a suncatcher for a window in my sunroom.


And, it took even less time to pull it together. Really, the hard part was deciding what beads to include with it. 


All of the beads included in this project came from my own Secret Stash Box. But, who knows what could be in yours. Each box is different, but all of the pieces are curated to go together. It's such a FUN surprise.

Anyway, back to the suncatcher. Once I decided on the beads, I used fishing line, crimp beads, and a fishing swivel to complete it. You can watch my whole process in my Easy Handmade Beaded Suncatcher video.


I do mention in the video that you can create the suncatcher without the swivel, but I like to include it because it allows it to spin in the light more easily. 


It has brought a smile to my face every time I see it.


And, really, even if you don't have a big crystal from Jesse James Beads, you could use all kinds of things to create a fun hanging decoration with this technique. Tell me, what will you string up in your window?

DIY Emerald Earrings for May

I've been participating in the Pirate Pretties Jewelry Challenge from Angela of Pirate Pretties Jewelry for the last several months. This is a birthstone challenge in which we are given the birthstone(s) colors, a choice of metal types, a project type, and an optional fun element to include in one or more pieces. Here are May's.

Birthstone: Emerald

Metal: Gunmetal or Bronze

Project: Earrings

Fun Elements: Celtic or Crystals 

I made two pairs of earrings using these prompts.

And, I recorded my process for the Pirate Pretties Jewelry Challenge.


I begin the video with the easiest-to-make pair. They are simply made by stringing beads onto a headpin and forming a wrapped loop. I intentionally made them look like "May Flowers," using the emerald beads as the stems. I think they're pretty darling.


For the second pair, I broke out the heavier tools and chemicals as I worked with a piece of old cookie tin that was in the right shade of green. In the video, I walk you through cutting, sanding, punching, aging, and sealing the tin. This is all done before any beads are added. 


For both pairs of earrings, I used crystal clear faceted beads to meet the "crystals" part of the task. While I did use gunmetal findings in the second pair, I have to admit that the first pair is aged brass rather than bronze, but I think that's a small detail. 

Once again, I'm tickled to have had this challenge before me. I probably would not have brought these pieces together without the prompts from Angela. If you're interested in seeing what others made for this month's birthstone challenge, I encourage you to click the hashtag in the video title (on YouTube) or join Angela's Pirate Pretties Jewelry group on Facebook. She will have a picture of what she made in the group and everyone else is welcome to add their contributions in the comments of that photo. 

Are you seeing May flowers where you are, or will you try to make your own too?

Art Journal Videos in April

Here's my monthly roundup of the art journal videos that were shared on YouTube, but you have missed. 

Art Journal Spread - All My Love


Junk Journal Spread - She was Frightened

Art Journal Spread - #MMMApril22 - There is Nothing Simpler

Junk Journal Page - Be Brave and Do It

I don't know if you can tell in these little snippets of pictures, but I had a lot of fun with these. I'm even happier with the couple I already have up for May. Head over to my YouTube channel, and make sure you're subscribed!

May Art Challenges and Inspiration

Finding a good challenge always keeps me inspired and moving forward to try new things. And, I like to see how these challenges inspire others too, so I make sure to share them in one place in case anyone else wants to play along. Below are the challenges and inspirations I've found for this month. Which of them inspires you to make something new?


I'm starting with the ones that have their reveals the soonest. Some of these are in the next several days - so I encourage you to find out what the themes are for next month if this is too short of notice for you. 

  • The Be Creative Challenge from Terry of Tapping Flamingo on YouTube is set for its reveal on the 13th (of each month). For May, the theme is Flowers. You are welcome to interpret this inspiration in any medium you wish. This is a video reveal with the hashtag #BeCreativeFlowers so that those participating can find one another. 
  • On the 15th of each month, there's the Pirate Pretties Jewelry Challenge reveal from Angela. This is a birthstone-inspired challenge in which for this month, we were challenged to use the color emerald, gunmetal or bronze metal, make earrings, and (optionally) use the fun elements of Celtic and/or crystals. If the 15th is cutting it close, you can start on June's challenge of using the colors Pearl or Alexandrite, silver or gold metal, make a necklace, and (optionally) included a bold pendant. Your reveal can be on YouTube and/or in the Pirate Pretties Facebook group. 
  • Another strictly-jewelry challenge is the Honey Do List from Sarajo and Eric of SJ Designs Jewelry. Each month, Eric provides a picture as inspiration for the month. The reveal is set for June 3rd when Sarajo will have a linky tool up for you to share your post. In fact, you can probably still find last month's linky tool open if you find some inspiration in April's photo from Eric.
  • If you'd rather just have a palette to work from rather than a whole photo, Halcraft Collection has their Pretty Palette Inspiration that they share each month. I believe this challenge is open for the whole month, but you can find all the information on their site.
  • If you're more interested in art journaling, check out Mixed Media Menagerie. It's a challenge on YouTube and Instagram that gives you three prompts to work into a mixed media piece. This is hosted by Nicole Watson Art, Erin DeCoste, and Laura Mixed Media. For May, the prompts are soft pastels, watercolors, and florals. You can participate in the tag-a-long by using the tag #MMMMay22 on either (or both) YouTube or Instagram. You have all month to play along.
  • Lastly is the #4Core challenge from Ina Solsbery on YouTube. Toward the beginning of each month, Ina reveals what she made for the previous month and shares what the "Four Core" ingredients are for the current month. This is a 3D or 2D mixed media challenge. (Ina is an amazing assemblage artist and has kept me inspired through my 100 Day Project.) The four parts for this month are 1-theme: related to light, 2-vintage or rustic style, 3-add a black and white pattern on one element in the piece, and 4-include something traditionally found in the kitchen. Ina does a fantastic job of explaining and giving examples of these at the end of her April reveal video. If you're interested, I encourage you to watch and play along. 
I know there are plenty more challenges out there that I'm probably leaving out. Please share them in the comments!

Reveal for April's Honey Do List

We're on vacation this week. It's really a staycation because we have loads to do around here and enjoy our area. So, we're not going too far from home. As such, I'll likely still be creating almost daily and trying to share on social media too (hence this post).  As of late, I've been on a real kick of combining tin shapes with thick-gauge wire and other little tidbits. And, this is totally the fault of the Honey Do List Challenge from Sarajo and Eric of SJ Designs Jewelry. 

The inspiration photo (above) from Eric this month really struck a chord with me in terms of how pretty it is. But, I struggled to come up with jewelry inspired by it. Finally, I made myself look hard at it and decide what it was that appealed to me. I realized that I was drawn to the patina and age of the sun as well as the golden yellow hue running from it. All of a sudden, I had an idea, or at least something new to try.


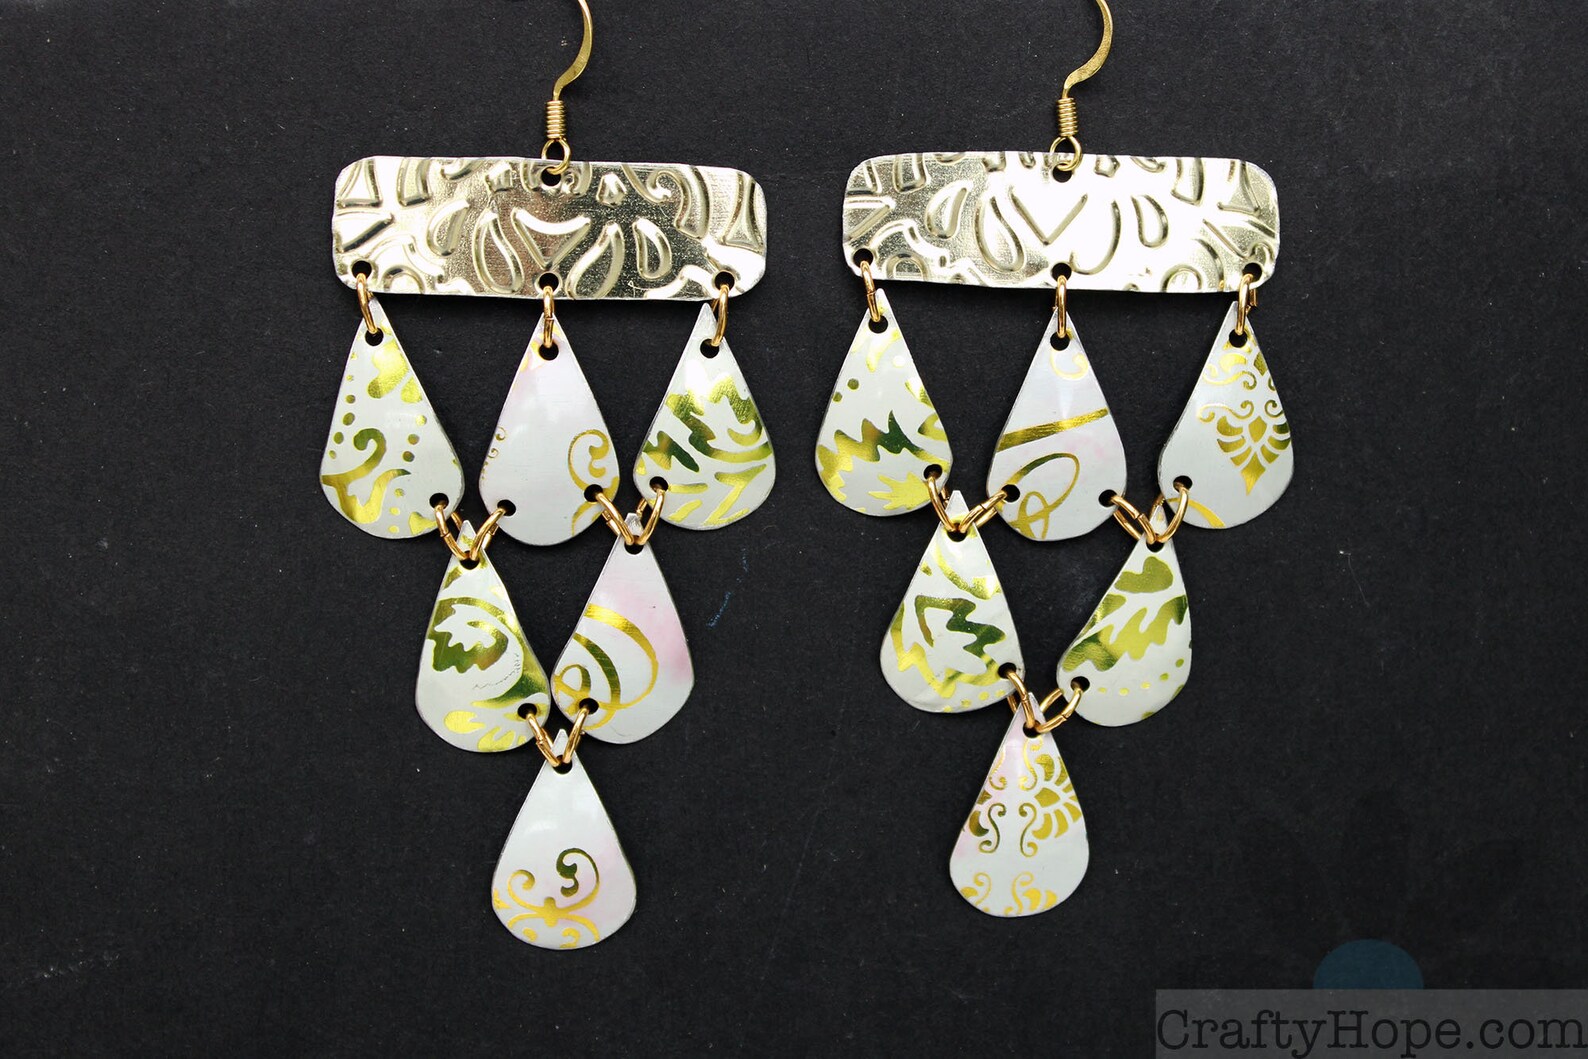
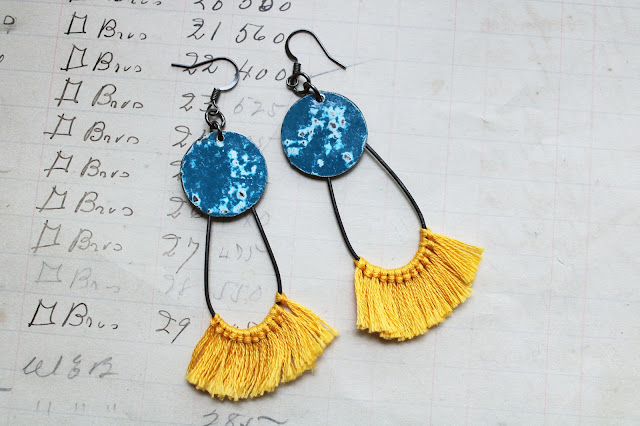
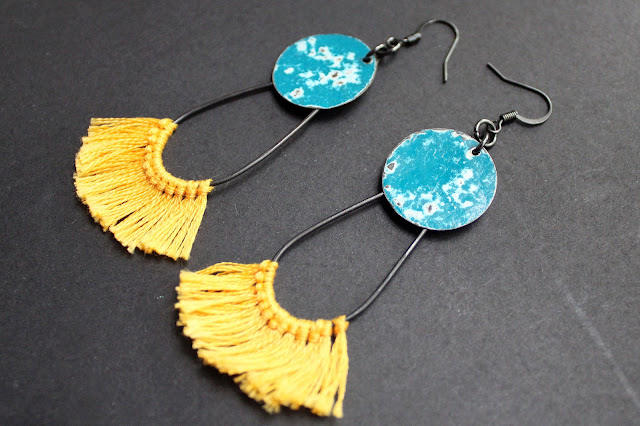
I found the teal discs already cut out in my stash. From there, I used a texture hammer, a sanding block, and Novacan black patina* to give the tin some age. Then, the wire was shaped, and I added embroidery floss fringe in a striking mustard gold. (Something about the little golden tassels reminds me that it's also graduation season.)


I'm absolutely smitten with these earrings and even wore them the whole rest of the day after I made them.

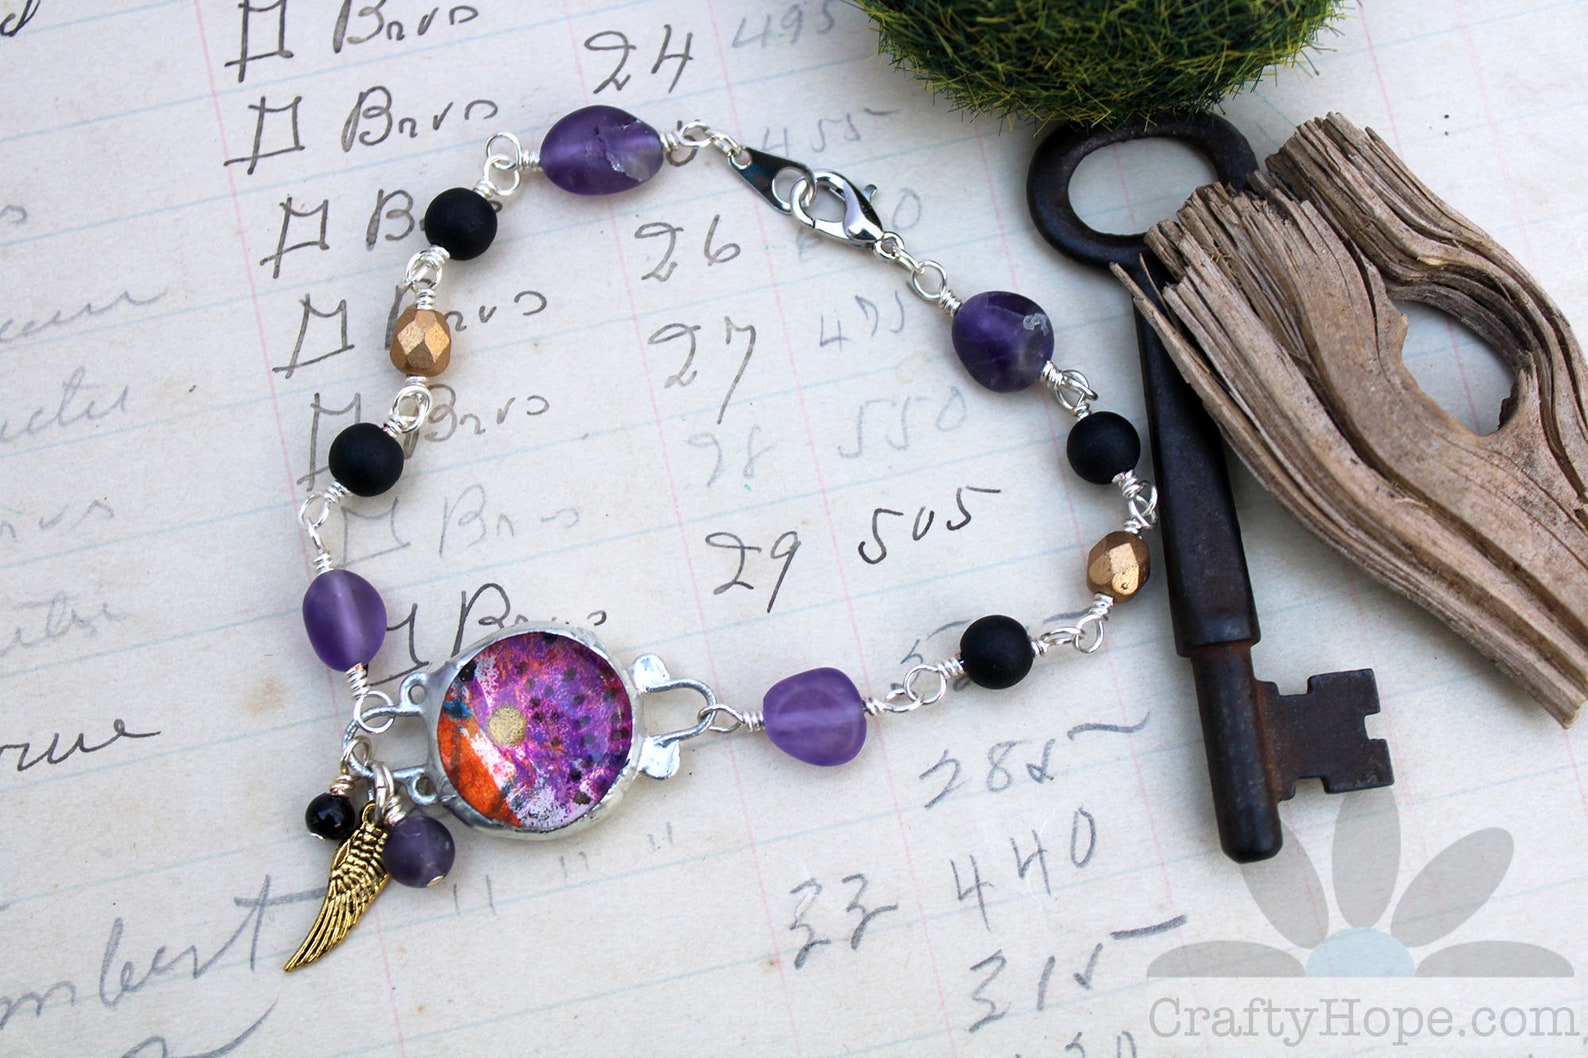
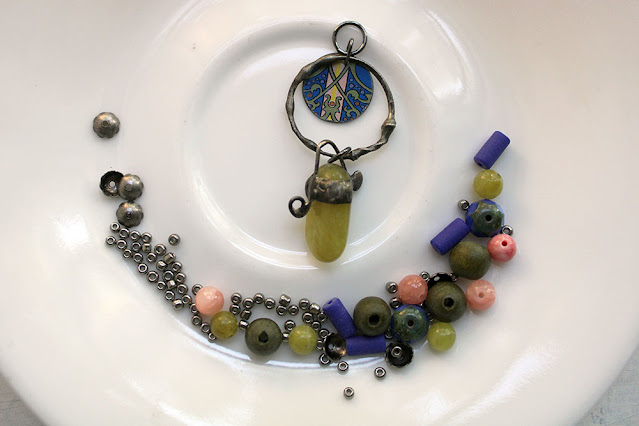
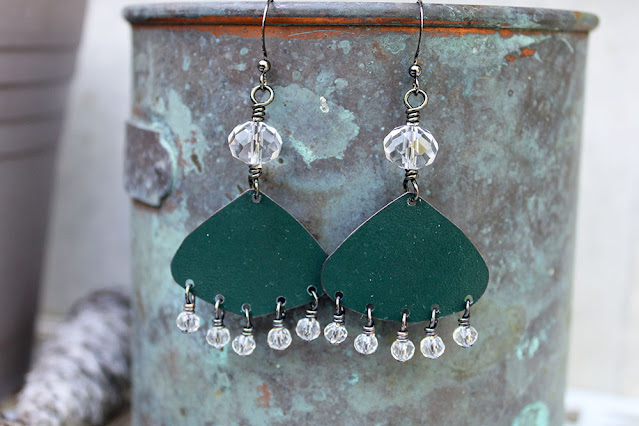
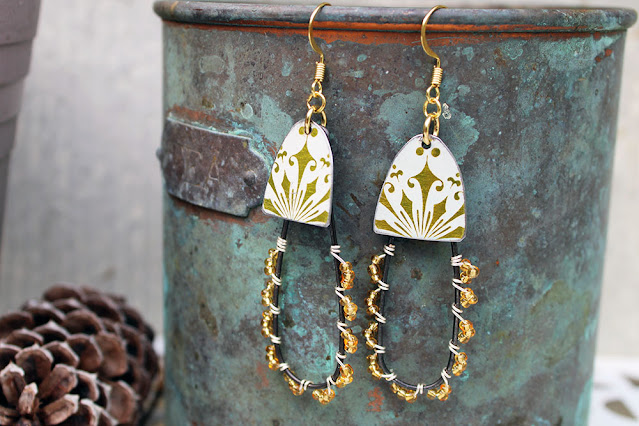
And, they got me wondering about other takes on this idea. So, I cut more tin, shaped more blackened steel wire, and wrapped beads along the wire.

LOVE THEM!

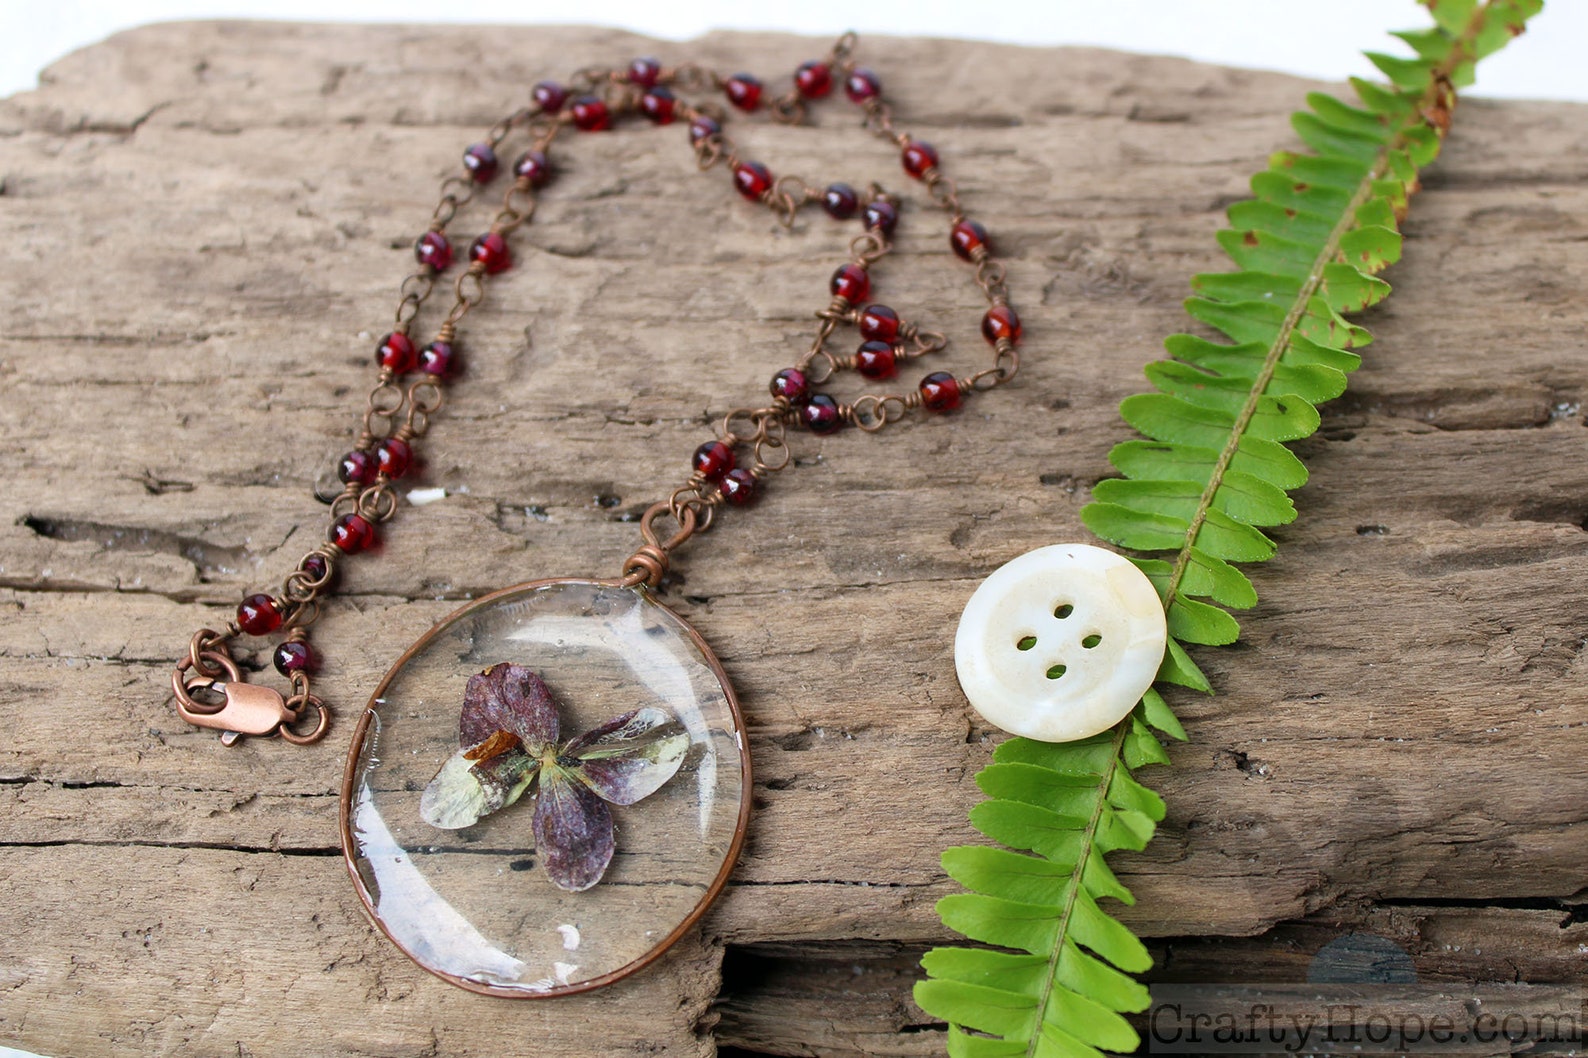
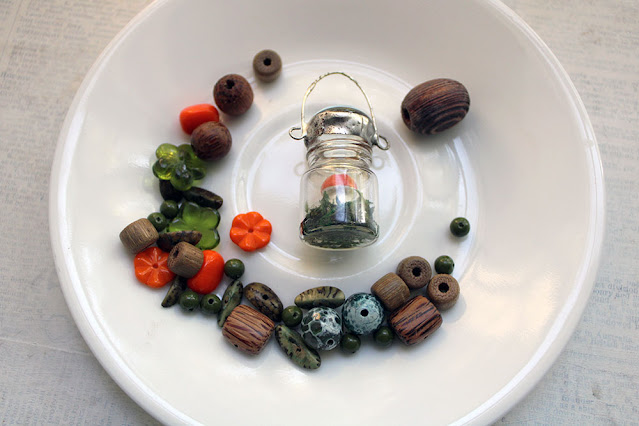
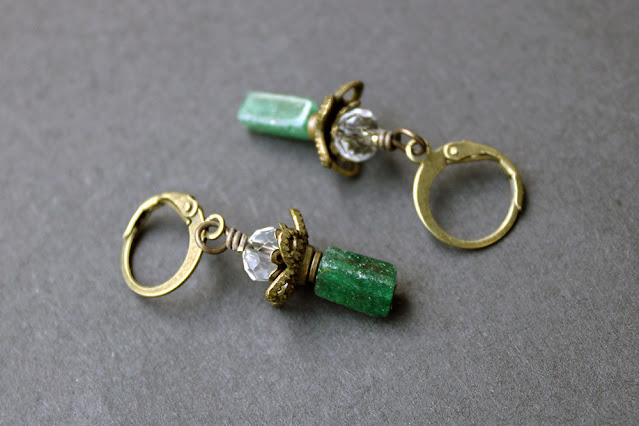
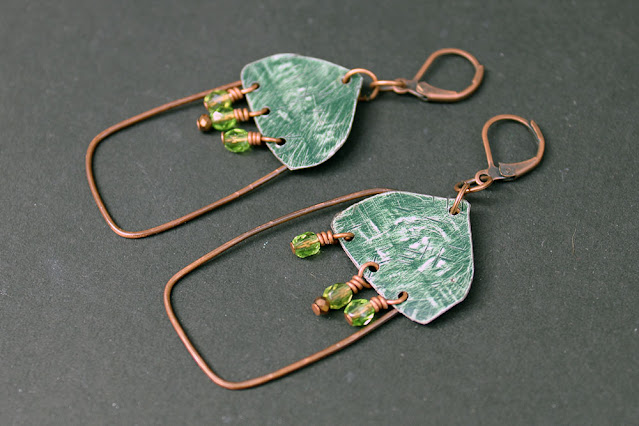
Needing to make more, I turned to my copper wire for a different look. And, I decided to try dangling beads from the tin.


I had two small snippets of that copper wire left on the desk that were mocking me, so they became stems that are riveted onto a couple of tiny mushroom caps.


And now, I want to make a whole line of earrings (and maybe pendants) that combine tin, wire, and who knows what else (probably more beads.) All this snowballed from one inspiration photo. Granted, only the first one has anything to do with the inspiration, but the rest wouldn't have happened without that photo. So, I'm sending a big THANK YOU to Sarajo and Eric for the inspiration. As well, I encourage you to head over to SJ Designs Jewelry to see what Sarajo and the other artists made! Maybe you'll get inspired too! Now, it's back to "vacationing" for me.

*As an Amazon Associate, I earn from qualifying purchases.

The 100 Day Project 2024

Yesterday, the 100 Day Project for 2024 started (it's not too late to join in!!) I mentioned last week that I would give you a heads-up ...