Gothic Pieces for the October Art Elements Theme

There's something special about the monthly theme challenge at Art Elements. Each time the theme is announced, it feels almost magical - like the amount of possibility and inspiration contained within that single theme is boundless. It never fails to spark something in me, but I'm not always able to keep time from getting away from me. I was fortunate this month in that I pressed myself to get to the two ideas that came to me for this month's Gothic Theme from team member Jennifer. This challenge is open to any medium and really any interpretation. Jennifer pointed out Gothic architecture and literature, but also that it could go in any direction. I felt pulled toward the architecture immediately and used it to inspire my two pieces. 

This art journal spread includes a straightforward interpretation of Gothic architecture as I used an image of traditional gothic arches and transferred it into my journal using gel medium. 

I kept the whole spread subdued and aged-looking to mimic the ancient-ness of the gothic style. 

To get the "age" on the page, I used coffee to dye parts of the page and even the pieces I used in it. As well, crackle paste was employed. 

You can watch the magic of my whole Image Transfer in an Art Journal process on YouTube.


It came together just as I had hoped. 


I struggled more with my second piece. Instinctively, I knew I wanted to use this elongated chandelier crystal because the bottom portion reminds me of the spires that you often find on the top of Gothic-style churches.

And, to continue the goth/gothic theme, I soldered and darkened the top of it, planning to simply use some black faceted glass beads to make a necklace. However, I felt driven to add something more and bulk it up a little. I stumbled onto these old jewelry pieces that had a little of the gothic arch to it and altered the one on the right with Vintaj Patinas in hematite and onyx to more fit my theme.

From there, I started adding the beads to the altered cab, but the more I worked with it, the less I liked it. I had to make myself stop and sleep on it, even though I knew I was running short on time. The next day, I thought a bit more about the design and suddenly remembered some funky cameos that I bought last year. It took some searching to locate the Crypt Cameos from Tim Holtz, but they're perfect!

As you can see, the necklace is still a work-in-progress. I'll likely have to get more of those black beads to make the necklace as long as I want(which is really long.) But, that's not a problem. I'm just glad I got the pendant issue sorted. 
It's going to be a beauty of a necklace when I get done with it!

And, those are my contributions for this month's Art Elements theme challenge. You can find the other contributions in the October album in the Art Elements Community on Facebook

Don't hesitate to let me know if you have any questions about either of these pieces. And, let me know if you played along with this challenge. I'd love to see what you created.

Reveal for the October Honey Do List

Each month, Sarajo of SJ Designs Jewelry and her husband (Eric) share the inspiration photo that Eric has given her. They call it the "Honey Do List." It's been a great jumping-off point for me for years. I've been a little creatively stuck for a few weeks now, so this challenge was a blessing this month! Eric made sure the inspiration photo was perfectly creepy for October. As soon as I saw it, I knew what beads I was going to use. So, that got me started.

I have two sets of carved skull beads in my stash. The bone ones above and some stone one that I actually used for the Honey Do List reveal in June. I did consider making something similar to the June pair (with tassels and everything) but decided to challenge myself and go in another direction.


Since Eric's photo has a touch of a red hue in it, I knew my earrings needed to also have some red. So, I selected the crimson faceted glass beads.

To make the earrings a little more feminine, I decided to add the rhinestone spacers. For some reason, gold called out to me. And, as I fiddled with their placement, I realized that the spacers kinda looked like crowns on the skulls. I went with that and added gold bead caps to help the spacers flow. Matte black glass beads were also added to help secure the beads and cover some of the larger holes.

And, that was as far as I got for this month's challenge. I'm glad I'm starting to feel my mojo again and have to give big thanks to Sarajo and Eric for that burst of inspiration. Make sure you go check out what Sarajo made for October's Honey Do List. And, there will be a link so you can visit any of the other artists who participate in this inspiring challenge. As well, you have time to make and share what the inspiration photo prompts you to make too!

DIY Stamped Halloween Lamp

Confession: I have a thing for Halloween. I don't know if it's because it's a week after my birthday, or the childlike fun of it, or the creepy-cool elements, but it's definitely on my shortlist of favorite holidays.  Those spooky elements (minus spiders) really tickle my fancy. As such, I'm often picking up craft supplies post-Halloween then stashing them away for a year to forget about them until the next All Hallow's Eve. I decided to break out some of those supplies before I forgot about them again and create a fun little decor piece.


A few weeks back, I picked up several mini lampshades at the thrift store after seeing a tutorial from LorriMarie Jenkins on YouTube. I finally decided to get off my butt and make something with one of them. 

You can watch all the steps I took to create DIY Stamped Halloween Lamp on YouTube.


Here, I'll just show you some of the pictures of the results and give you a little info about how I made the lamp.

The first thing I did was to dismantle one of the thrifted lampshades and spray the skeleton frame of it with matte black paint. Then, I traced a template of the inside of one of the sections and cut it out so I would know what size of a stamp would fit in them. 

Once I selected my favorite six stamps (all from the Recollections Brand from Michael's), I used a stamping platform and Staz-On Ink to stamp them onto off-white cardstock. 

I crumpled the paper to give it a grungy texture before watercoloring the outside of each of the images. Once the watercolors were dry, I tore out the images in a similar shape as the template I had cut. 

The edges were inked with Distress Oxide in Black Soot and blended in. Then, I used sparkly sprays in Gold and Silver to add a shimmer to them.

After everything dried, I used napkins to coat the front and back of the paper with vegetable oil. I did two coats. This helps make the paper more transparent. You could use any oil or even resin (if you have more patience than me.) 


Then, I punched holes at the top and bottom of each paper and used twine/yarn to tie them to the frame.

I also inserted a battery-operated candle into the tension bars inside the lampshade so that I can light it up!


The colors don't show up in the dark so that the paper looks like something similar to stretched skin (for that uber-creepy factor.)


It was a really fun project, and I can't wait to decide how to use the other lampshades!

Please don't hesitate to let me know if you have any questions about this project. 

Have a Happy Halloween!

*As an Amazon Associate, I earn from qualifying purchases.


Shop CraftyHope on Etsy

Slowly but surely, new jewelry is popping up in the CrafyHope Etsy Shop. Let me share just some of what you'll find there to maybe entice you to go take a better look!
Carved Stone Tassel Earrings

Boho Fringe Necklace

Violet Arch Earrings

Breathe Bracelet

Soldered Colorful Turquoise Necklace

Monarch Tassel Earrings

Altered Tag Necklace

A few of those are just perfect for the Halloween and Fall Seasons so I encourage you to grab them while the time is right. If you have any questions about any of the pieces in the CraftyHope Etsy Shop, please don't hesitate to ask!

Peek at My Week (Oct. 11 -17)

There was definitely a bit more creativity this week as I've been looking more toward getting inspired and accepting change. 

Sunday began as most of my days do, in my little daily doodle book and in my bullet journal.

From there, I helped Pat clear more of the debris in the yard, and this guy appeared.

He helped me remember that everything evolves from some sort of change. Losing trees, a building, and Pat's studio space has been rough, but it's also given us the opportunity to change our landscape into something that is more us and meets our needs better.  So, I'm coming to terms with it.

Monday was our anniversary and (like all celebrations this year) was super low key. As we're starting to feel the change in the weather, we woke to a foggy morning.

Since it was also a holiday, I  didn't bother with my usual Monday errands and chose instead to take care of a few business tasks and brainstorming. 

I even went back to look at last month's Honey Do List from Sarajo as I had had an idea for that one before everything went sideways. So, I played with a lucite flower and some alcohol inks to see what they would do together. 


I'm not sure what I'm going to do with that little flower, but it was good to make something new. 

For our anniversary, we ordered take-out Mexican. It was nice not to have to cook.

It was delicious!

I was off and running on Tuesday. I started the day with the errands I had neglected the day before. But, I had to stop and admire the variety of pumpkins at the farm market.

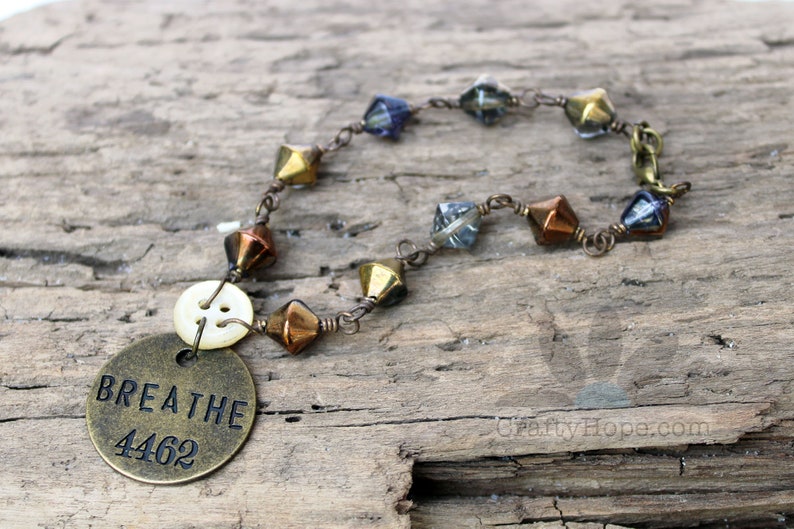
In the afternoon, I worked on making some beaded bookmarks for the new orders I received.

Once those were done, I turned my attention to a Halloween project.

I hope to share the process and results next week!

Much of Wednesday was spent on the above project and packing up Etsy sales. 

Thursday was all over the place! I managed to dip into my art journal for a bit, but it was as chaotic as I felt.

Zoe and I took a walk down the road to look for wildflowers. I've seen loads of big bunches along some of the main roads, and wanted to see if I could find some on my own. I lucked up.

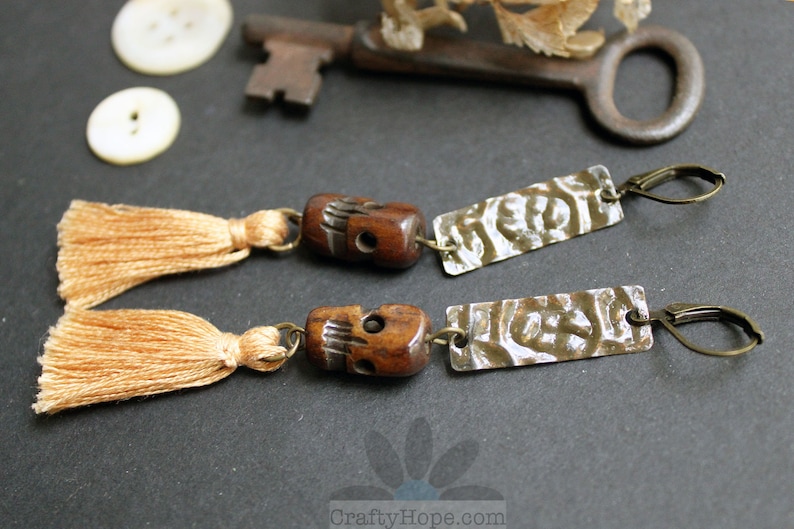
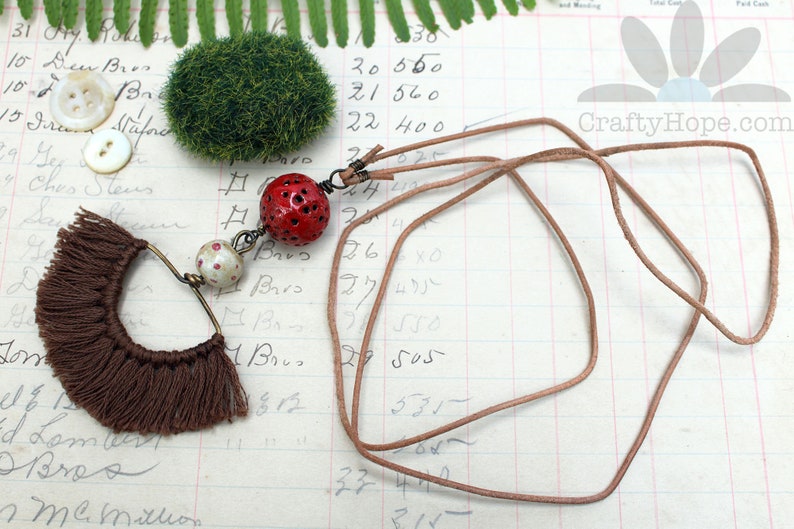
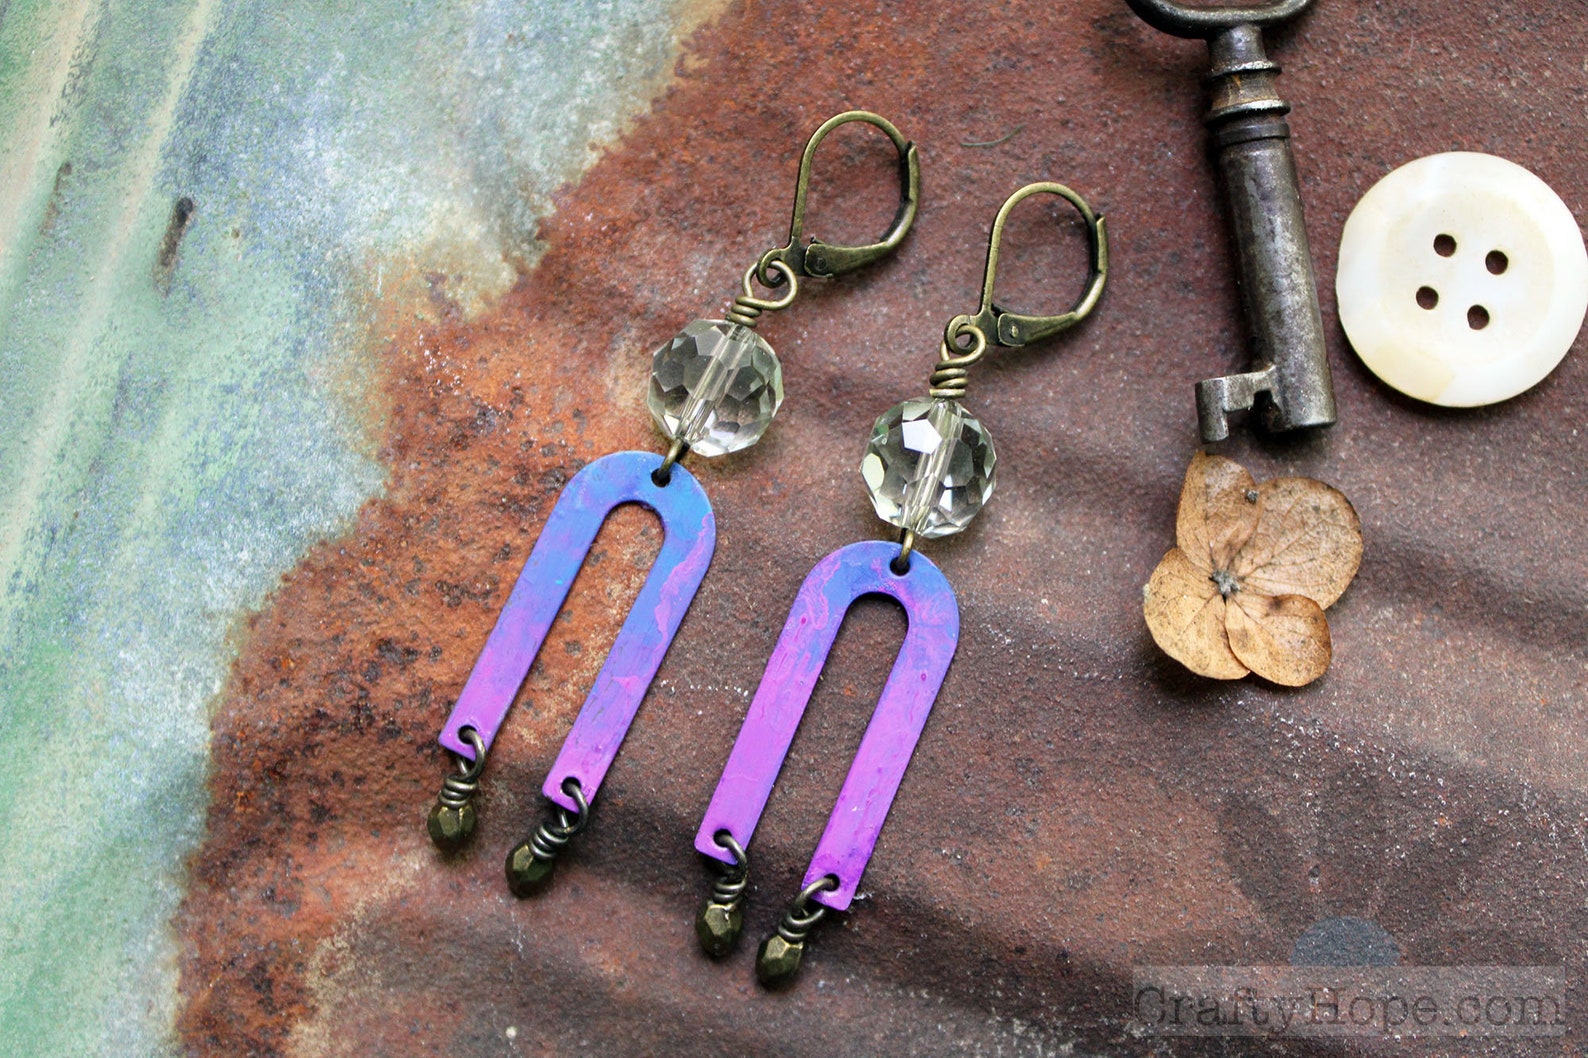
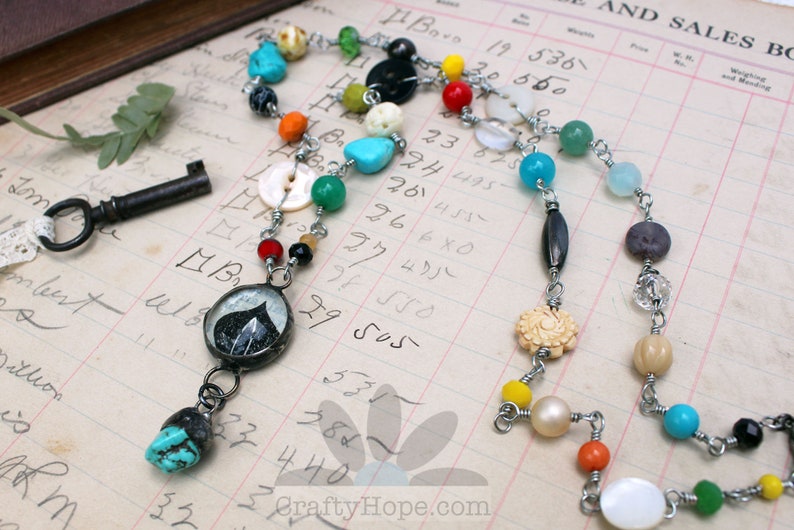
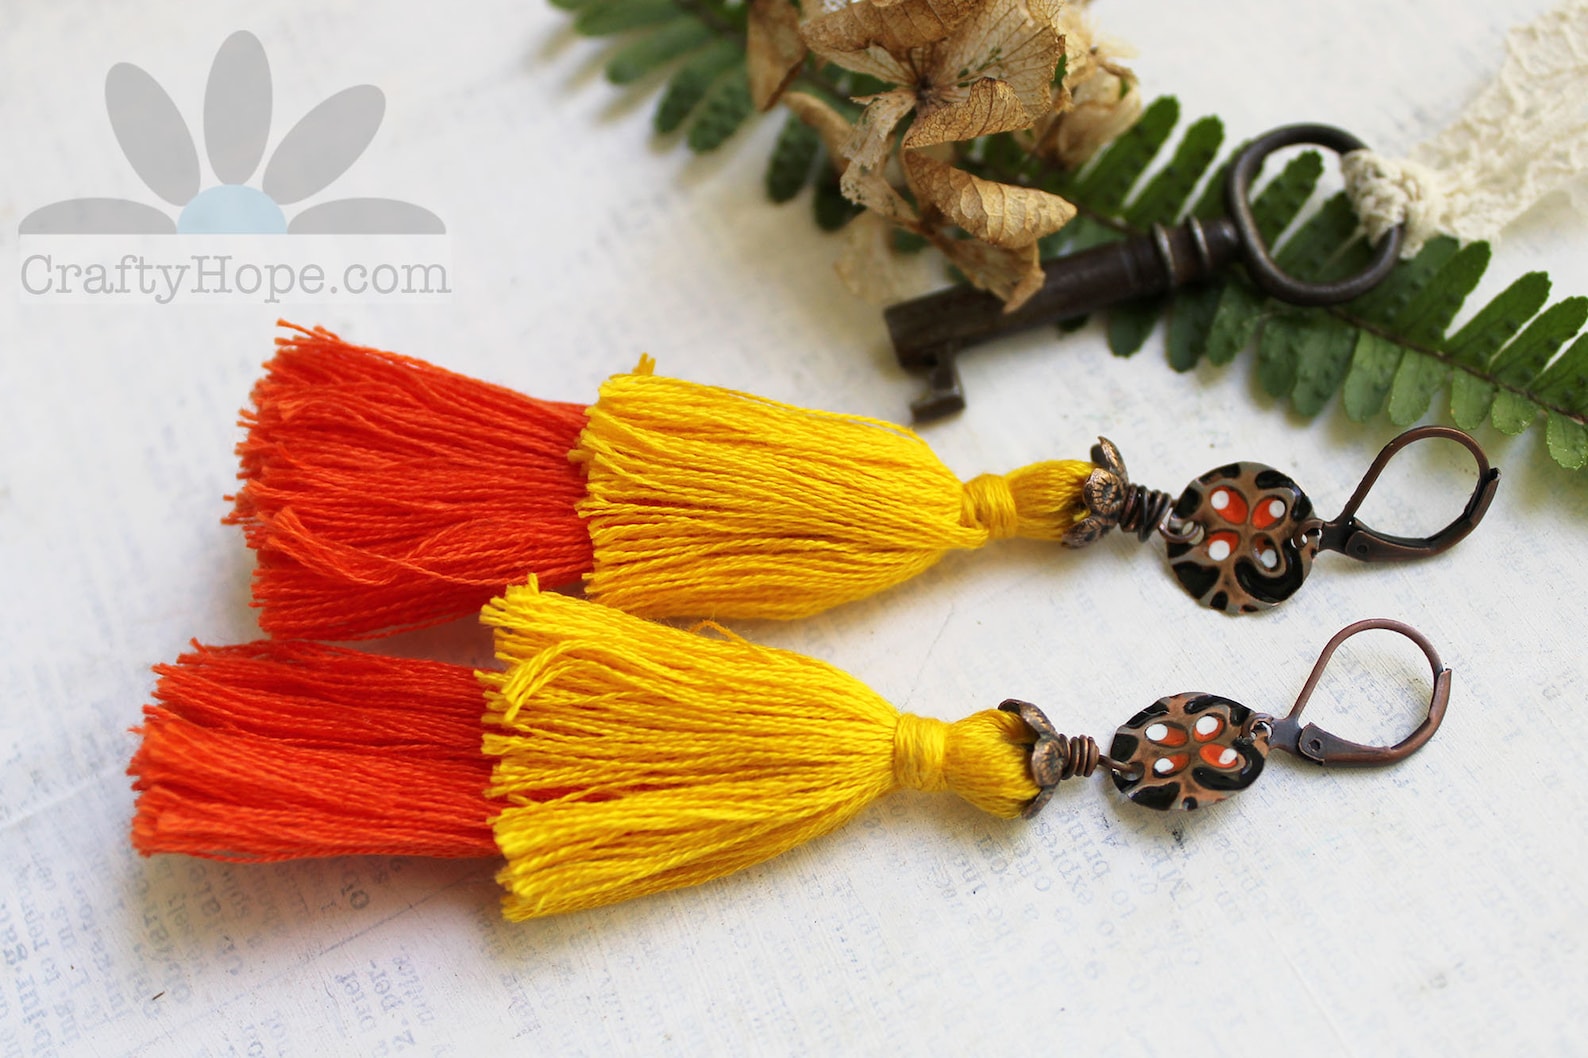
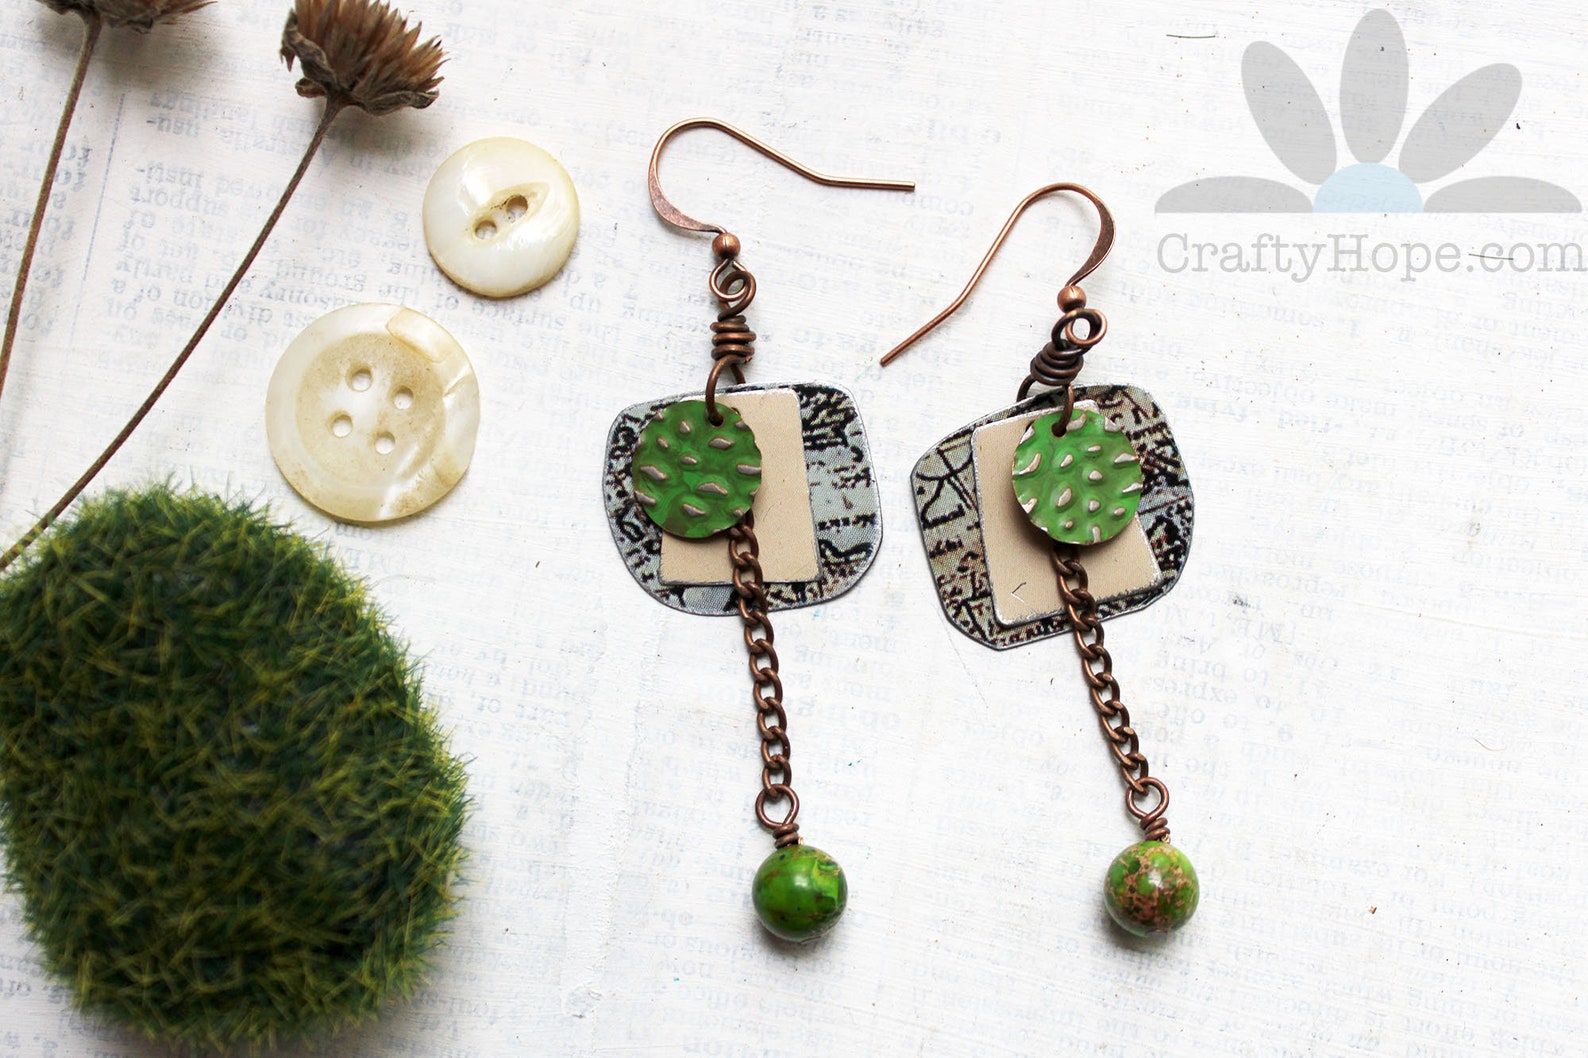
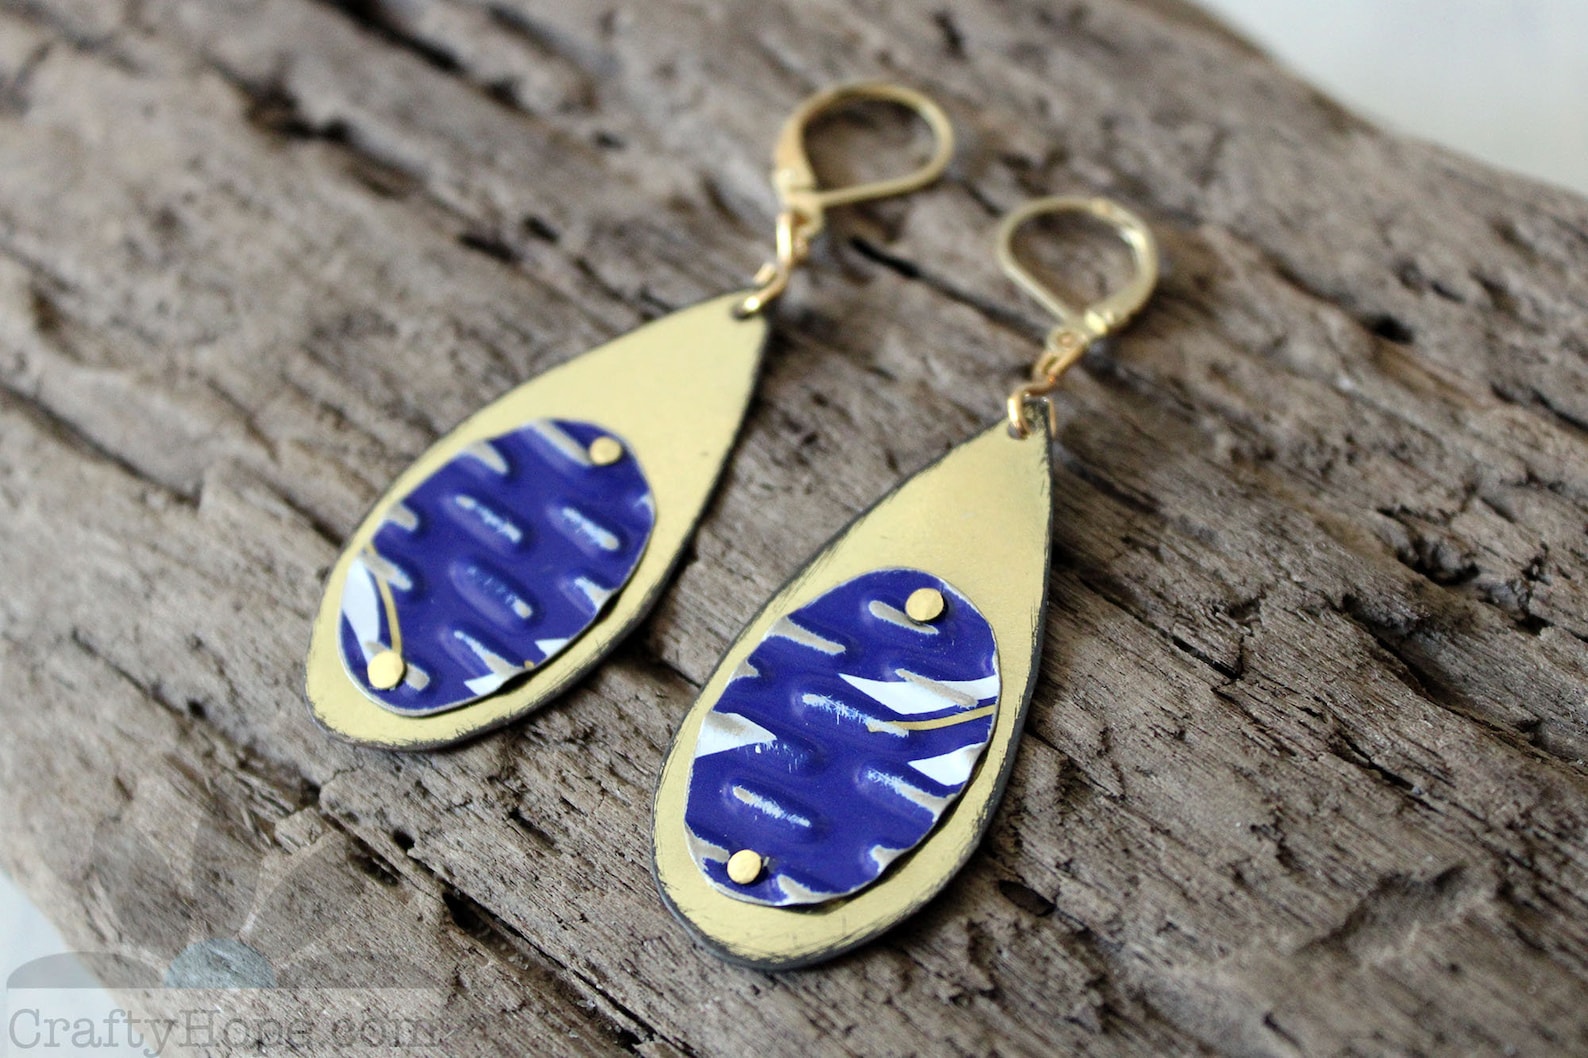
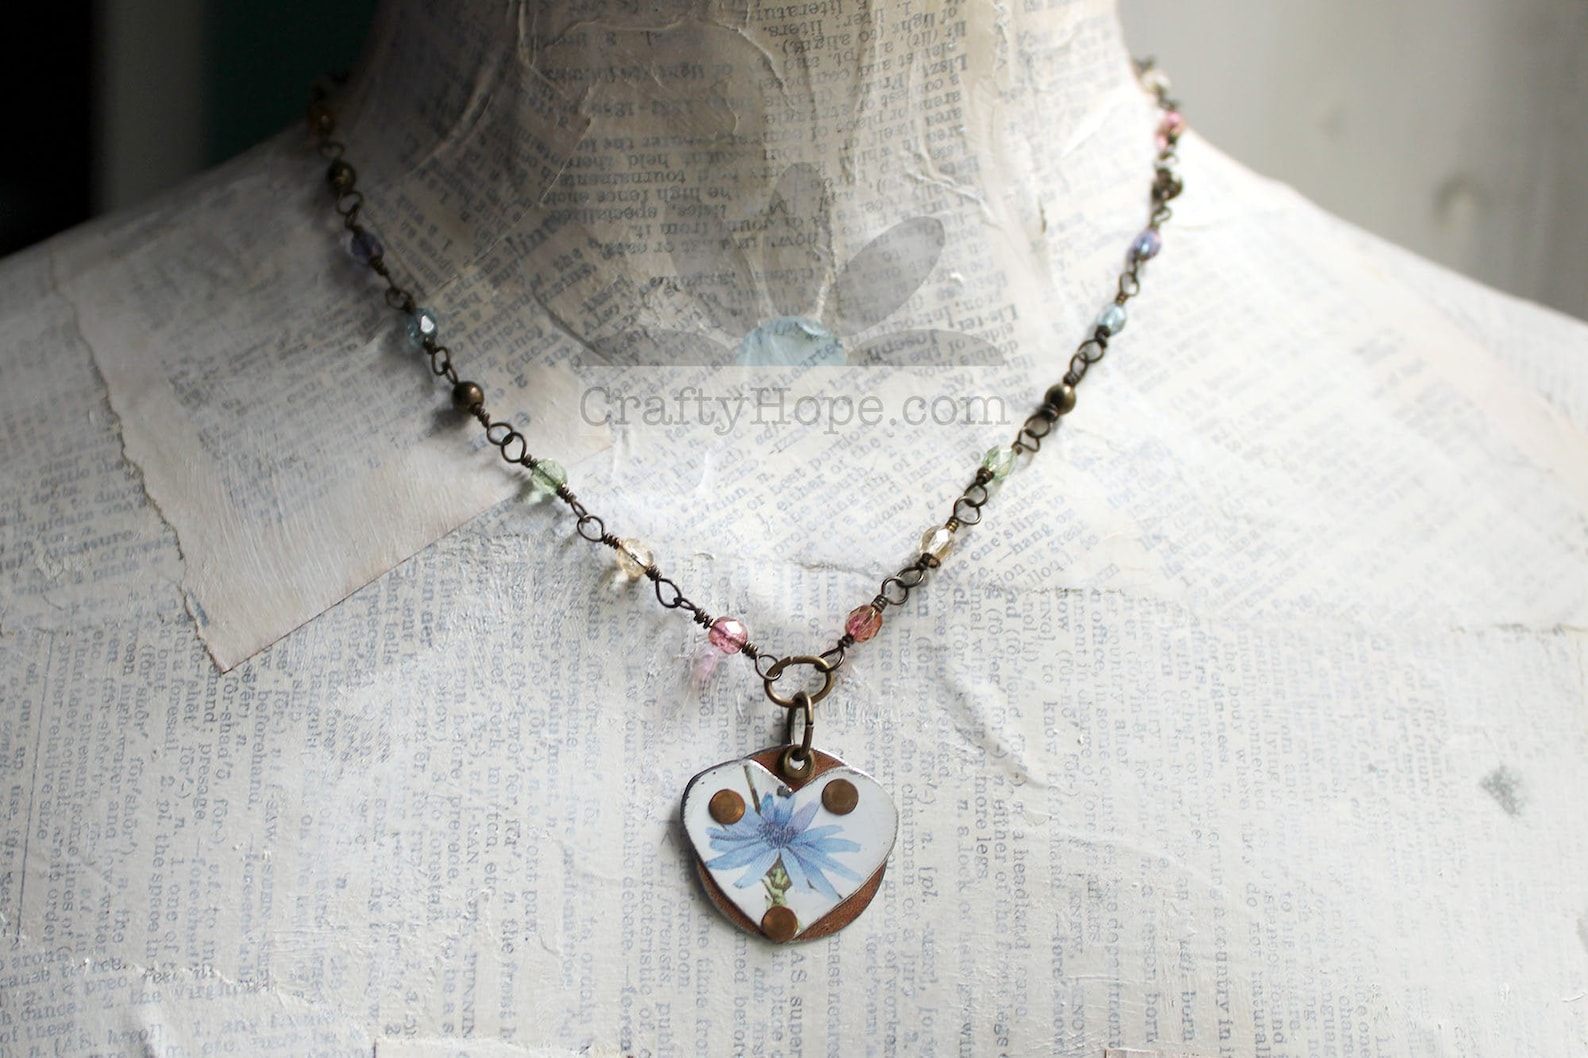
I felt like I needed to try to get some jewelry made, and worked on a design.

My niece in Mobile was scheduled to get her senior portraits done Friday afternoon. Since I was the one taking her, I decided to head over and visit a little before we went to the studio.
(Don't tell her I posted this. She'd kill me!!)

I rose before the sun on Saturday.

After finding all the wildflowers on Thursday, I felt the need to do a batch of eco-dye prints and busied myself with collecting flowers while Pat worked on more tree removal.

I also busted out an art journal page that felt a little more put together since I decided to stick with a monochromatic theme. 

That evening, we watched the Alabama vs. Georgia game with a friend to end the week.

It's been a beautifully inspired week. Here's some inspiration for you!
And, that's how my week went. It's my birthday week so I'm hoping to make the most of it. But, we'll see. I hope your week is full of all kinds of happy!

Breaking Down a Tin (for use in jewelry and other crafts)

Upcycling found and thrifted items has been a passion of mine for years. When I started seeing other artists using old cookie tins in their work, I was intrigued. It took me some time to figure it out, and I'm still tweaking my techniques. However, I've had other artists ask how I break down the tin, and I'm always happy to help.

I've got a quick video that shows the process in detail, but here you'll find a good look at the materials and steps. (I'll share the video at the end of this post too.)

First, here are the materials.

The tin of your choice (the shape isn't important), protective gloves, protective eyewear/safety glasses, heavy-duty tin snips, heavy-duty wire cutters, and my favorite tin snips

Let me go ahead and admit that my first step(s) isn't completely necessary to begin with and can be done at the end. But, I start by locating the seam inside the tin. 


Then, I use my heavy-duty tin snips to cut the rolled edge and down the side of the seam.

(Those are the steps that can wait if you want.)

From there, use your heavy-duty angled wire cutters to start pulling up (unrolling) the bottom edge. This is the part that might be best explained in the video. 


As you work around the tin, it may come loose from the bottom (some do, some don't).


Unroll all the way around your tin.


If the bottom doesn't come loose on its own, simply push it out.


From there, you can cut your tin down to size. (This might be when you cut down the side of the seam if you didn't do it to start.)


Alternately, if you can't or don't want to unroll the bottom edge, you can also use either of your tin snips to snip along it. However, I've found that that method wastes some of the tin and can be a bit cumbersome. But, you decide for yourself. 

Now that your tin is cut down, you can also cut down the lid, which I share how to do in the Breaking Down a Tin video.

And, if you're wondering what you can do with the tins you've cut down, here are a few examples from my Etsy shop of how I've used tins in jewelry.

Mossy Map Earrings

Tin Cone Necklace

Textured Tin Earrings

Flower Love Necklace

I hope you have some fun treasure hunting for tins around your house or at secondhand stores. Don't hesitate to let me know if you have any questions! And, please share what you've made with your old tins. 

The 100 Day Project 2024

Yesterday, the 100 Day Project for 2024 started (it's not too late to join in!!) I mentioned last week that I would give you a heads-up ...