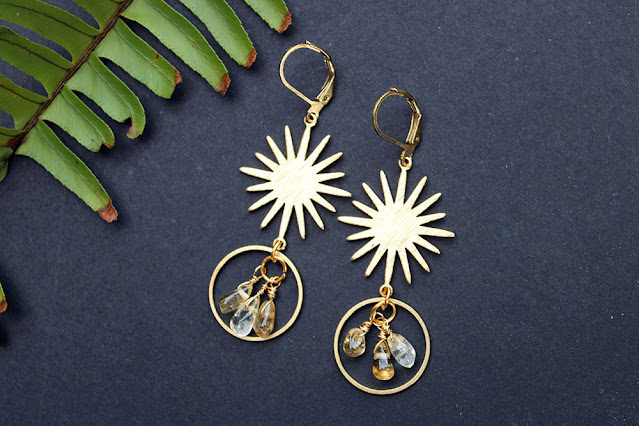
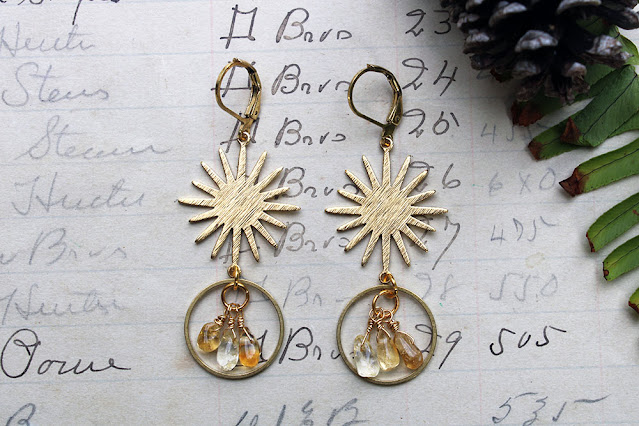
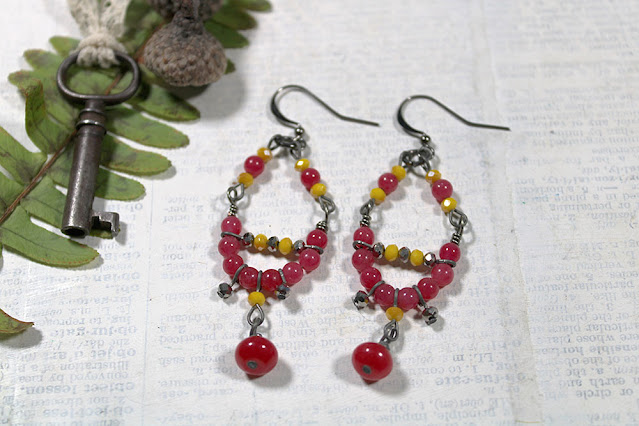
The fifteenth of each month is the reveal day for the Pirate Pretties Jewelry Challenge. This is a birthstone challenge from Angela of Pirate Pretties Jewelry. She sets several criteria that include the month's birthstone color(s), metal type options, a project type, and optional fun elements. For November, the colors are citrine or yellow topaz, the metal types are gold or bronze, the project type is earrings, and the fun elements are sun, moon, and/or stars. This is what I created with these prompts.
I was totally surprised at how quickly these came together once I discovered the citrine drops in my stash. I went straight for the sun connectors that I knew I had and found the rings nearby in the same drawer. Both of those elements are from Patina Queen.
I am well aware that I would have NEVER combined these elements without this challenge. The colors are too...matchy-matchy for my usual tastes. But, they work wonderfully in these earrings. That's the beauty of challenges like these. They help you think beyond what you would usually do.
I believe I have mentioned before that I'm doing assemblage art as part of The 100 Day Project. You can follow #Assemblage100 on Instagram to get daily updates on my progress. But, I'm also posting many of the completed projects as process videos on YouTube. In case you've missed any of that, here's what I've shared so far.
Those are the just ones I shared in March. There are already another couple of assemblage videos on the CraftyHope YouTube Channel this month if you can't get enough!
So much of the content that I've been sharing as of late has been either on Instagram or YouTube. I've gone a little video-making crazy. In fact, I'm posting videos on YouTube two-four times a week! So, you'll likely be seeing more of these types of posts that give you a rundown of what you may be missing. For now, here's a peek at some of the art journaling projects I shared last month.
It's been tough lately squeezing in some time for playing in my art journal since I've been consumed with my 100 Day Project. So, I've tried to make the most of each time I do get to play in these journals. Please don't hesitate to let me know if you have any questions about art journaling or my process! I can definitely make time for you.
Within the last several months, I discovered the Pirate Pretties Jewelry Challenge from Angela, who manages a Pirate Pretties Facebook group and YouTube Channel of the same name. I'm not sure how long she's had the challenge going on but believe that she facilitated one last year and has it going again this year. I mentioned it in my March Challenges and Inspirations post, but let me refresh you.
The challenge she has set out is a birthstone challenge. Each month's birthstone is the color for the month. In addition, she offers up a choice of metal type and a project type (necklace, bracelet, earrings, etc.). There is also the option to include a fun element/theme each month. The reveal date is the 15th of each month. You can watch her 2022 Challenge Announcement video to get the full details.
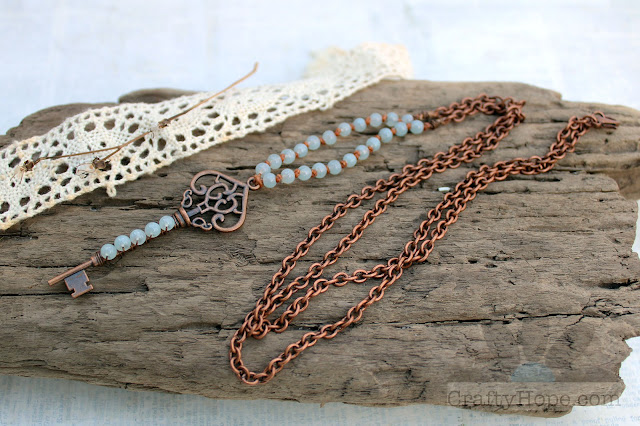
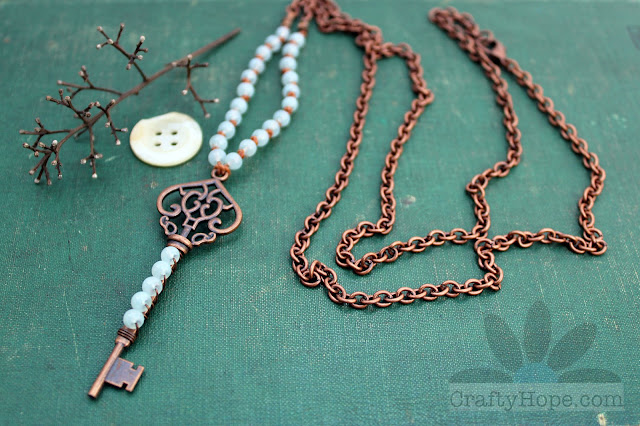
This month, the color was Aquamarine, the metal either silver or copper, the project type a necklace, and the fun elements either shells or fish. I chose not to work with the fun elements and substituted aquamarine gemstones for glass beads in a similar color. I do love what I created!
Since I discovered this challenge from other jewelry makers on YouTube, I made sure to create a video of my process with this necklace.
Let me go ahead and tell you, it was more of a struggle than I anticipated. I decided to string the beads onto waxed cord and knot between them. While I did test the size of the holes first, I found (during my recording process) that the hole sizes were inconsistent and some were too small for the cord. GAH!! I adjusted my design a little then and continued on to adding the metal chain with knots and some glue.
The knots did not hold. 😩😩
Once again, I adjusted my design. And, I ended up creating a necklace that's even more secure than the original design. All of this I recorded in the video.
I felt it was important to show watchers that sometimes you have to adjust your process and work with the little accidents that happen - that those little accidents can often become design and learning opportunities. And, in the end, I wound up with a beautiful necklace.
February was a busy art journaling month for me. I worked with three specific challenges that kept my YouTube feed full over the month. If you missed any of those videos, here are quick peeks at the finished products along with links to the videos themselves.
There are at least two creations in this bunch that are some of my most favorite things I've ever made. I hope you enjoy them too. Which are your favorites?
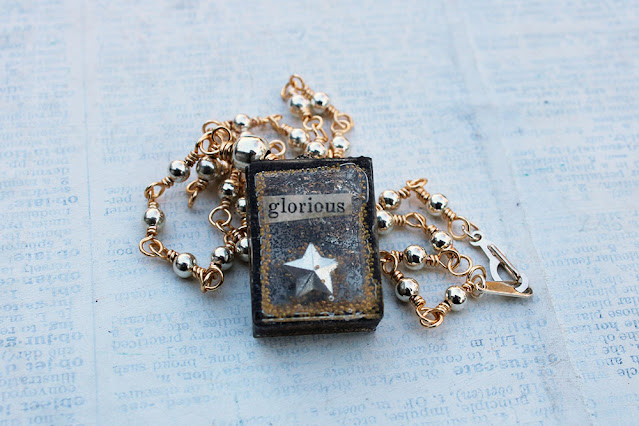
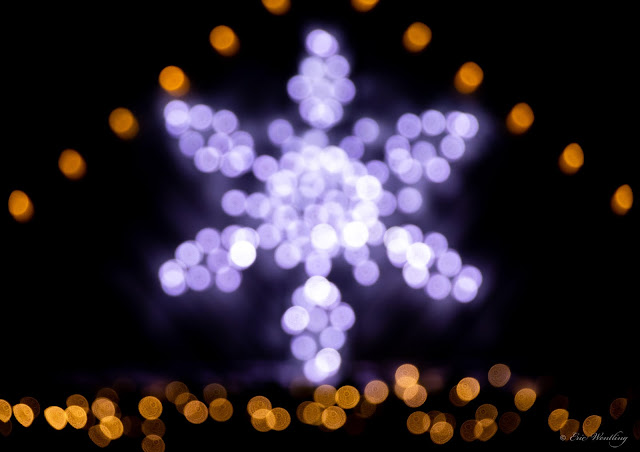
When I first saw the inspiration photo from Eric on Sarajo's blog, it was the star shape and the mix of gold and silver that struck me. But, I wasn't quite sure what direction to take with it.
I'm positive that "star" is really a snowflake, but this South Alabama girl just doesn't do snow. So, it's a STAR!!
After I picked up a new resin mold at the beginning of the month, I decided that this challenge might be the perfect opportunity to use it. In fact, I combined making it with Day 1 of #the100DayProject and my project of #Assemblage100.
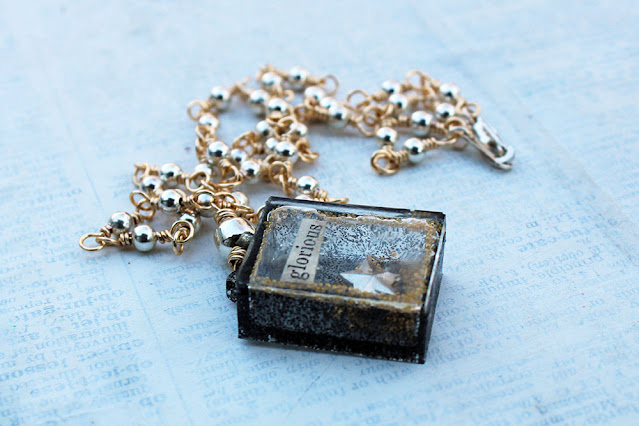
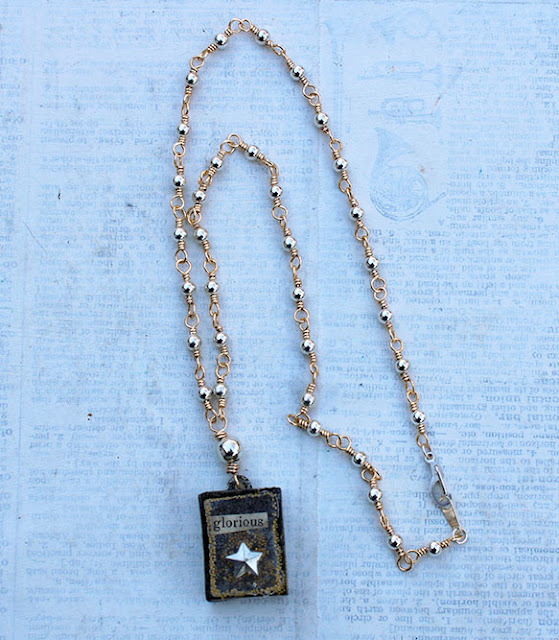
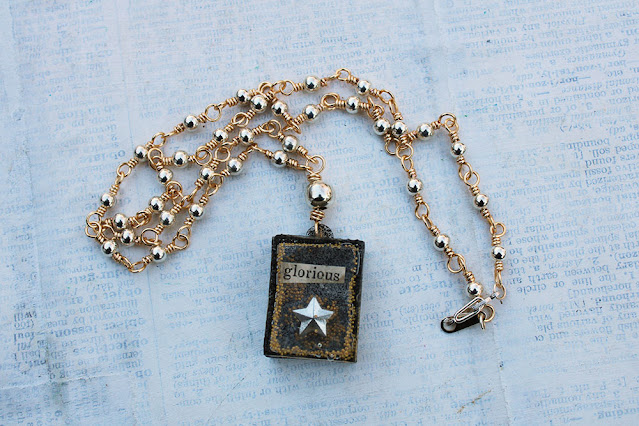
To begin with, I created the little resin box with some clear UV resin and fine black glitter. A silver star bead was "glued" inside the box with more resin. Then, I added tiny gold-colored balls into the box. The sentiment "glorious" was stuck to the inside cover of the resin box before the whole thing was sealed.
From there, I created a simple beaded chain with silver beads and gold wire.
I know I still have a little work to do on this technique but am loving the possibilities.
As always, my thanks go to Eric and Sarajo for the inspiration and opportunity to play along. I encourage you to head over to Sarajo's reveal for the February Honey Do List to see what she made as well as the reveals of any other artists who also took the challenge.
What would you add inside one of these little boxes?
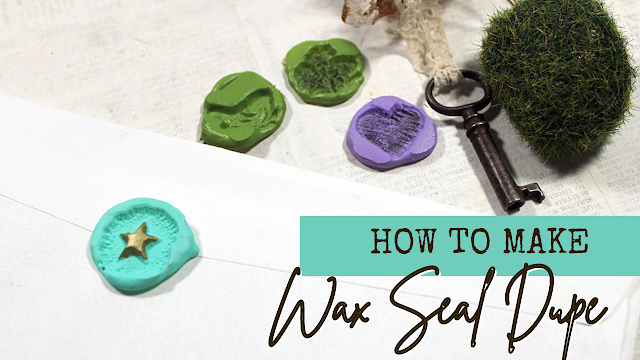
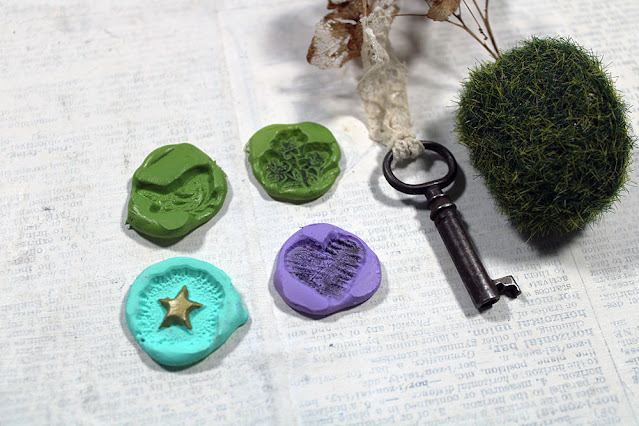
Just like in everything, certain craft supplies and techniques become "trendy." Almost everyone in the early 1990s had to have a bow-making form. More recently vinyl cutting machines are stocked in almost every household (mine included). And now, I'm seeing wax seals having their heyday again. I actually looked into getting some of the supplies needed (a variety of wax colors, melting spoon, spoon holder with candles, and the brass stamps.) I began adding all of them to an online cart before realizing that it was going to cost me at least $50 for this ONE LITTLE THING. I emptied my cart and decided there had to be another method that used materials I already have. And, I came up with this super easy process.
I'm positive this isn't a new technique - someone else out there has already thought of it. But, here's how I approached making my copycat wax seals.
Small rubber stamps (ones that you don't mind if they get damaged. I've linked to one option.)
Acrylic paint(s)
Paintbrushes
Optional: metallic marker
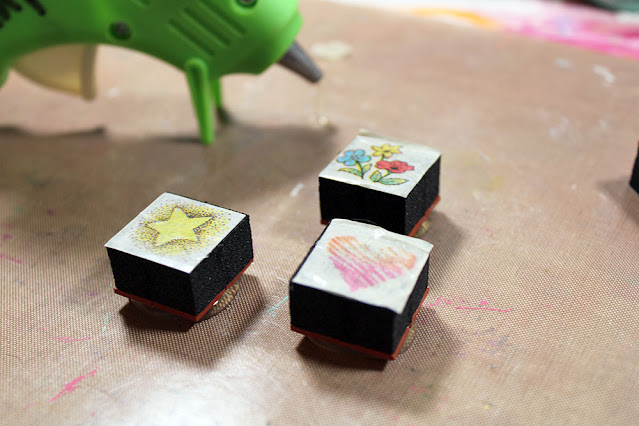
Once you have all your supplies, start by heating up your glue gun.
Then, squeeze out a fair-sized glob of hot glue onto your nonstick surface.
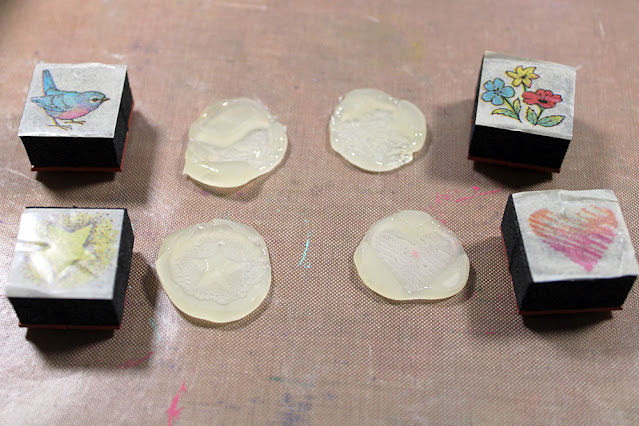
Press your stamp into the glue glob, making sure you don't press all the way down to expose your surface. Keep in mind that I'm using stamps that I don't mind damaging. I cannot ensure that this method won't hurt your rubber stamps.
While the glue gun is still hot, repeat with other stamps.
Once your glue has had a chance to cool slightly, peel your stamp from the glue. The glue itself may actually have to be peeled from the stamp, but it should come off easily.
From there, paint the top surface and sides of your faux wax seals with acrylic paint. You will likely have to use more than one coat. (The picture below is after only one coat.)
Allow your wax seal dupe to dry between coats.
You can use a dry brush technique or a metallic marker to help accent the design in your fake wax seals.
To help you get a better picture of the whole process, I created a short video on How to Make a Wax Seal Dupe on YouTube.
Now, you're ready to add your wax seal to an envelope, art journal page, or other craft projects. Just use a dab of strong glue to your seal and attach. You've got the look of a real wax seal without all the fuss of going out and buying new supplies!
Have fun with this technique and share your results with me here or on Instagram, just tag me @CraftyHope. Oh, and let me know if you have any questions about this process. How are you going to use your Wax Seal Dupes?
*As an Amazon Associate, I earn from qualifying purchases.
I'm still a bit behind on everything, so this month's list of art journal videos from me that you may have missed is short once again. But, I have to say that they're all three stunning.
Clicking on the pictures and/or captions should take you to each of their videos. If you have any questions about the videos or art journaling, I would be happy to answer them!
Make sure you're subscribed to the CraftyHope YouTube Channel and click the bell to receive notifications so you don't miss any new videos. There's actually a new video up over there today!
It's a new year full of new challenges in so many ways. Right now, I'm finding it challenging to stand upright (but that's my own fault for falling down.) As I heal, I'm looking for ways to stay creative and inspired. This is the seventh year that Sarajo and her husband, Eric, are offering up monthly photo inspiration on her blog and calling it "The Honey Do List". Though this month's inspiration photo is full of pinks (not my usual color), I am absolutely thrilled with what I created!
I even have a whole tutorial for this necklace at the bottom of this post and a few other designs, but let's talk a bit more about the challenge first.
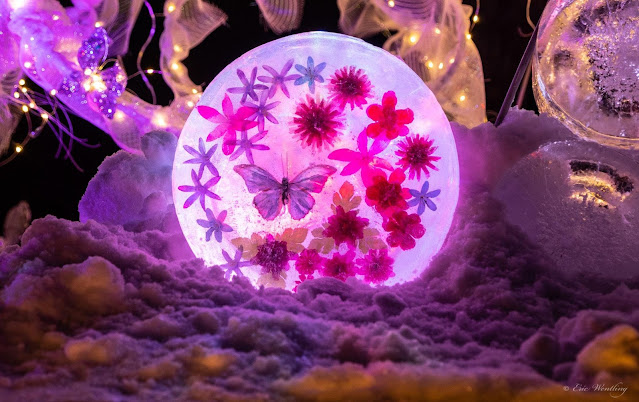
Here's the photo inspiration from Eric and Sarajo.
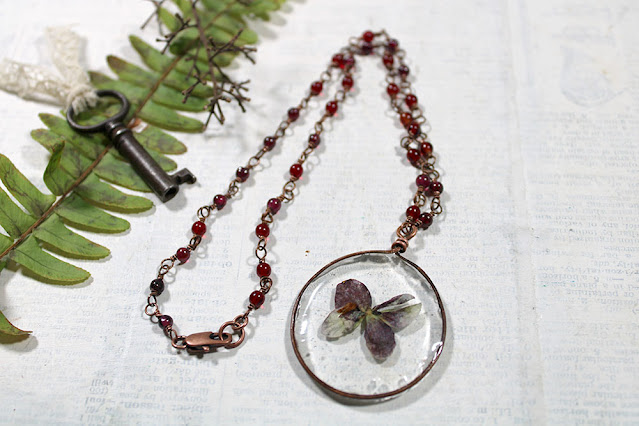
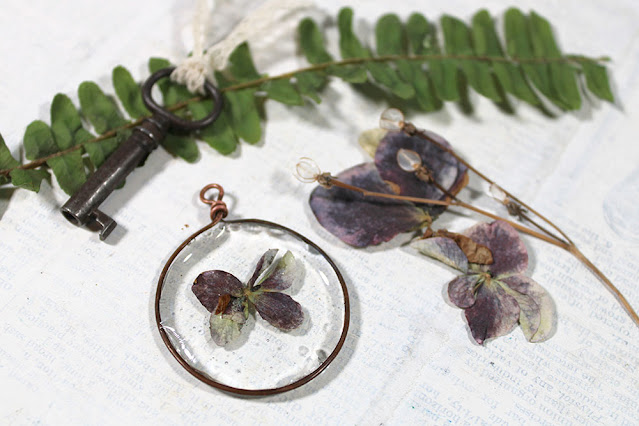
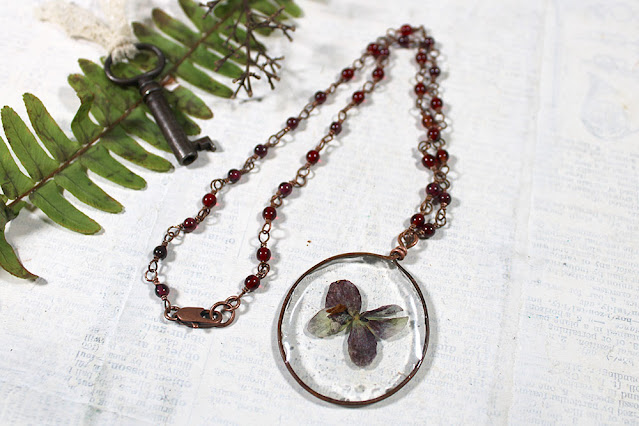
See what I mean about the pink? But, the dried flowers and the butterfly stuck in my brain. When I was sorting through a few things from my craft room, I stumbled upon a dried hydrangea flower that just happened to resemble a butterfly. I knew I HAD to feature it for this challenge. And, an idea bloomed.
I wanted to suspend the petals in resin within a wireframe. Though I hadn't tried this technique with UV resin before, I have done something similar with other resin. And, it was worth a shot. I'll never learn anything new if I don't take risks now and again. Besides, I already had a couple pairs of earrings that would work for this reveal too.
Oh, the earrings! While laid up in bed, I've been consuming loads of video content - as mentioned in my last post. One of the jewelry-making YouTube Channels that I've been loving has been Halcraft USA. Denise Yezbak Moore creates most of their content and has some really beautiful and unique designs. I created two of them IN PINK! This first one is based on her Wandering Sky Earrings (I also shared them in the last post.)
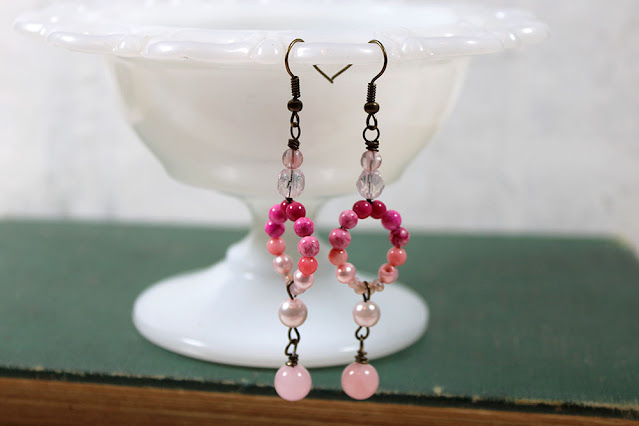
From there, I watched her Moonstone Magic Earrings tutorial and made this pair of my own earrings in varying shades of pink.
I think both of these earring pairs work really perfectly with the Honey Do List inspiration and just had to share them with you.
But, back to the real star of the show.
Since I've been watching so many videos, I was ready to make some of my own again. So, I created one for this UV Resin and Wire Pendant.
But, if you don't have time to watch, the instructions are fairly simple.
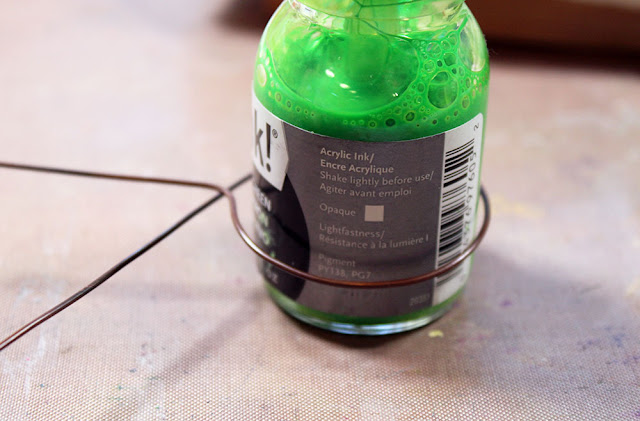
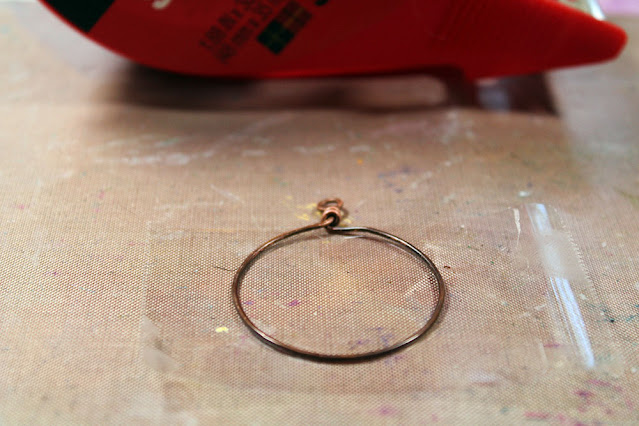
Begin by creating a frame with some thick-gauge wire. My antiqued copper wire was 18 gauge. Wrap your wire around a sturdy, round item that is as big as you need for whatever you're going to seal in the resin. I found that a glass acrylic ink jar was perfect for my flower.
While wrapped around your template, bend the shorter end of the wire up. Then, use the longer end to create a wrap around the short tail. Trim the excess from the long tail and create a loop with the short tail. Hammer both sides of your wire circle flat, and press a strip of packing tape firmly on one side.
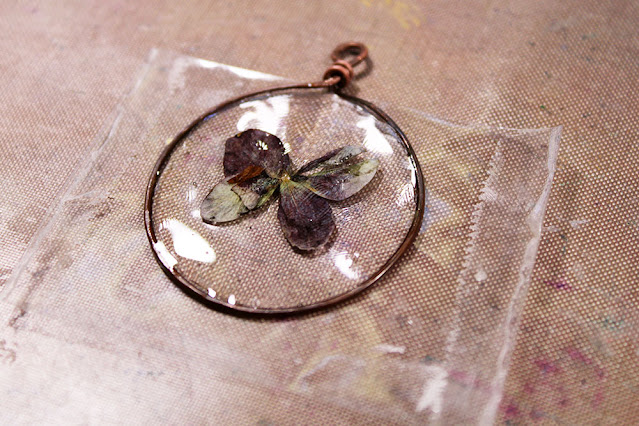
Add a thin layer of the UV Resin inside the entirety of your frame and cure it in a UV lamp. Place a dollop of your resin in the center of the frame then add your focal (flower) on top. Cure the resin so your focal is "glued" in the frame.
Spread resin over the focal and within the whole frame to seal everything. Cure in the lamp. Repeat layers of resin and curing until you're happy with it.
Carefully peel off the packing tape from the back of your pendant. Add a layer of resin to the back and cure. Again, repeat layering the resin and curing until you are happy with it.
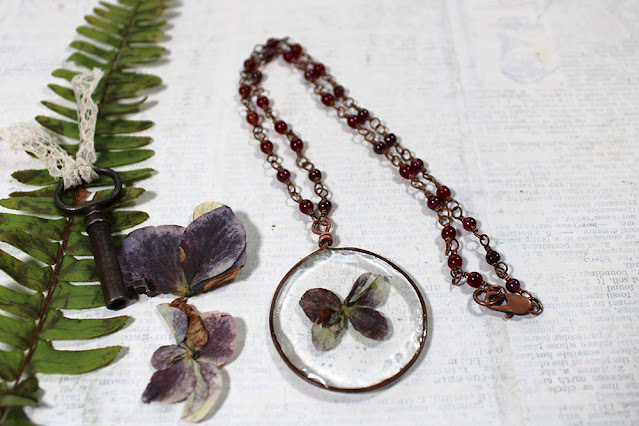
And, with that, you have a dried flower pendant with a handmade wire frame. You just need to add a chain to complete your necklace. I chose to use small garnet beads and 24 gauge wire.
It works out great since garnets are January's birthstone.
As always, I give mad props to Sarajo and Eric for this inspiration. I don't believe I would have come up with this project if it hadn't been for them. And, I'm certain that this is one of my most favorite things I've ever made. So, BIG THANKS.
Make sure you head over to SJ Designs Jewelry to see what Sarajo created from the inspiration as well as if any other artists found this as inspiring as I did. And, if you're inspired by the inspiration photo too, Sarajo will have the link open for several weeks so you can participate also!