DIY Junk Journal from Scraps

While picking up around my craft room the other week, I got the urge to purge a couple of my scrap paper boxes. But, I couldn't just throw away any of those beautiful bits of paper. Nope. I decided to grab many of the larger pieces and incorporate them into a small junk journal. 

DIY Junk Journal from Scraps

For the cover, I used an old file folder, but a lightweight cereal box or piece of cardstock would have worked just as well. Additionally, when I tore down the filler papers, those scraps were saved. They were then used to decorate the cover.

Bookbinding with scraps

For the complete tutorial, here's the DIY Small Junk Journal from Scraps video.


In the video tutorial, I go over the dimensions used for the cover, trimming down the scrap papers to fill the journal, decorating the front and back, and using the basic bookbinding pamphlet stitch to complete the journal. 

Scrappy Junk Journal DIY

I recognize that not everyone has the use for a junk art journal. However, you could still use these same techniques with more common papers like copy or notebook paper to create a journal of any size to suit your needs (list-making, idea-keeping, sketching, bullet journaling, etc.)

Pamphlet Stitch Junk Journal

Don't hesitate to let me know if any of the instructions are unclear or if you have any questions. I'm always happy to help!

Get 25% off CraftyHope Jewelry

If you've been hesitant for some reason about purchasing one of my jewelry pieces, now might be just the right time. I'm having 25% off sales in both my booth at Southern Antiques and Accents in Fairhope AND in the CraftyHope Etsy shop. Here's a look at some of the pieces you'll find in either of those two places. 

In the Booth:

Boho Fringe Necklace


Wrapped Rainbow Earrings

Fairy Bubbles Necklace

Button Love Earrings

And, there's SO MUCH MORE. 

Likewise, here are a few new items in the Etsy Shop.
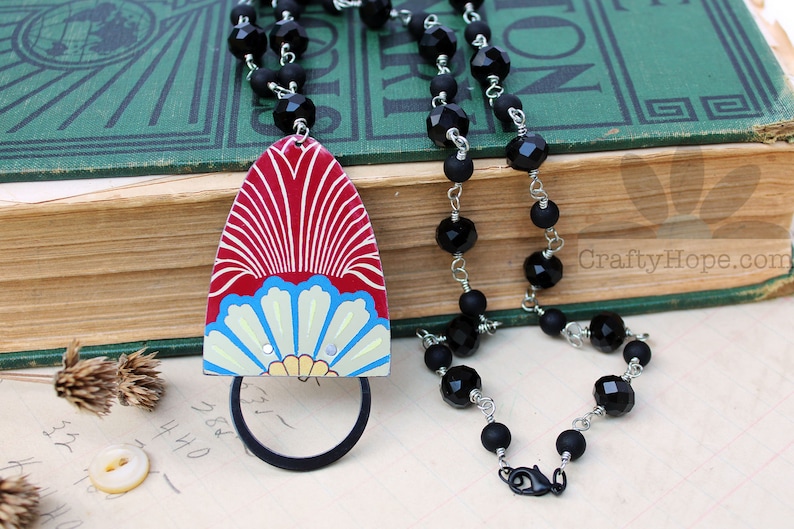
Tin Mushroom Necklace

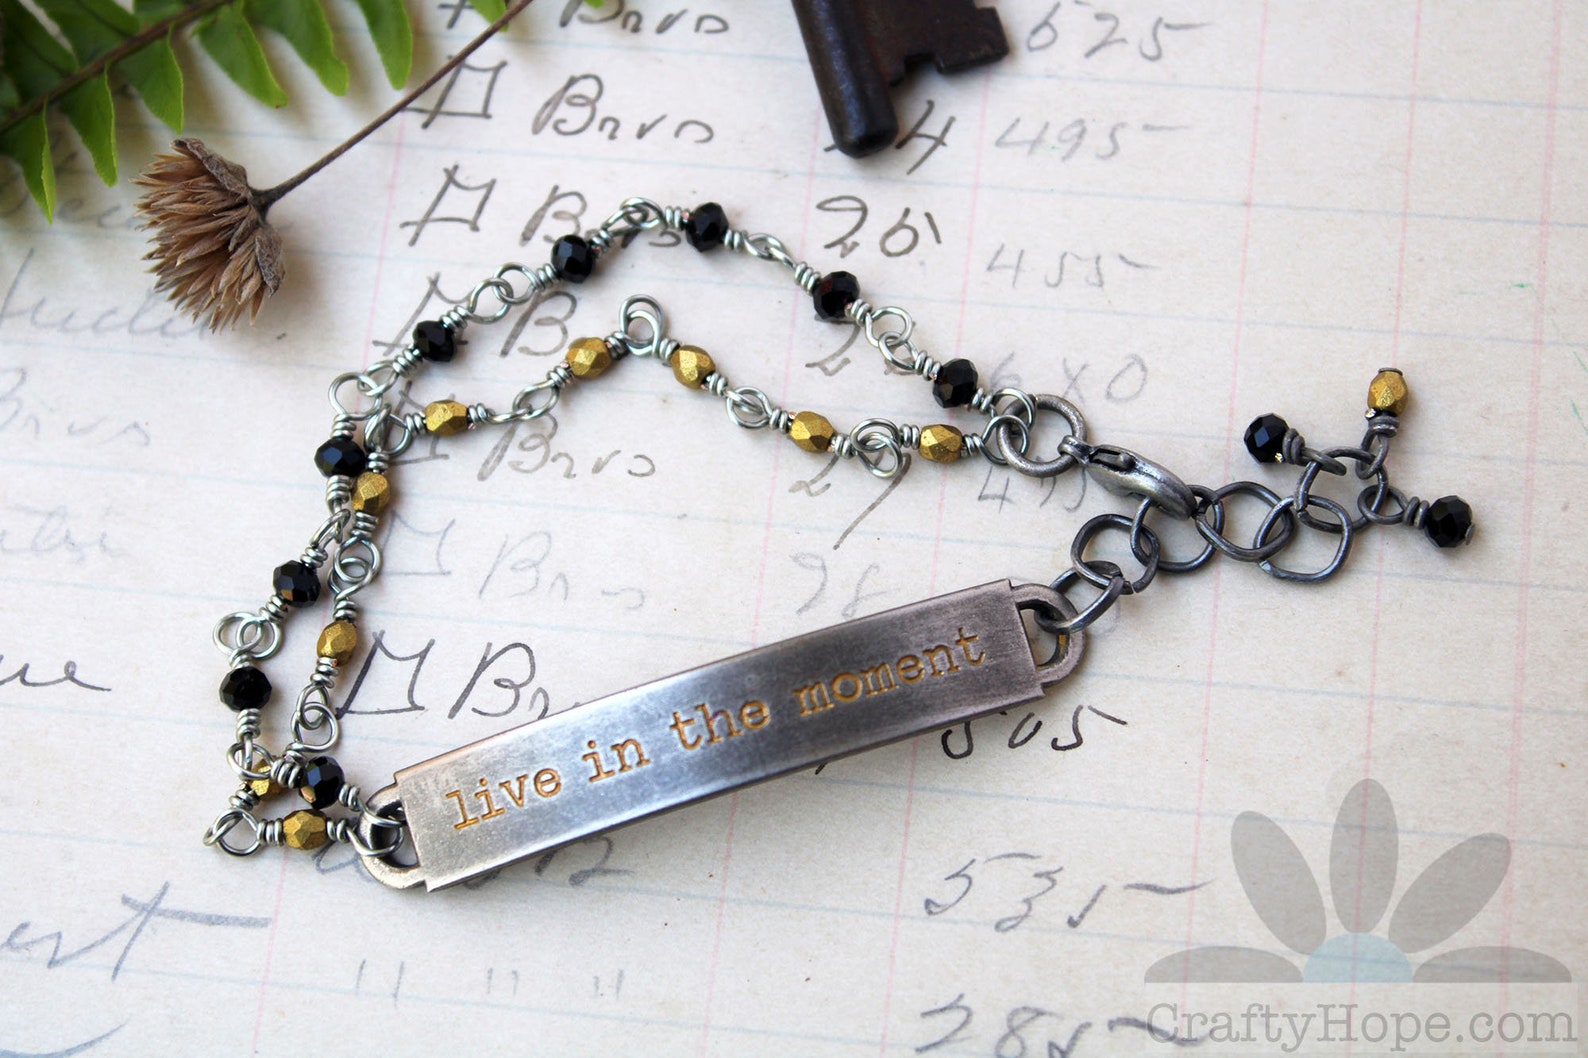
Live in the Moment Bracelet

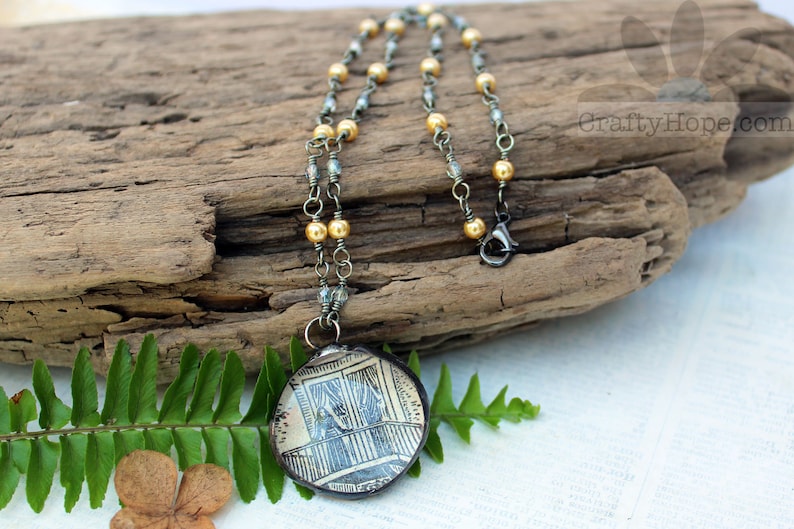
Lovestruck Romeo Necklace

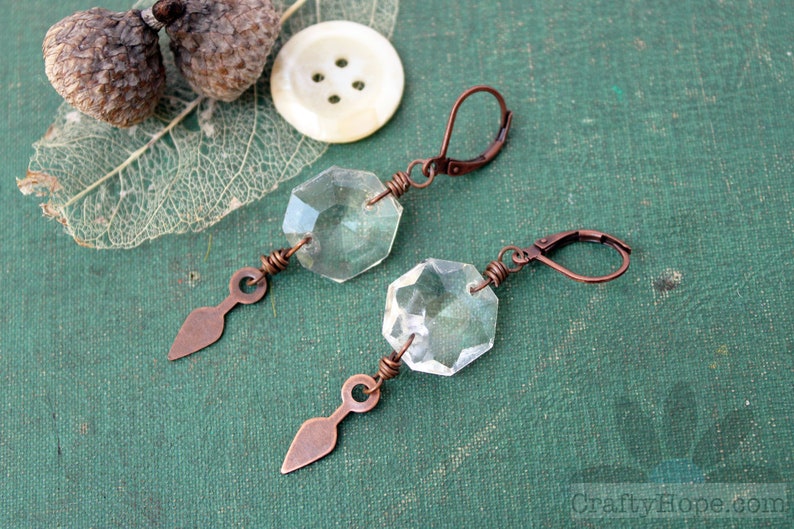
Hands of Time Earrings

Like the booth, that's just a taste of what's available. Head over to the CraftyHope Etsy shop to see more.  No matter where you choose to shop, everything in both locations is 25% off! 
Please note that the sale in the booth runs through June 2nd and the sale in the Etsy shop runs through June 3rd. 
Happy shopping!

Chain Link Earrings Part 4

Making a pair of earrings is as simple as adding a charm to a set of ear wires. But, creating a pair of interesting earrings means looking at your materials in a new way. I had a lightbulb moment when pulling out some metal chain and realizing it was too large for my delicate style of necklaces. Instead, I envisioned a whole line of earrings. With that vision, I set to work. 


And, to help inspire you, I popped on the video camera to share the process I used to work up each of these earring pairs. I've already shared three of those videos. Here's the DIY Chain Link Earrings Part 4 video to set your wheels in motion. 

And, these are the earrings I make in the video tutorial.

I lucked up in finding teardrop links AND beads, but really you could use any bead and link combination for this technique as long as the bead fits inside the link.

Please don't hesitate to let me know if you have any questions about this tutorial or any other jewelry-making. I'm always more than happy to help!

Thrifty Thursday (April's Thrifty Haul)

I found a few great deals and steals over the course of April and forgot to take a single picture. As such, I'm just going to share April's Thrifty Haul video with you and leave it at that.  


Let me know if you had any good finds lately too!

May Challenges and Inspiration

Yesterday was the last day of The 100 Day Project, at least for me, this time around. I can see myself maybe doing another one later focused on more of the mixed media/art journaling side of things. But, for now, there are other challenges out there to focus on since I've let them fall to the wayside a bit as of late. Here are the ones I know of for May. 


  • Sarajo has revealed the photo inspiration from her husband, Eric, for the June Honey Do List. The picture of the thistle stirs something in me already, but I can't put my finger on it yet. Take a look at the inspiration and play along. The reveal is set for May 24th, but Sarajo leaves the link tool open for about a month so that date isn't set in stone if you're running a bit behind. 
  • Over at Art Elements, the June Theme is Dandelions. Remember that this theme is open to any medium and you can submit your makes in the album on the Art Elements Community Facebook group. 
  • For the Pretty Palette Challenge from Halcraft Collection, the color theme is Mixed Metal Mania. You can see the palette and find out all about their submission guidelines over on their page. 
And, that's all this is that I know of this month. If you've found any inspiration or challenges that are worth sharing, please don't hesitate to let me know so I can add them to the list! Here's hoping you enjoy your May. 

In Case You Missed It - Art Journal Videos from April

Last month, I didn't get many art journaling videos up over on the CraftyHope YouTube Channel. However, there were a few. Here's a brief look at each of the projects along with links to the actual videos themselves. 

Art Journal Color Inspiration: Blue Violet

You, Me, Same 3 Pocket Tag

Art Journal Page with No Fuss

I can't promise much this month either as I've been working in my journals off-camera most of the time to reduce the pressure and increase my creative flow. But, make sure to subscribe as I've got something new to offer almost every week. I'm sure you don't want to miss it!

Chain Link Earrings Part 3

When I saw the abundance of large links of chain in my metal chain stash, I realized they would be perfect for an earring collection. And, when I assembled all the supplies on my bead mat, it was even more obvious that this collection would make the perfect video tutorial series. 

So, I popped on the camera and recorded how easy it is to make a whole line of earrings with just some beads and links of chain. I've already revealed the first two videos. The first began with an introduction and a simple tutorial. The second showed how to make two easy pairs of earrings with similar techniques. Today, I'm revealing the third chain link earring tutorial. In it, you'll make a wrapped loop and a few simple loops to create a fun pair of earrings. 


You can click the link above the picture to go to the video tutorial on YouTube, or you can watch it here on the blog.


If you have any questions about the techniques I share in the video, please don't hesitate to ask me in the comments section here or on YouTube. I'm always happy to help!

Bead Box 12 - Stocked

I am tearing through these Bead Boxes lately. Before I finish this one, I thought it would be best to go ahead and share how I stocked it. 


Let me first explain that my bead box is a simple plastic organizer with 17 compartments. Into each compartment, I place most of the elements for a jewelry design. This is the twelfth iteration of this box. I'll have links to all the others below. Here's what I've stuffed into this version.

I made this riveted tin piece a few weeks back but wasn't sure what to do with it. When I started stocking this box, I made sure to include it. I simply added some black faceted beads and cultured sea glass beads that will help transform it into a necklace.

I've got several little baggies of gemstone chip floating around the craft room. I thought it might be fun to try to incorporate them into some handmade hoop earrings. This copper set with the mother-of-pearl chips is my first design with this idea.

The idea of adding a bunch of fringy beads around a bracelet bar got into my head so I rolled with it by prepping some tin from my stash then grabbing coordinating seed beads.

Here's another hoop and chip design. For this one, I've added a couple of handmade resin charms. 

I had a bowl of prepped tin pairs set aside, waiting for something like this. This set was hand-painted and just needed coordinating beads. 

These were also set aside and waiting. I picked out some gold beads that match the gold dots (hard to see in the picture) on the tin but will use gunmetal pins to mix up the metals. 

 A few soldered ceramic shards have been stashed away too. This pretty blue and white one will be paired with matching blue faceted beads, off-white faceted beads, and a couple of blue and white floral beads to make a necklace.

While searching for elements to inspire designs for this bead box, I opened a drawer in my bead cabinet that holds pendants. The large crystal and black acrylic key slid next to each other when the drawer was moved, and I decided it was a match. I dipped into my bead soup to pick out a bevy of brightly colored beads and buttons for the chain.

Initially, this design was going to be something to do while I took my niece to get her Covid-19 vaccine, but I didn't get to it. So, the vintage skeleton key and beachy blue and gray beads ended up in the Bead Box instead. 

This metal feather was unpainted in that pendant drawer. I fixed it up with a few Vintaj Patinas. When I couldn't find beads to go with it, I made my own by adding more of the Patinas in the holes of the clear crystal beads. A few basic silver-tone beads round out the design for this bracelet. 

I've been messing around with UV Resin a bit lately so when I unearthed these double-sided bezels, I decided to use more Vintaj Patinas, the resin, and some book text to create little charms. They'll be connected to form a bracelet. 

I've been holding onto this laser-cut octopus from Allegory Gallery for far too long. It really only needs some simple embellishments. So, I chose tiny matching wood beads and some aqua-colored cultured sea glass beads.

Not too long ago, I picked up a few locker tags. I've curved this one to make a bracelet bar and will be adding a few black and red beads to make the chain for a bracelet. 

Yeah, you see the embroidery floss. I'm going to make tassel earrings with the reproduction clock hands and crystal beads. 

Those two soldered bubbles with faces were in my stash. Something called to me to pair them up for the pendant of a necklace. I added a few light pink beads and some crystals that will make the necklace chain. 

While making my tissue paper earrings, I wondered if I could use the UV Resin in other open-backed elements. So, I tried with the petals in these decorative keys. It worked! I'll be adding some peridot chips to finish off these earrings. 

Lastly, I had another few bits of tin and a couple of beads. I know I had a great earring design idea, and I'm hoping I sketched it out. But, for the life of me, I can't remember what it was. Here's hoping it comes to me soon because I'm inching closer to finishing this box already. 

If you're interested in my previous boxes and their reveals, here's the full list. 


I'm working my way through this box faster than the last one, I think. But, I won't complain. Staying busy and getting some jewelry made is always a good thing. Which of these are you looking forward to seeing completed?

Peek at My Week (April 18-24)

There was a lot in the works this week. Take a peek.

While doing some yard work on Sunday, I caught a glimpse of the red flash of berries and discovered our first patch of ripening blackberries. They grow wild here and are really a nuisance because of the thorns, but the berries are so tasty that I can't help but get a little excited. 

Once the yard work was done, I couldn't bear to sit in the house on our first nice day in a week (SO MUCH RAIN!) So, I took my beadwork outside to enjoy the weather. 

Monday was a standard, get-things-done day full of errands and whatnot. I did decide to try something new on the bead table though! (It didn't work out but has spurred some other ideas.)

Since the weather has been so nice, I started the day with a walk in the neighborhood. I was rewarded with finding loads of beauty and a patch of ripe blackberries on the side of the road. Of course, I picked a few before heading home. 

Those roadside berries were easily worked into my breakfast!

We were happy to see that the nice weather brought out the concrete guys to finish framing up the foundation of the new building. In the evening, we met a few friends (and bumped into a few others) for dinner at an outdoor venue. 

My plans for Wednesday included helping a friend set up her own Facebook Page for her art then visiting with my mom for a few hours. Since I knew I was going to be out of the house most of the day, before I headed out I did a little prep-work for a soldering idea I had. 

I worked on adding copper foil to those bubbles and a few ceramic shards on Thursday but had to put them aside after a while because I had a lot of tasks on my list to get to including making the cake for my niece's birthday. 

Friday was FULL of activity.

It began at 5:30 in the morning with us waking to the dog barking and someone knocking on the door. The concrete guys were back to pour the slab. That was great news, but we didn't know they were coming and they couldn't get to the framed area until we moved our cars. We were frantic and there was a line of trucks down the street trying to get in our driveway. 

At the end of the day, we had a concrete foundation! Now, we have to wait for the metal to come in, and they have no idea when that's going to happen. sigh.


The frenzy of the morning and the hum of trucks in the yard left us exhausted all day. I stayed at my desk and worked.

I finished copper foiling all the pieces to be soldered but knew that I wasn't in the right place mentally for soldering so I put it aside for the next day.

Instead, I played in a couple of art journals with some paint and other mixed media supplies. I'm really happy with the results.

In the evening, I got my second wind as we headed out to celebrate my niece's 21st birthday.
It was a long day!

Saturday's stormy weather gave me a chance to recover from the day before. 
I worked my way through the You, Me, Same 3 reveals.

And, I soldered almost all day long. 
I'm in love with how some of these pieces turned out. My original idea that had spurred this soldering stint didn't work out, but another technique I've been wanting to try did. So, it was a win. And, a couple of the ceramic shards have already sold to an Instagram friend. Woohoo! I'm actually considering opening a section of my Etsy shop to selling some of the pendants and charms I made (soldered, resin, tin, etc.) rather than hoarding them away for my own designs. What do y'all think of that? I'm toying with a couple of ideas related to that but would LOVE your input. 

Here's some of the inspiration I found over the week:
I hope you found something to inspire you in that list. I know I've been feeling uber inspired myself. What have you been making lately?
Have a fantastic week!

Bead Box 19(ish) Stocked

  Confession -  this isn't really number 19, as it's been over two years since I shared one of my bead boxes and have gone through a...