
Upcycling found and thrifted items has been a passion of mine for years. When I started seeing other artists using old cookie tins in their work, I was intrigued. It took me some time to figure it out, and I'm still tweaking my techniques. However, I've had other artists ask how I break down the tin, and I'm always happy to help.
First, here are the materials.

Let me go ahead and admit that my first step(s) isn't completely necessary to begin with and can be done at the end. But, I start by locating the seam inside the tin.


From there, use your heavy-duty angled wire cutters to start pulling up (unrolling) the bottom edge. This is the part that might be best explained in the video.


Now that your tin is cut down, you can also cut down the lid, which I share how to do in the Breaking Down a Tin video.
And, if you're wondering what you can do with the tins you've cut down, here are a few examples from my Etsy shop of how I've used tins in jewelry.
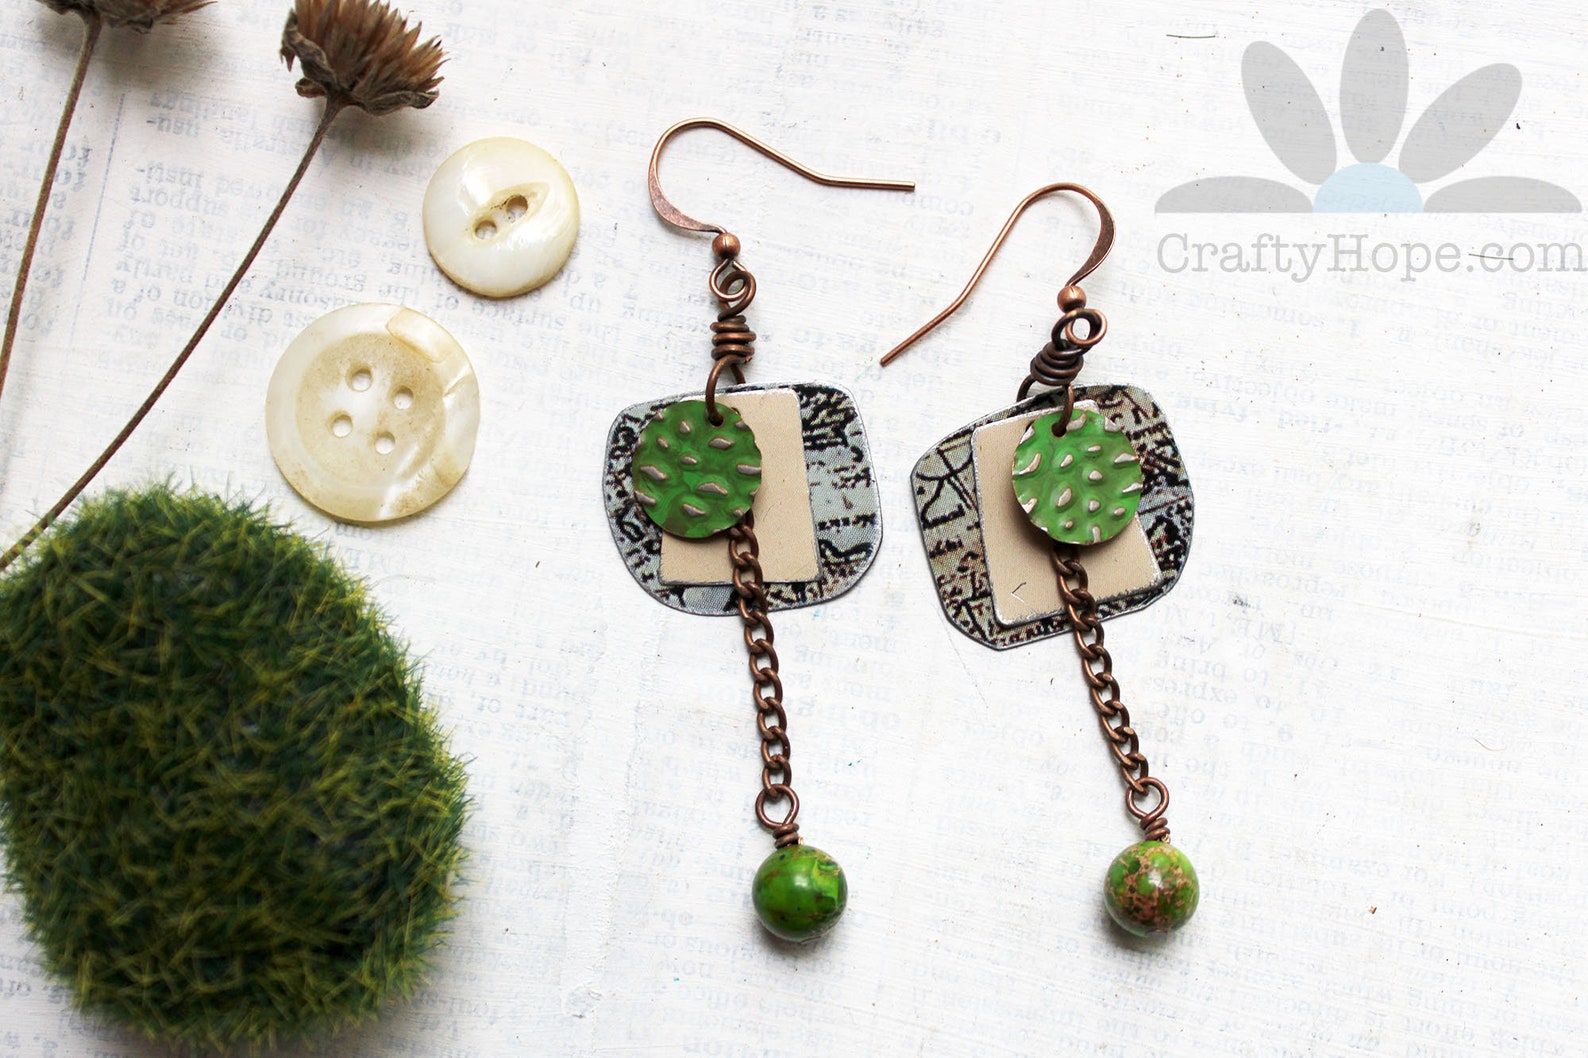 |
| Mossy Map Earrings |
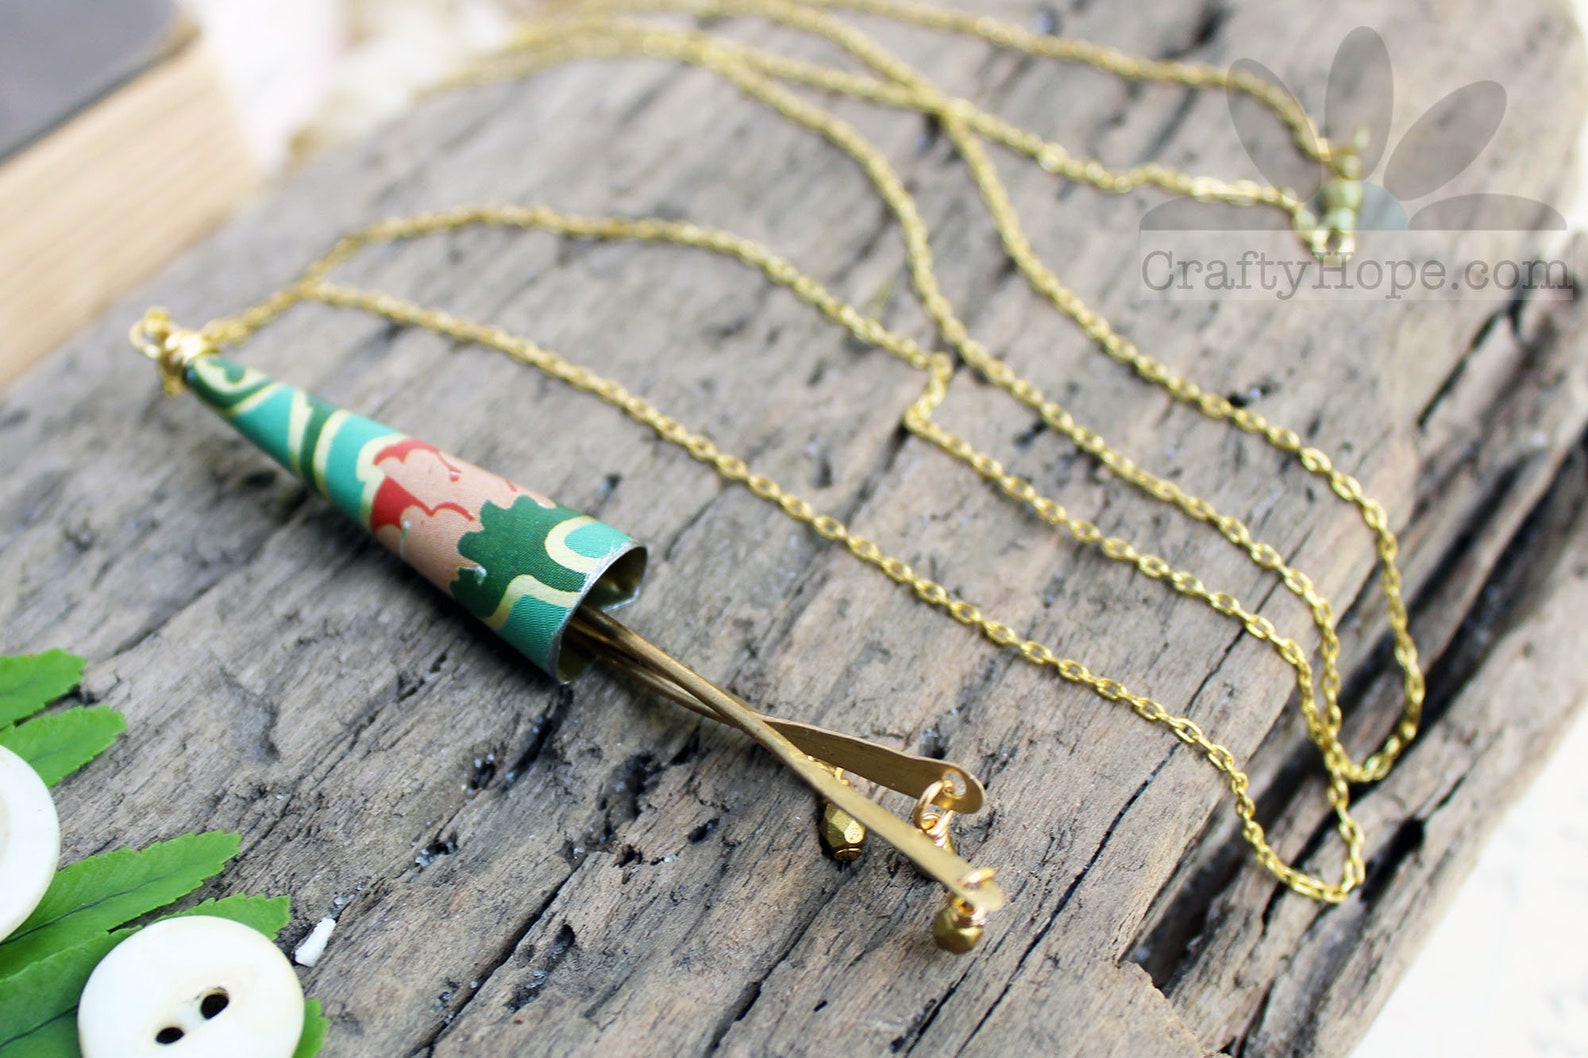 |
| Tin Cone Necklace |
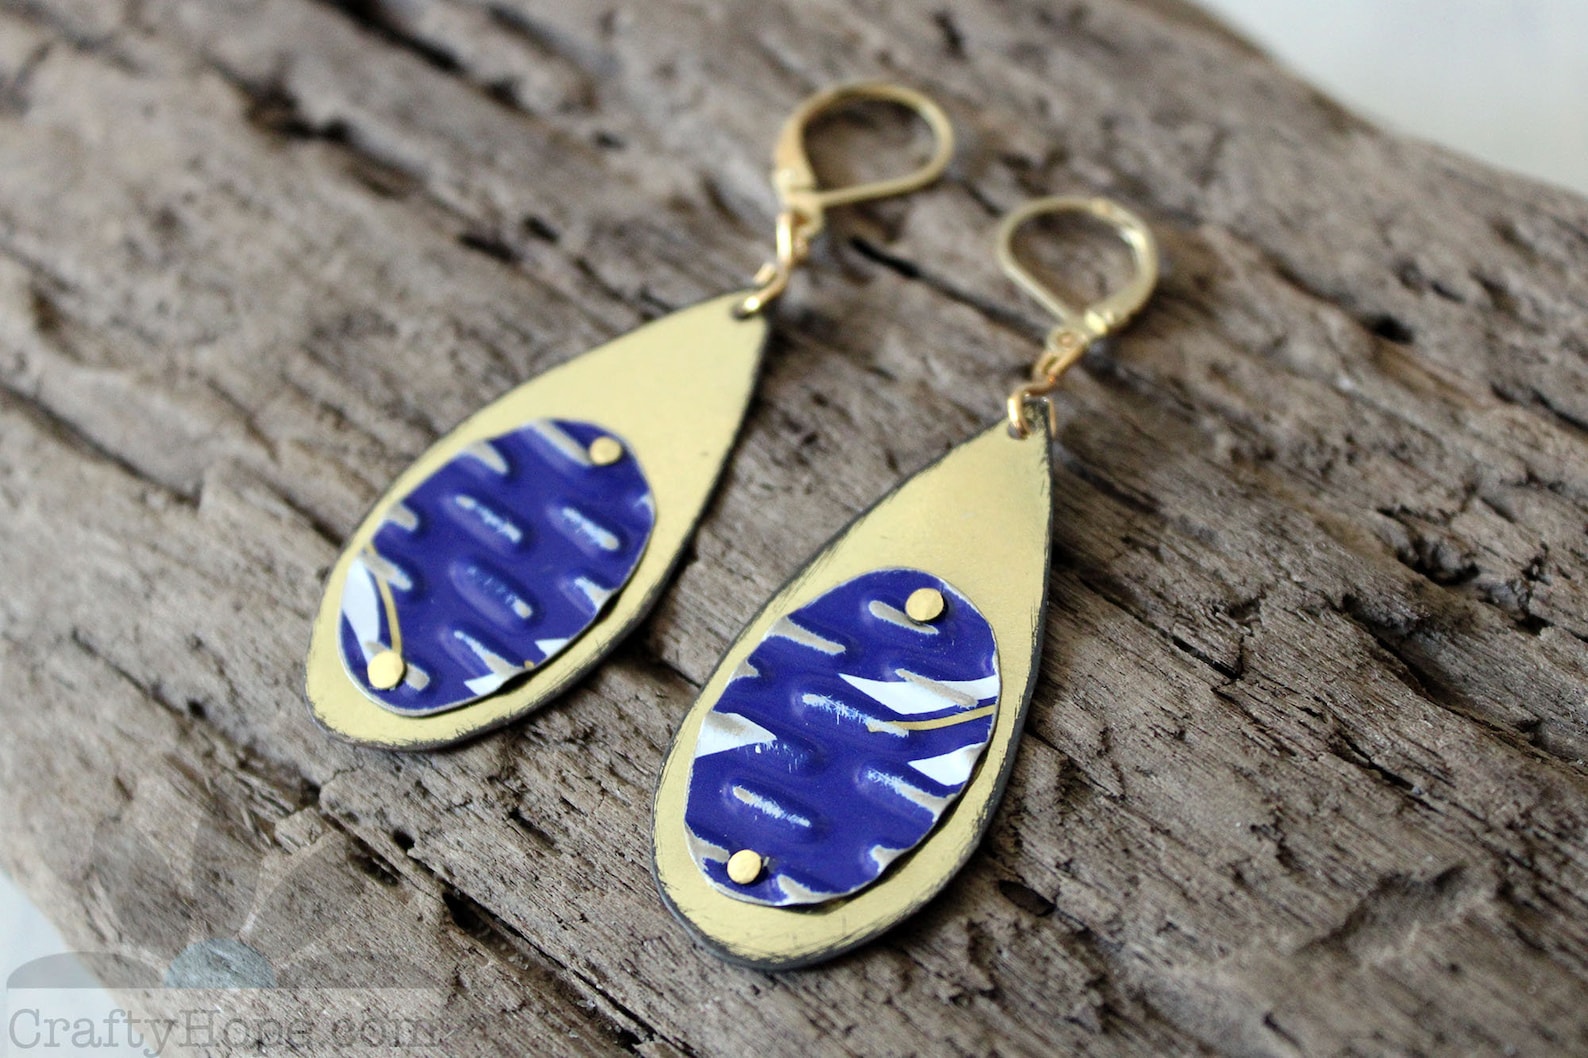 |
| Textured Tin Earrings |
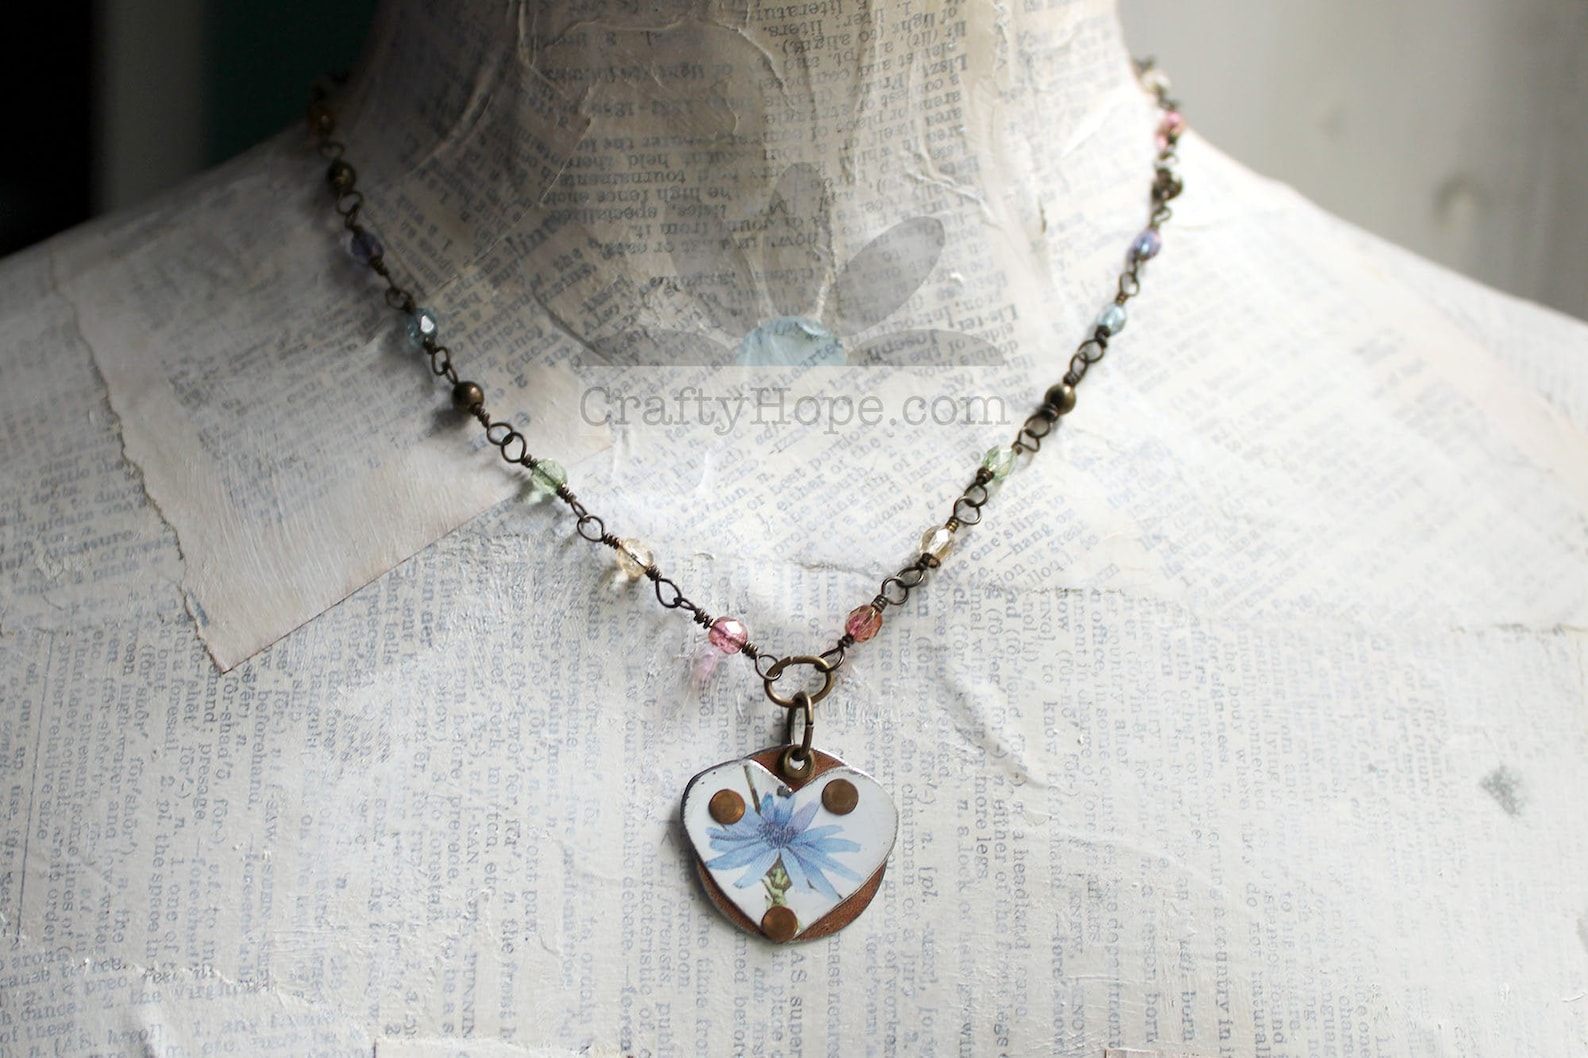 |
| Flower Love Necklace |


Oh, yes, very much appreciated! I kept a Christmas tin from last year with the intention to use it... one day :) My husband keeps asking and forgetting why have I kept it but I hope it will survive to the day I try to use it, eventually. And all this just because I am so inspired by your tin makes :)
ReplyDeleteHope- This is an outstanding blog and video for crafters. Well done!
ReplyDeleteKathy, Thank you SO MUCH! I hate that it's taken me so long to share such a basic technique. But, like everything else, I'm still learning too.
DeleteThank you for sharing this video, I have wondered how to make the first cut, particularly on the lid. What kind of gloves do your wear? Do they need to be heavy duty wire snipping gloves? I have one like that but I find it too cumbersome and tight (the elasticated part on the wrist which I understand is for my own good).
ReplyDeleteI know you had asked about my process. Sorry it takes so long to get these videos prepped and up, my slow internet makes it hard to get much done quickly at home. As for your other questions...the gloves I use aren't expensive or anything. They're general hardware gloves that I purchased at a discount hardware store. The big thing for me is to make sure the front (palm and fingertip) is coated with rubber so that those little burs and pokey edges don't get you. I'm not sure what wire snipping gloves are so I'm not sure if those would work. Mine are nothing special, just rubberized.
Delete