Small Business Saturday Sale in the CraftyHope Shop

I hope y'all had a fabulous Thanksgiving full of good food, good family, and good times. I know mine was a delicious day in all respects. On the way home with our bellies and hearts full, we passed the packed out Wal-Mart while being reminded on the radio that Saturday is "Small Business Saturday". It seemed quite ironic and somewhat surreal. To celebrate small businesses and encourage you to shop small, I'm having a sale in my CraftyHope Etsy Shop over the weekend. Use coupon code SBS14 and receive 15% your purchase.

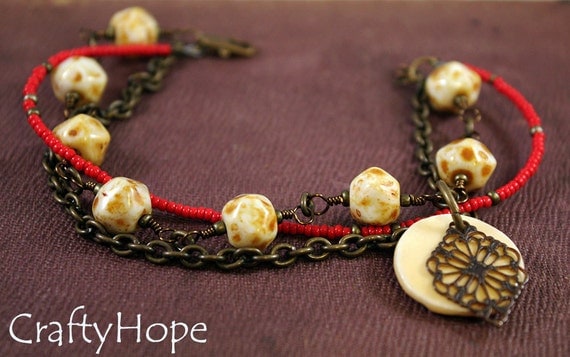
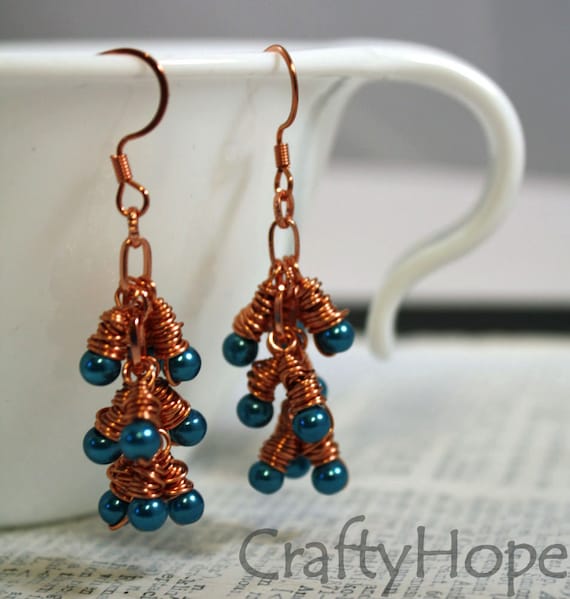
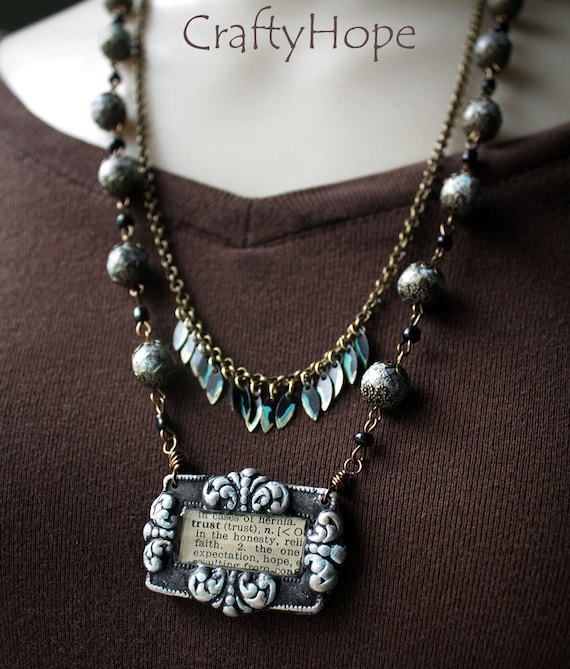
Here's a peek at just some of what's available.
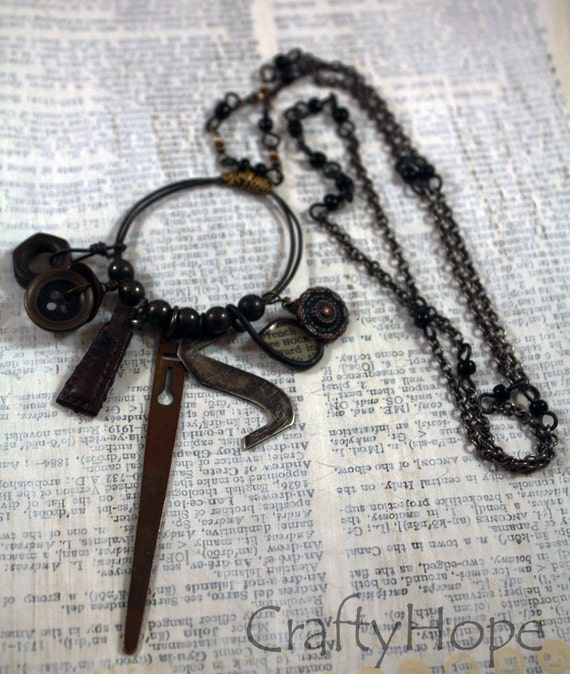
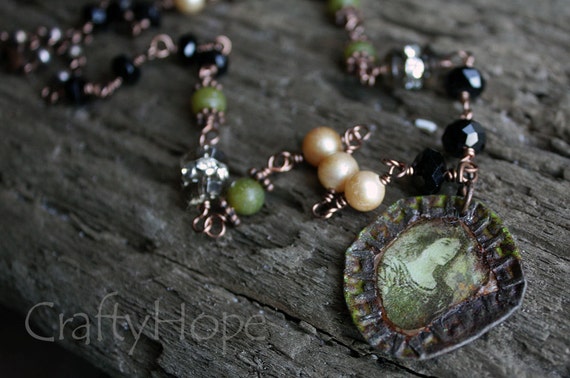
Trust Necklace
Wabi Sabi Earrings
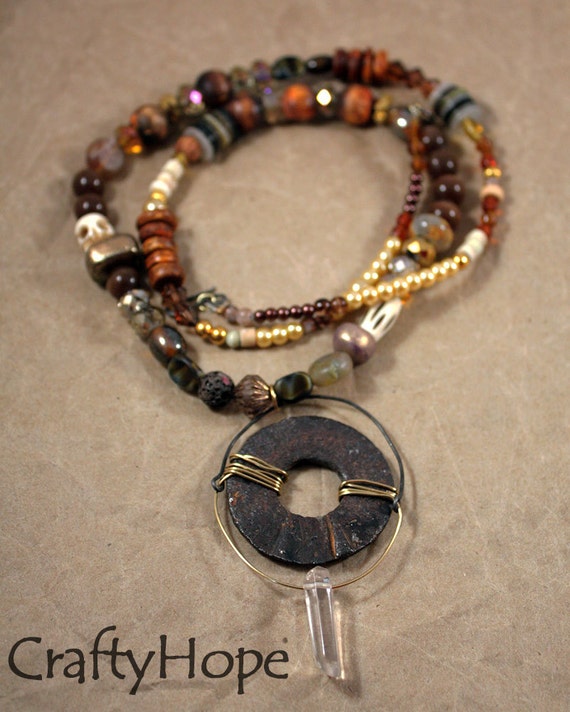
Tribal JUNK Necklace
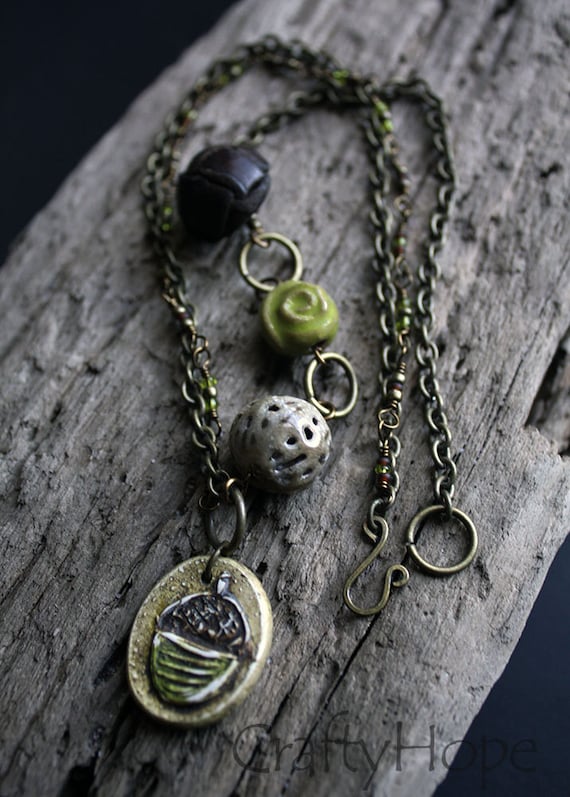
A Walk in the Woods Necklace
Rusty Washer Necklace
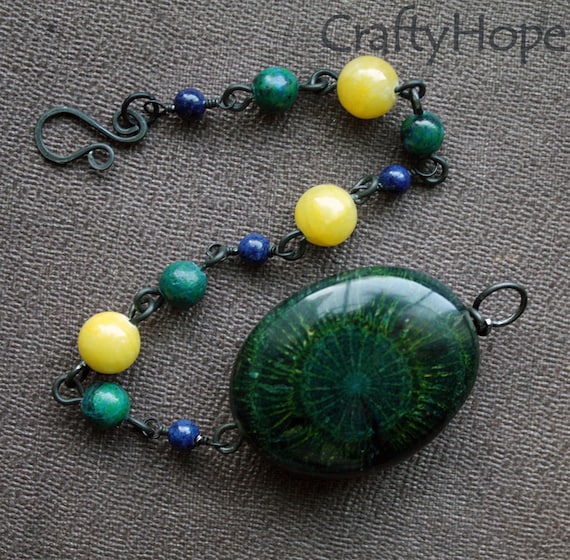
Nutty Eye Bracelet
Green Ladybird Necklace
All these and everything else in the CraftyHope Shop can be discounted with the coupon. Whether you use this discount or not, I hope you do try to shop small over the weekend. Happy Shopping and welcome to the season of giving!

An Open Letter to Pinners from One Artist

Dear Fabulous People of the Internet,

Isn’t it a magical world in which we live? We have this amazing tool that lets us find, share, and save some of the most interesting, beautiful, and funny things on the web. Oh, yes I’m talking about Pinterest.

Pinterest is a wondrous place where we all lose track of time. So many tempting sweets, funny images, luscious foods, time and cost-saving tips, inspiring quotes, and OH. . .that crafty haven of beautiful, simple, why-didn’t-I-think-of-that-ideas.

You know what else it is full of? Products that both struggling artists like myself and big companies are trying to promote, get seen, and sell.

When I make an item of jewelry I put my heart and soul, my time, and my precious, hoarded beads into it. And where does it end up? On your “I Can Make That” Pinterest Board. Do you have any idea how that makes me feel? That’s my own original idea and design. Don’t get me wrong, I totally appreciate that you admire what I made, that you want to save it, that you might even want to make something like it. However, please don’t be so blatant about it.

I’ll admit that I personally have other designers’ pieces saved as inspiration on Pinterest. There are a lot of great ideas and interesting use of materials out there. I don't plan on copying those ideas, just using them to spur me forward in my own designs. I also look at pinning their creations as a way to share these unique designs with other people around the world and help the artists advertise the fruits of their labor. When our work ends up on a "Jewelry to Make" board, it cheapens our art and makes us feel like less of an artist. Obviously you can probably make it, or something of a replica of it. But, by placing our art on your “Crafty” board you’ve told the world that our work isn’t worth buying, you can just make it yourself. All I’m asking is that you consider re-naming your Pinterest board “Jewelry Inspirations” or “Designs I Admire” or something along those lines. Think about using your “DIY” board instead as the perfect place to save actual tutorials you’ve found, not an item someone is selling.

Please help us share and promote our hard work, support small businesses, and keep the ideas of what you also want to try. But, be aware that many of us see where you’ve placed those pins of our art. Be tactful about where you rank it. That’s all I’m asking.

Feel free to head over to Etsy, take a look around my CraftyHope shop, and Pin away!

Thank you,
Another Pinterest Fan and Artist

Menu Plan and Recipe Review

Another Monday, another menu. . .I don't even know what else to day about it right now. I'm feeling all grumpypants (mostly at myself for not having this done yet) all of a sudden. Anyway, let me go ahead and share what I plan on us eating this week.

Breakfasts: Cereal, Smoothies, Cheese grits/oatmeal, Breakfast burritos, Blueberry muffins, Hashbrown baskets

Lunches: Leftovers, Soup w/grilled cheese, Turkey sandwiches, Tuna noodles, Calzones, PB&J, Cheese quesidillas

Snacks: Granola bars, chips w/salsa, crackers & cheese, Fruit, Kale chips, Veggies, Parmesan wasabi edamame

Dinners:
Veggie burgers w/sweet potato fries
Baked ravioli w/green beans
Thanksgiving dinner at my mom's I'm contributing a Jiffy Corn Casserole and maybe something else (I haven't decided yet.)
Tacos
Soup (from freezer)

_____________________________________

Recipe Review

Veggie and Tofu Stir-Fry: I've made this recipe several times now and we still like it. I reviewed it initially here.

Chicken Marsala: Oh, heck this was good. Let me admit that though I live in the South, I've never fried chicken before. While it was indeed finger-licking good, it made one heck of a horrendous mess. I wouldn't mind making it again but only on special occasions.

So that's it for today. It's taken me far too long to write this because I had to stop and make dinner. I hope you have a fantabulous day!

Instagram Giveaway Winnings (fun stuff)

Just popping in real quick to share one of my happy-s from this week. As you may or may not realize, I'm a big Instagram fan. If you're not on Instagram yet, why not? You should be! Anyhow, much like in the blog world, there are quite a few giveaways always going on over there too. I just so happened to win one!! It was done by Questionable7 on Instagram who had a giveaway to celebrate reaching 400 followers. Congrats Patricia and thank you for the awesomeness! Let me just show you.

The envelope itself came decorated to the nines with lots of happy colors and textures.

Even the stuffing was pretty!
beautiful baby blue, polka dotted tissue
And the prizes inside were wrapped up nicely.

What's in the wrapper you ask!?
Fun stuff is what it is!
Pens, pencils, notecards, stickers, sticky paper, mini clothespins, and little pom-pom ribbon - OH MY!
I'm not exactly sure what I'll do with all of these amazing bits yet, but I know I can't wait to figure it out.

Thanks again Patricia!
If you are on Instagram or join up, make sure to follow me! I'm CraftyHope (of course).

DIY: Mixed Media Organization

Ever since I got my Gelli Plate (maybe at some point I'll actually go into detail about what it is-sorry about that), I've been looking for different ways to use the prints other than just including them in my art journal somehow, and hoarding them obviously. I showed you how I used one to cover my bullet journal, but now I've got another really simple way to use them too.

First let me say that now that I've made the plunge into art journaling, I've amassed even MORE craft supplies that need places and space in the craft room (which was already short on space.) As such, I've been looking for more ways to organize these supplies. While cooking taco soup one night, I looked at the pile of cans I'd emptied into the pot and decided to keep them.
Before using the tins, I removed the labels, cleaned them with soap and water, and soaked them with white vinegar and water to remove any odors. I also hammered down any jagged portions that remained from opening the can. Safety first! I didn't bother with making sure all the glue/paper came off since I was just going to cover them.

I've previously made tin can pen holders with scrapbook paper and ribbon (above), but I wanted to try something a little different this time around. . .layers. Here are my instructions for you on how to achieve those layers.

Start by picking out a page of dictionary text along with a gelli print on deli paper.
Make sure there's lots of open space on the deli paper so you can see the dictionary text through it.
Gather the rest of your supplies: tin can, paintbrush, & glue (I used white school glue on the dictionary text and gel medium on the deli paper, but it really doesn't matter as long as the glue dries clear). Lay these out on a covered surface.
Measure and cut your dictionary page down to size, using multiple pieces if you needed to cover the can.
Spread glue on the back of the dictionary page. (Try not to be like me and use way too much!)
I made a mess with the glue since the cap was clogged. Ooops.
Adhere the page(s) to the can, gently pressing out any bubbles/glue without tearing the paper.
Measure and cut your gelli-printed deli paper to the size of the can, leaving a little overlap on the ends.
Apply only a small amount of glue at a time to the tin can so you can work in sections, smoothing out the paper as best as possible. The thinness of both of the papers makes these come out wrinkly (especially when you go overboard on the glue.)
When you get to the last section, apply the glue to what remains of the deli paper and press down.
All it needs now is something to fill it!I didn't have any trouble coming up with that part.

I still have several tin cans and lots more supplies so you may see some more tin can makeovers here in the future. This is a simple project and a perfect craft for kids too.
Peanut Butter Cup Pretzel Bites (meal plan and recipe review)

Much like my Cinnamon Sugar Twists, I shared images of these bites online and saw some interest in them. So, I figured I'd share with you how easy they are to make.

Before I get to the instructions on those goodies, bear with me as I share my meal plan and recipe review for the week.

Breakfasts: Cereal, Smoothies, Cheese grits/oatmeal, Breakfast burritos, Blueberry waffles, Hashbrown baskets

Lunches: Soup w/grilled cheese, Turkey paninis, Chicken finger wraps, Tuna noodles, Pepperoni calzones, PB&J, Cheese Quesidillas

Dinners:
Chicken Marsala w/mashed potatoes & salad
Soup (from freezer)
Black bean burgers w/sweet potato fries
Baked ravioli w/green beans

_________________________________________

Recipe Review

Cheesy Penne with Broccoli: This came together pretty quickly and was just what I needed to make after a long day; something easy and tasty. I really liked it.

Delicious Ham and Potato Soup: This particular recipe has become a staple at our house. When I say that I'm making potato soup, this is the recipe I mean (my mama's recipe that I love so much is too labor intensive for me most of the time). Be warned that the chicken bullion and the ham used in this recipe make it quite salty. I recommend only adding a little salt at a time.
________________________________________

Now for the yummies. I'm not completely sure I should share this recipe though, because these are SO EASY that you might end up making them all the time. I don't want to be blamed for your new peanut butter pretzel bite addiction. If you've got a liking for sweet, salty, and crunchy like I do; don't say I didn't warn you.

Peanut Butter Cup Pretzel Bites

Ingredients:
Snyder's 'Snaps' Pretzels
Reese's Mini Peanut Butter Cups

Directions:
Heat oven to 250 degrees.
Line a baking sheet with parchment paper.
Spread out pretzels in a single layer on the baking sheet.
Place a peanut butter cup in the center of each pretzel.
Bake for 4-5 minutes until cups start to soften.
Remove baking sheet from oven and smoosh a second pretzel on top of the first.
Cool bites in the fridge for about 20 minutes.

That's it. Too easy. I warned you.

New and Old in the CraftyHope Shop

It's been over two months since I've shared some of what's currently in stock in the Crafty Hope Etsy shop.Of course, if you follow me closely on social media you've likely seen some of these pieces already.
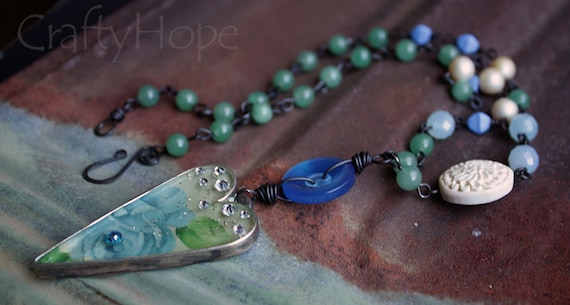
The Heart of a Country Rose Necklace
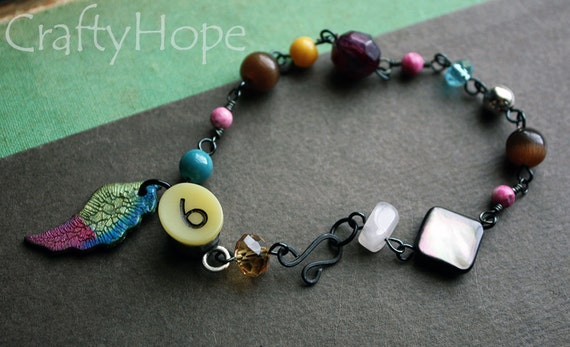
Numbered Wing Bracelet
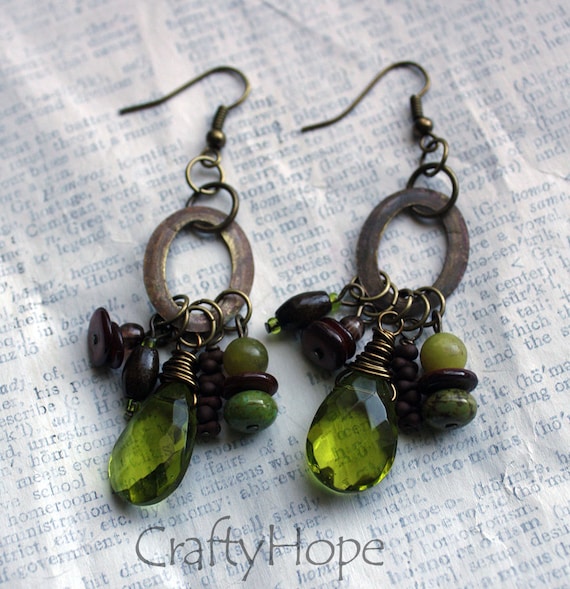
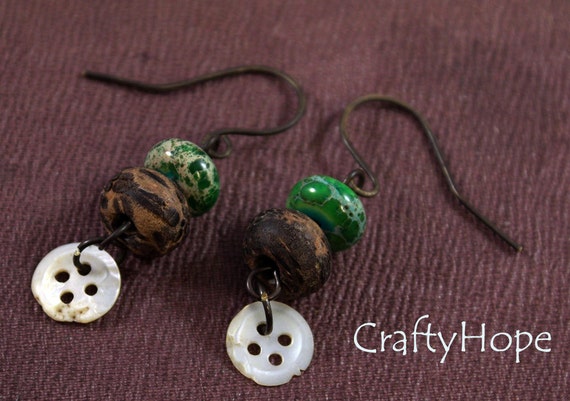
Green Boho Chic Earrings
Rusty Washer Necklace

Besides what's new in the shop, there are a few items about to expire that I don't plan on re-listing. Get them while they're available!
Fire-toasted Marshmallow Bracelet
Electricity Earrings
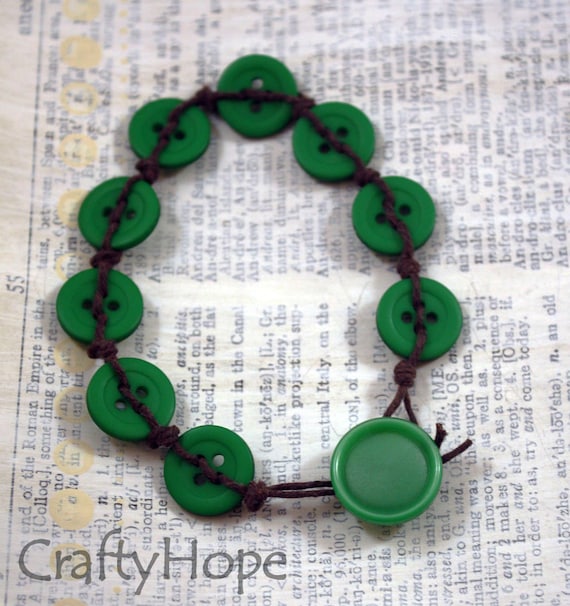
Jolly Green Button Bracelet
There's quite a bit more in the shop that you probably haven't seen either. I'd love to know what you think of the direction my designs have been headed in and constructive criticism is always appreciated.

Meal Plan and Recipe Review (better late than never)

Doggone it all if I haven't let the week get away from me again. How is it already Wednesday and I still haven't shared my menu for the week? Oh right. . .I over-extended myself and have spent the majority of the last five days across the bay either helping my cousin or involved with friends. It was worth it. Let me go on and get to the 'meat' (har, har, har) of this post, my meal plan.

Breakfasts: Cereal, Smoothies, Cheese grits/oatmeal, Eggos, Ham omelets

Lunches: Pepperoni paninis, Soup w/grilled cheese, Chicken finger wrap, Tuna noodles, Bean burritos, PB&J, Cheese quesidilla

Dinners:
Veggie Burgers w/sweet potato fries
Chicken Marsala w/noodles & salad

_____________________________

Recipe Review

No Noodle Pad Thai: The picture on the site (not the one above) made this look so good. Alas. . .  First off, Pat and I couldn't bear the thought of 'raw' tofu so I did lightly cook it in some coconut oil before adding it to the 'noodles'. We both thought this tasted fine, but that the meal was missing something. It didn't satisfy us. We just weren't full enough. It also made a horrendous mess in my kitchen, all those julienned veggies were flying EVERYWHERE!! Despite the good flavor and the healthiness of it, I won't be making this again.

Velvety Broccoli and Feta Pasta: I was a little excited about this one. I like broccoli, I like pasta, I like feta. How could it go wrong? This was an okay dish. It just didn't seem to have much flavor. I think maybe using a vegetable broth instead of the water to thin it down would have helped greatly to up the flavor factor. I'm not sure if I'll make it again with that adjustment or not. I enjoyed it, but it just didn't have enough umph.

So the above vegetarian recipes just didn't work out for us. I'm sure I'll find some more soon. . .at least I hope I do as we're getting a little tired of some of the tried and true ones. Let me know if you know of any great ones!

Graphic Stock Review

*A little while ago I was enticed with a limited free subscription to a site called Graphic Stock. This is my review of it. Though I received the free subscription, my opinions are my own.*

As a blogger and artist, I am smitten with visual material. Though I am often able to create these images myself, that isn't always the case. Along comes Graphic Stock, a site full of "royalty free stock images, vectors, illustrations, graphics, and more." And seriously, there is so much more. You can read more about them on the Graphic Stock About Us page. I want to get to the good stuff and show you what they have to offer. I've actually already used a few of their images here on the blog.
The background in this image from my Earring Day post was from Graphic Stock.
When I blogged about Why I Meal Plan I searched on the Graphic Stock site and found this great picture to incorporate.
When you find an image you like on the site, you have the option to download it or save it to Lightbox (if you have a Lightbox account). Each image has its own file type(s). Most are available as a JPG, but many can also be downloaded as a PNG, PDF, EPS, or even as a Photoshop file.

Let's let the images speak for themselves (mostly) as I show you just a few more of the image types available. The ones I'm sharing are from their 'most popular' list.
Wouldn't this door graphic be perfect as the background for some text?
Oh, and this photo is just dreamy and would be great for a blog post about not seeing the road ahead or something like that.
Besides the obvious online uses for these, there are also some great images for personal craft use. Since I've gotten into the mixed media/art journal world, I see so many ways to incorporate these graphics. Take these two holiday-themed downloads for example (again, from the most popular downloads).
I haven't even started thinking about Thanksgiving, but I see so many possibilities for these cute images: decorations, table place cards, journaling prompts, and collage elements. Oh my!!
These Christmas ones could be used much like the Thanksgiving ones, but I can also see turning them into greeting cards or even gift tags.
The few images I've shared with you are only some of the 250,000+ images available at Graphic Stock. And guess what!? You can get a FREE 7-day subscription to Graphic Stock and start downloading immediately.

I know this just sounds like a big ad, but when you can get a bunch of free, quality images to download...who cares? Go get you some!

The 100 Day Project 2024

Yesterday, the 100 Day Project for 2024 started (it's not too late to join in!!) I mentioned last week that I would give you a heads-up ...